


Perfect Grilled Corn on the Cob : 7 Simple Steps

Grilled Corn on the Cob
- Peel off the corn husk without detaching it from the bottom of the cob.
- Remove corn silk and fold back the husk to cover the corn.
- Presoak the corn overnight, or soak for at least 15 minutes.
- Preheat grill to medium-high.
- Remove corn from the water and shake off excess.
- Cook cobs on the grill for 15-20 minutes, occasionally turning them.
- Remove from the grill, peel off the husks and serve with your favorite seasoning.

It is undeniable that the taste of grilled corn on the cob reminds us of a perfect summer day. A traditional recipe that can be served just with butter –the best ingredient– and sprinkled with salt and pepper, and it will be the perfect side to a classic burger, steak, BBQ chicken, or even fish!
No matter what time of the year you’re reading this, whether you are enjoying a tropical day or sitting in front of the fireplace, it is always a good time to learn how to prepare the best grilled corn on the cob. So, get your grill ready because we will give you our best tips and best corn on the cob recipe!
1. How To Pick The Best Corn For Grilling

Choosing the best corn may sound like an easy task, but it has its trick: the best corn for grilling is the freshest corn you can get. The fresher the corn, the sweeter and tender the kernels will be.
This is what you should keep in mind when picking the best corn for grilling:
- If the corn husk is bright green, wrapped tightly against the corn, and slightly damp, the corn is super fresh. Avoid choosing husks that look yellow or feel dry.
- If the corn silk is dried out or matted if it looks brown or black, the corn is older which means it will be moist or even sticky. The better looking the silk, the fresher the corn.
Keep in mind that the color of the corn it’s not important, it can be white, yellow, purple, or bi-color. Any corn can be sweet if it was correctly harvested.
Nevertheless, it’s recommended that you cook the corn a day or two after buying it. Once the corn is harvested, its sugars begin to turn into starches, making the corn tougher and less sweet.
2. To Husk, Or Not To Husk. That Is The Question

Despite being a simple recipe, there are several techniques to prepare the perfect grilled corn on the cob. The most important detail when grilling corn is to achieve a tender and juicy texture on the inside of the kernels before the outside gets burned.
We’ll explain some different methods later in this article. But to answer your question, we consider that when looking for the best way to optimize time, take advantage of all the natural resources of the cob, and get the best cooking result, not to husk is the answer:
- The husk traps heat, which allows the inside of the corn to steam, resulting in a sufficiently soft and juicy texture.
- You don’t need to break off the silk because they will get burned when grilling.
- The corn husk prevents the outsides of the kernel from charring.
A good trick to remove the husk easily when the grilled corn o the cob is ready is pulling back the husks before grilling without extracting them completely, removing some of the silk, and putting the husks back over the corn before grilling.
Another great tip to improve flavor on your grilled corn on the cob is seasoning the corn with salt and pepper (if you want, you can even add olive oil or a slick of butter) before you pull back the husks to plop them on the grill.
This will protect the corn kernels a bit while they’re grilling making them tender and adding more flavor to the corn. Nevertheless, keep in mind that this technique could roast the edges of the corn a little sometimes. And, once again, the best way to get juicy grilled corn on the cob is by not messing with the husks.
3. Detailed Method Of How To Grill Corn On The Cob

Ingredients:
- 4 ears of corn on the cob
- 2 tablespoons unsalted butter
- Kosher salt & black pepper to taste
Presoak the corn:
When grilling corn on the cob in the husks, it’s ideal to soak the corn overnight –or at least for 15 minutes before grilling. This prevents the corn from burning and also adds moisture to the interior steams while the corn is grilling.
- Peel off the corn husk without detaching it from the bottom of the cob.
- Remove corn silk and fold back the husk to cover the corn.
- Place the corn in a sink or a large bowl full of water overnight, or soak them for at least 15 minutes.
Grill the corn:
The recipe steps to grilling corn on the cob are as easy as the steps to soak it. The only thing you’ll have to question after grilling your corn is which seasoning you will choose before eating it.
- Preheat grill to medium-high heat.
- Remove corn from the water and shake off excess.
- Place the cobs on the grill, and turn with a spatula or tongs every few minutes.
- Cook cobs on the grill for 15-20 minutes total.
- Remove from the hot grill, peel off the husks and serve with butter, salt & pepper –or with your favorite seasoning.
4. Other Methods To Grill Corn

Other methods allow you to get corn on the cob and obtain results as tender and sweet corn as the recipe we previously explained. No matter the method you decide to follow, make sure you have the right apron for you. You’ll be working with a lot of butter and seasonings, so it’s better to be prepared.
Each recipe of grilling corn has its advantages. Here we provide a few different methods that you can benefit from, either because they require less attention and that allows you to focus on other dishes you may need to prepare. Or because they’re simpler or easier.
Grilling Corn in Foil
- Preheat your grill to medium-high heat as well.
- Remove the husk completely from the ears of corn.
- Rub down the corn with unsalted butter (this adds flavor and prevents it to stick to the foil).
- Lay the ears of corn on the foil and season with kosher salt & pepper.
- Roll up the ends of the foil over the corn on the cob.
- Place on a hot grill, you can put it on the upper rack of your grill.
- Grill for about 20-30 minutes, flipping the corn oftentimes.
- Remove the corn on the cob from the foil carefully.
- Serve to add some more unsalted butter of the seasoning you like.
Grilling Husked Corn
- Remove the corn husk and silks completely.
- Preheat the grill to medium-high heat.
- Place the corn on the grill and cook, turning every 3 to 5 minutes, for 15 minutes.
- Remove from the grill and serve with desired toppings and seasoning.
Grilling Corn in the Oven
- Preheat the oven to 350 F.
- Peel off the husk and corn silk.
- Wrap the corn in aluminum foil with your preferred mixed seasoning inside the foil.
- Turn occasionally for about 25 minutes.
- Remove from the oven, unwrap carefully and slather with toppings of your choice. If you want that charcoal taste, finish it on a charcoal grill over hot coals.
You can also find more details about this last recipe here.
5. Best Seasonings For Grilled Corn

We already learned how to choose the best corn; we already learned different methods to grill corn on the cob, but now we’ll take a look at the different seasonings we can use for grilled corn on the cob.
No matter if you’re serving your corn on the cob with cheeseburgers, veggie tacos, jackfruit sandwiches, or portobello mushroom burgers –just to name a few; the possibilities or seasonings are endless. This will always depend on the kind of flavors you love in your food. But we’ll give you some recommendations to fill your plate with delicious options.
- Mexican seasoning. Mix chili, cumin, and lime, and add some parmesan cheese to top your corn on the cob.
- Korean miso dipping sauce. Whisk together gochujang, mayo, lemon juice, miso, cilantro, and scallions. Set aside.
- Sweet and spicy sauce. Melt together butter, brown sugar, a little bit of chipotle chili powder, and a pinch of cayenne. Brush over the corn before serving.
- Vegan ranch. Place cashews, cucumber, water, lemon juice, garlic powder, onion powder, salt & black pepper and blend at high speed until smooth and creamy.
- Italian topping. Use Italian seasoning and parmesan cheese, mix it with garlic butter and it’s ready to serve.
- Lemon dill butter. Cream compound butter with a fork, add sea salt & black pepper, and lemon juice. Mix well and add it to the top of the corn after grilling.
- Cajun seasoning. Mix melted butter with Cajun seasoning and brush it over the corn right after grilling.
- Chili coconut and fish dipping sauce. Combine mayo, fish sauce, smoked paprika, sugar, chili sauce, garlic, lime juice, and cilantro leaves. Set aside.
6. Tips To Store Your Grilled Corn On The Cob

Let’s be honest, at this point, chances are you have no leftovers. But in case you do, refrigerate leftover grilled corn on the cob tightly wrapped in plastic or foil for 3 to 5 days. No more than that. You can also use these leftovers for salsa, a relish, and even for corn salad.
To reheat, place the corn on a parchment-lined baking sheet. Reheat at 350 F, in an oven for 15 minutes. Flipping the corn occasionally.
To freeze, in case there’s that much amount of grilled corn on the cob left, place your corn on a cutting board and cut grilled corn away from the cob and freeze the corn kernels in a ziptop bag or a leftover bowl. It can last up to 1 month.
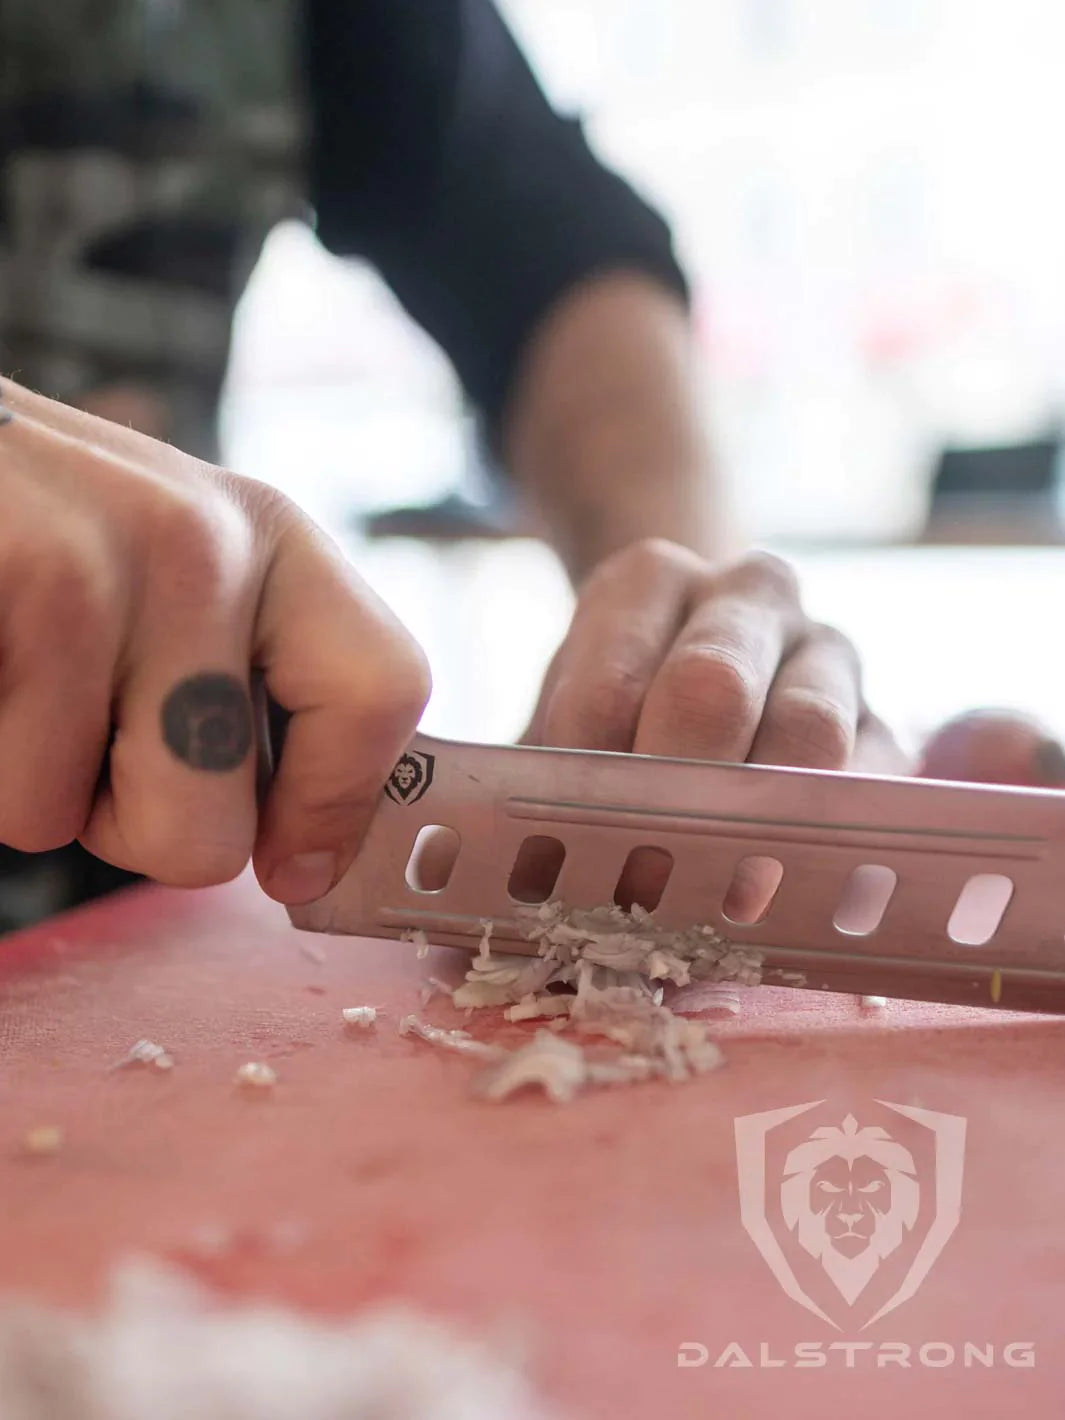
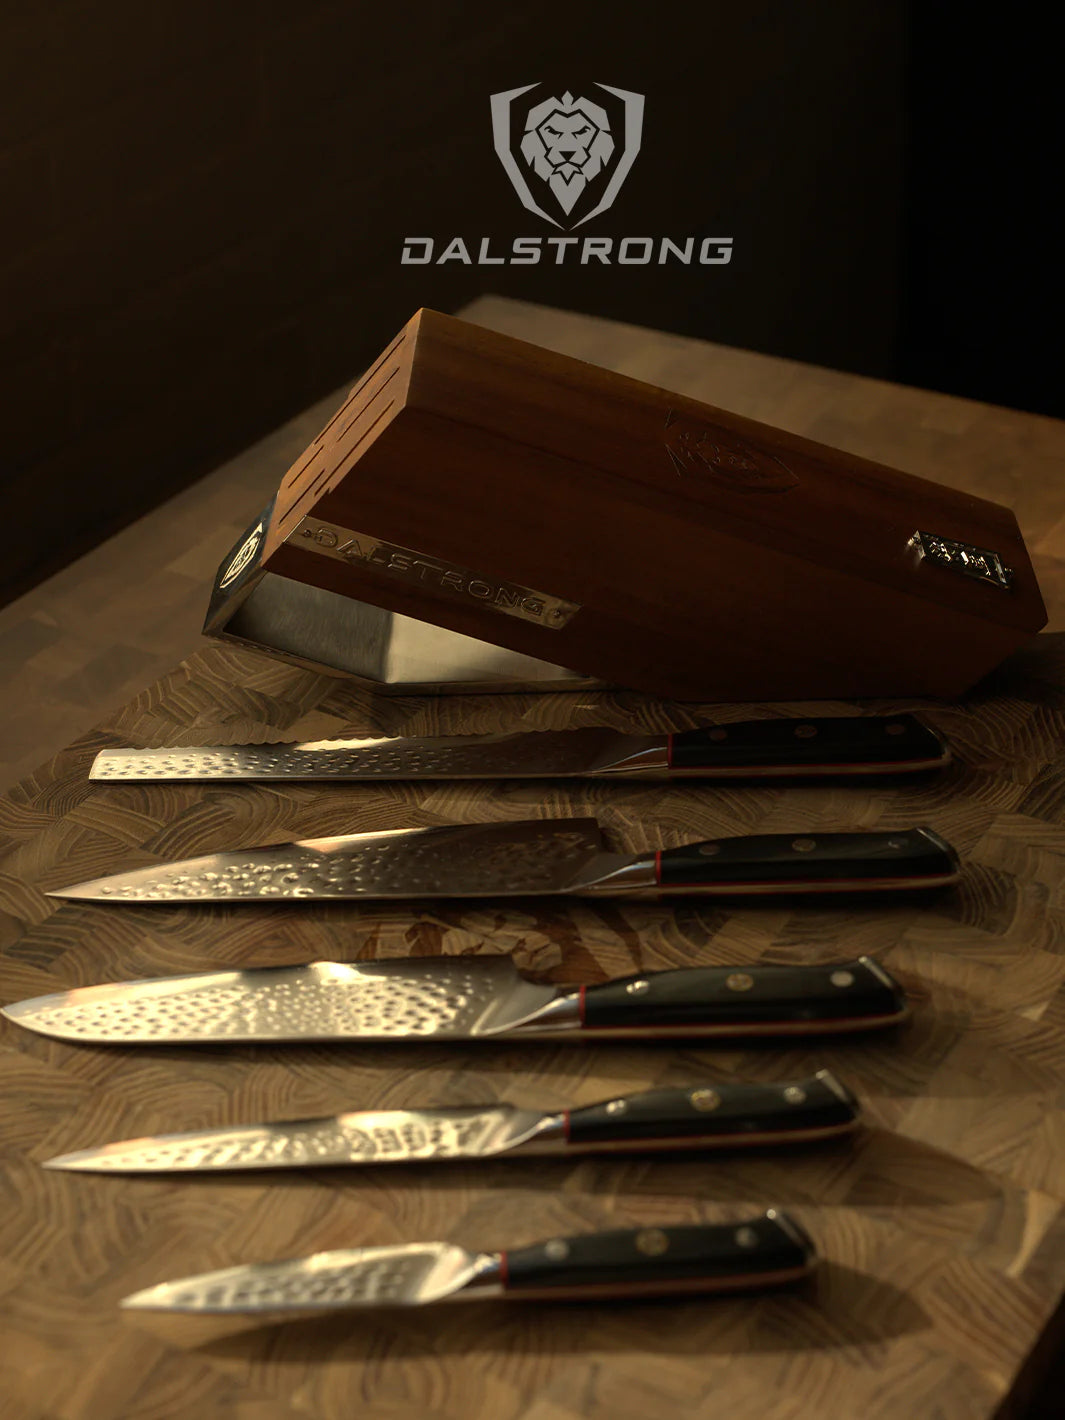
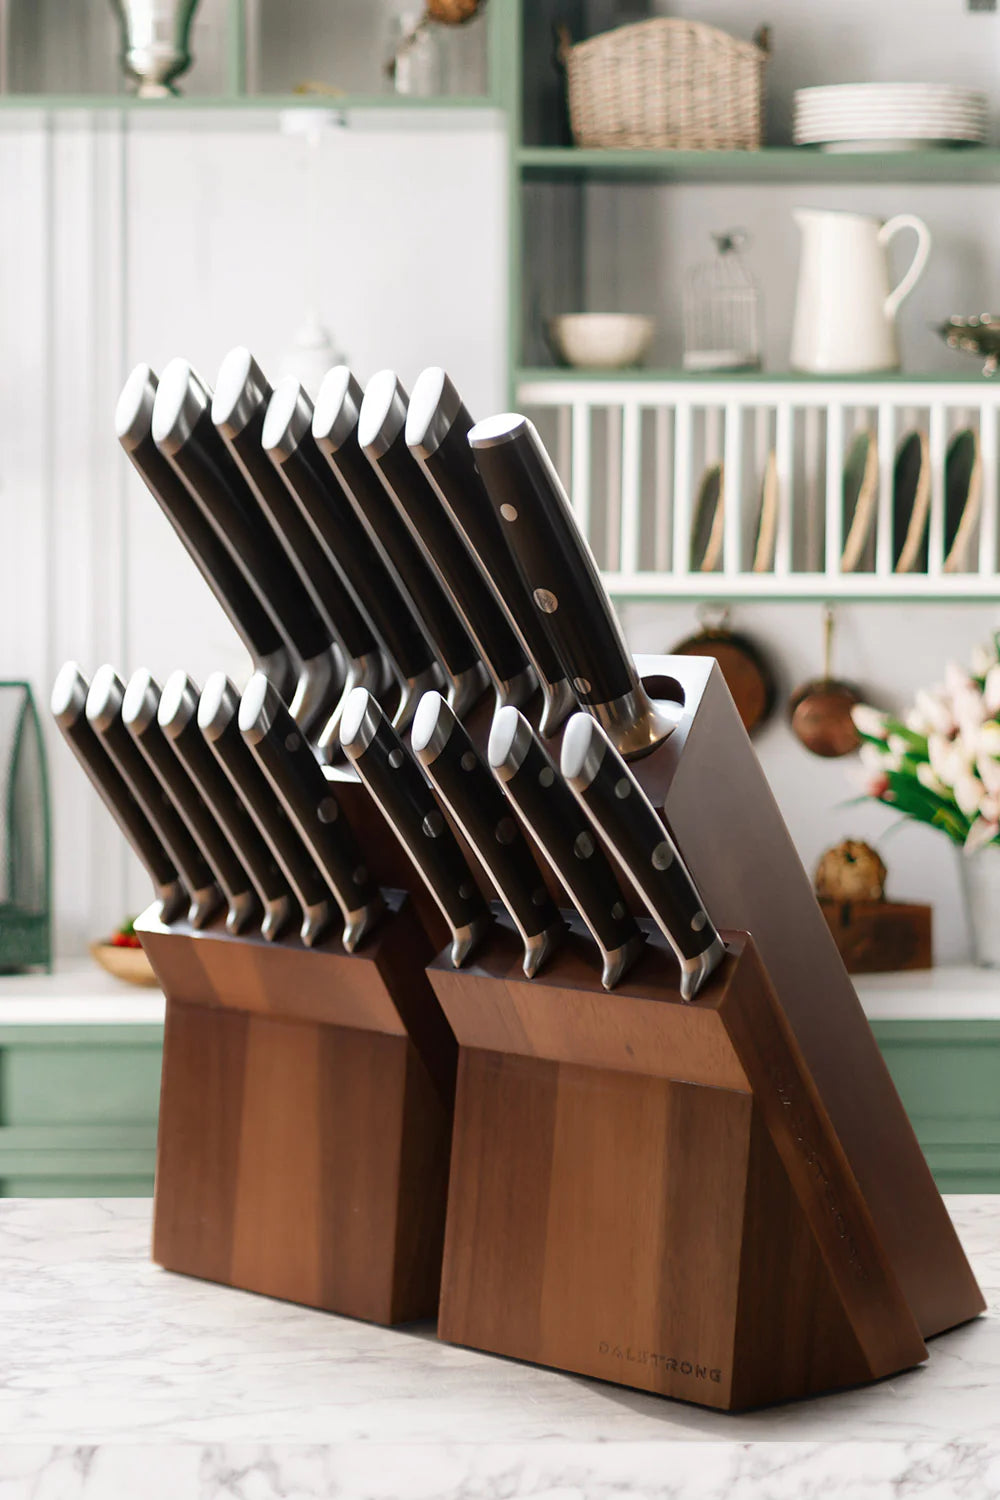
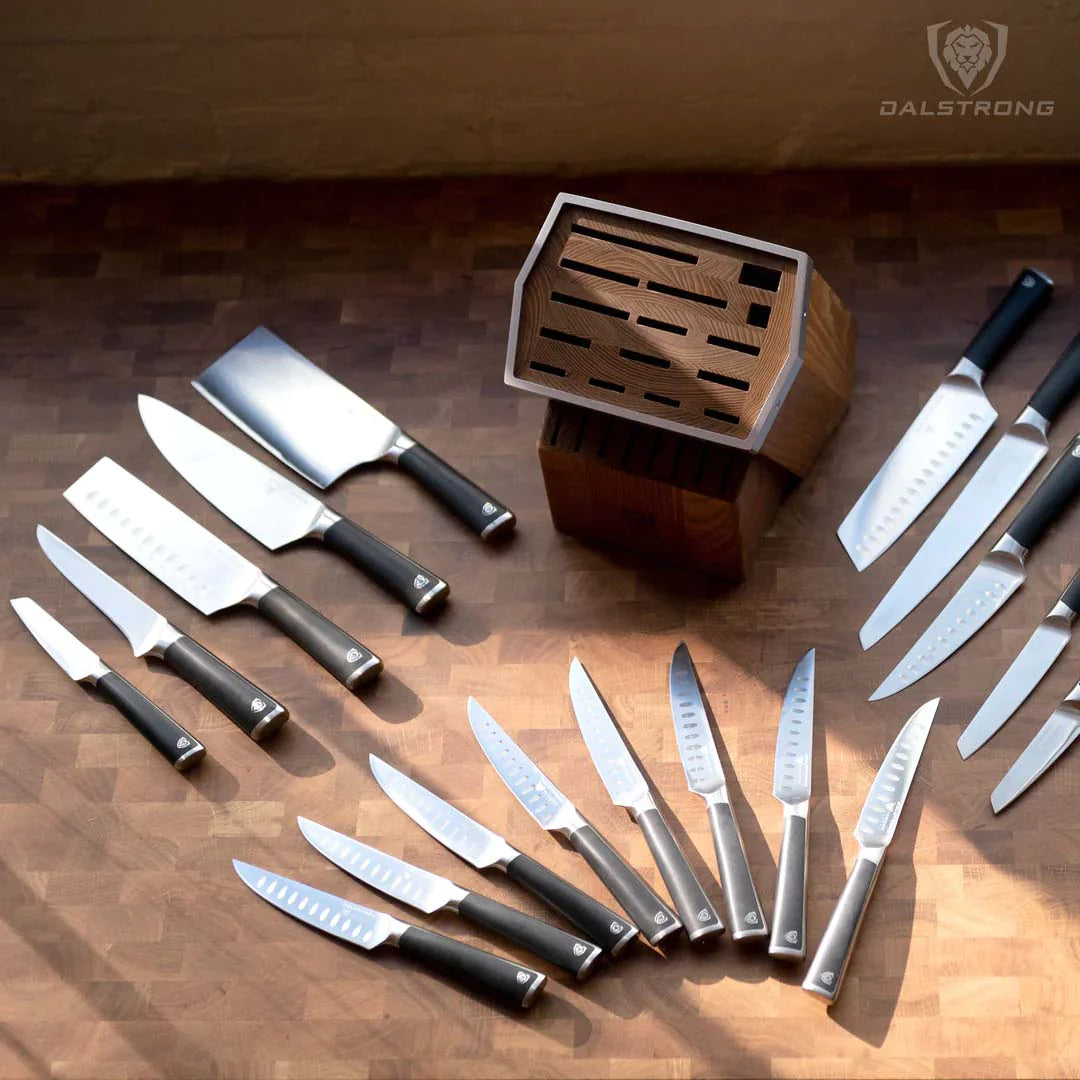
7. Best Utensils To Make Grilled Corn On The Cob
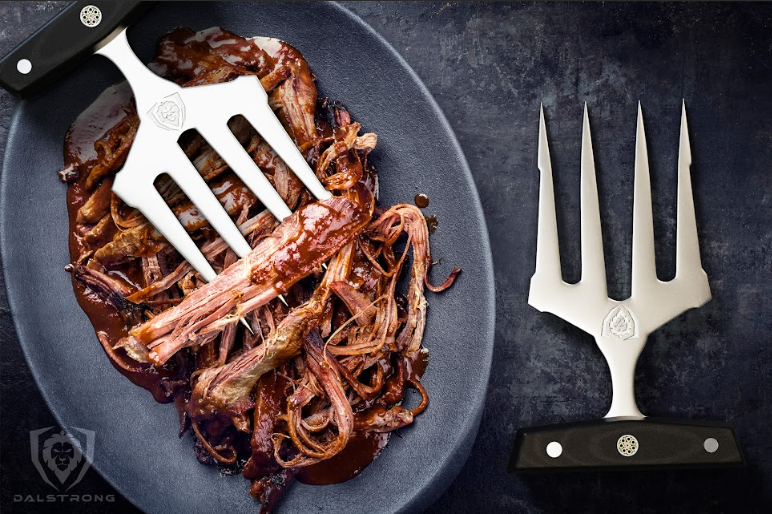
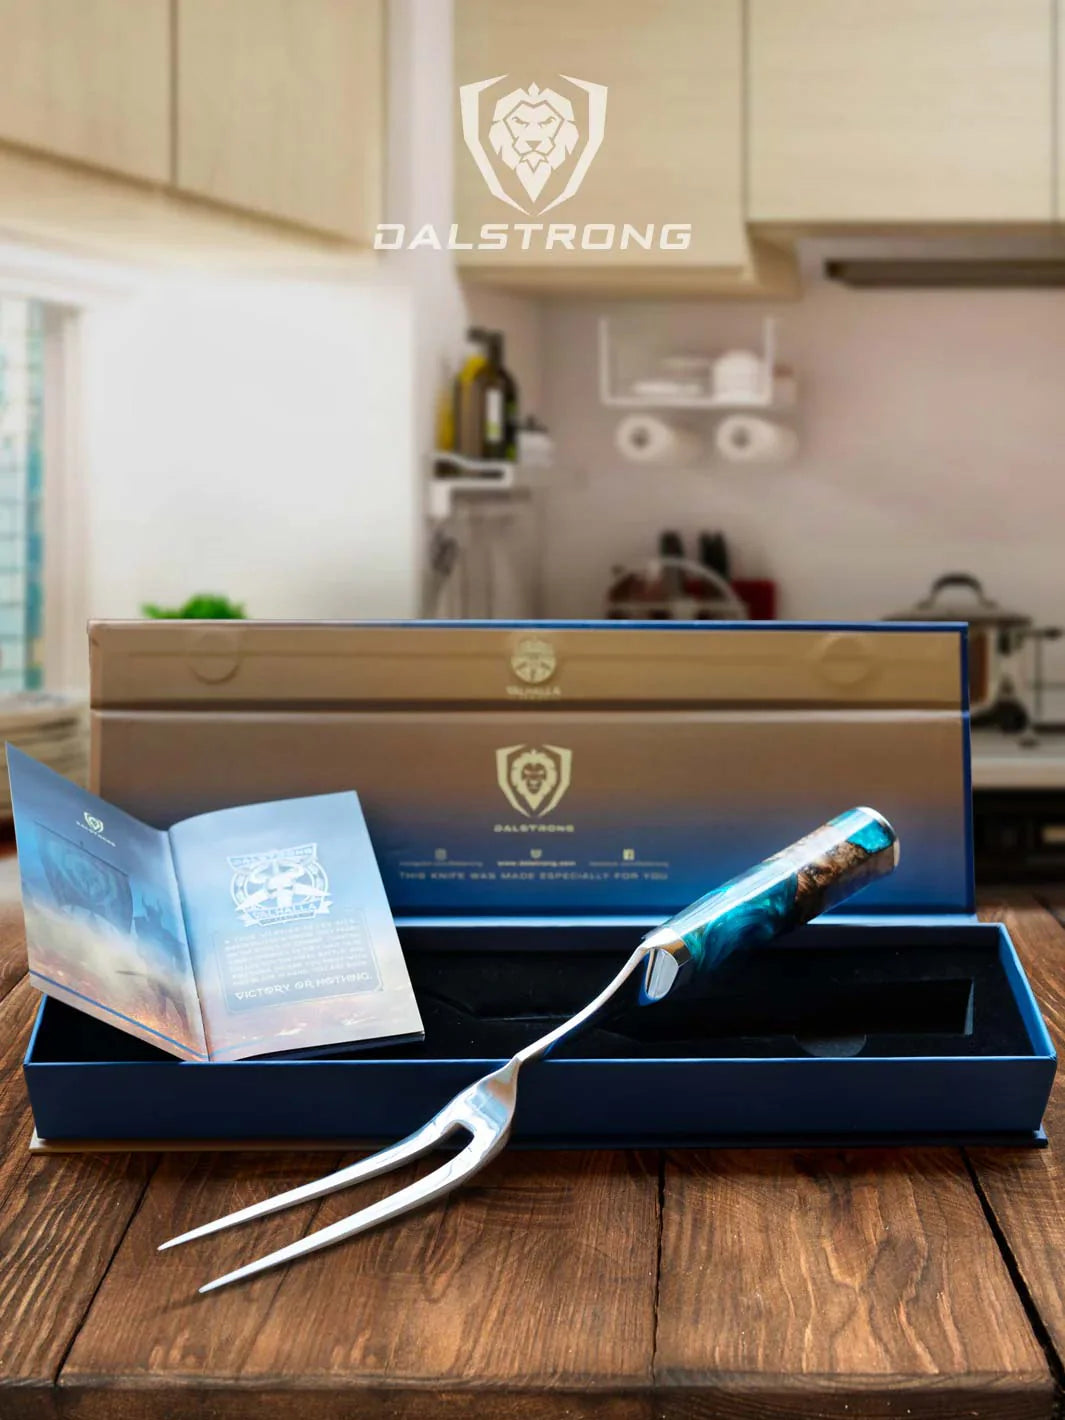
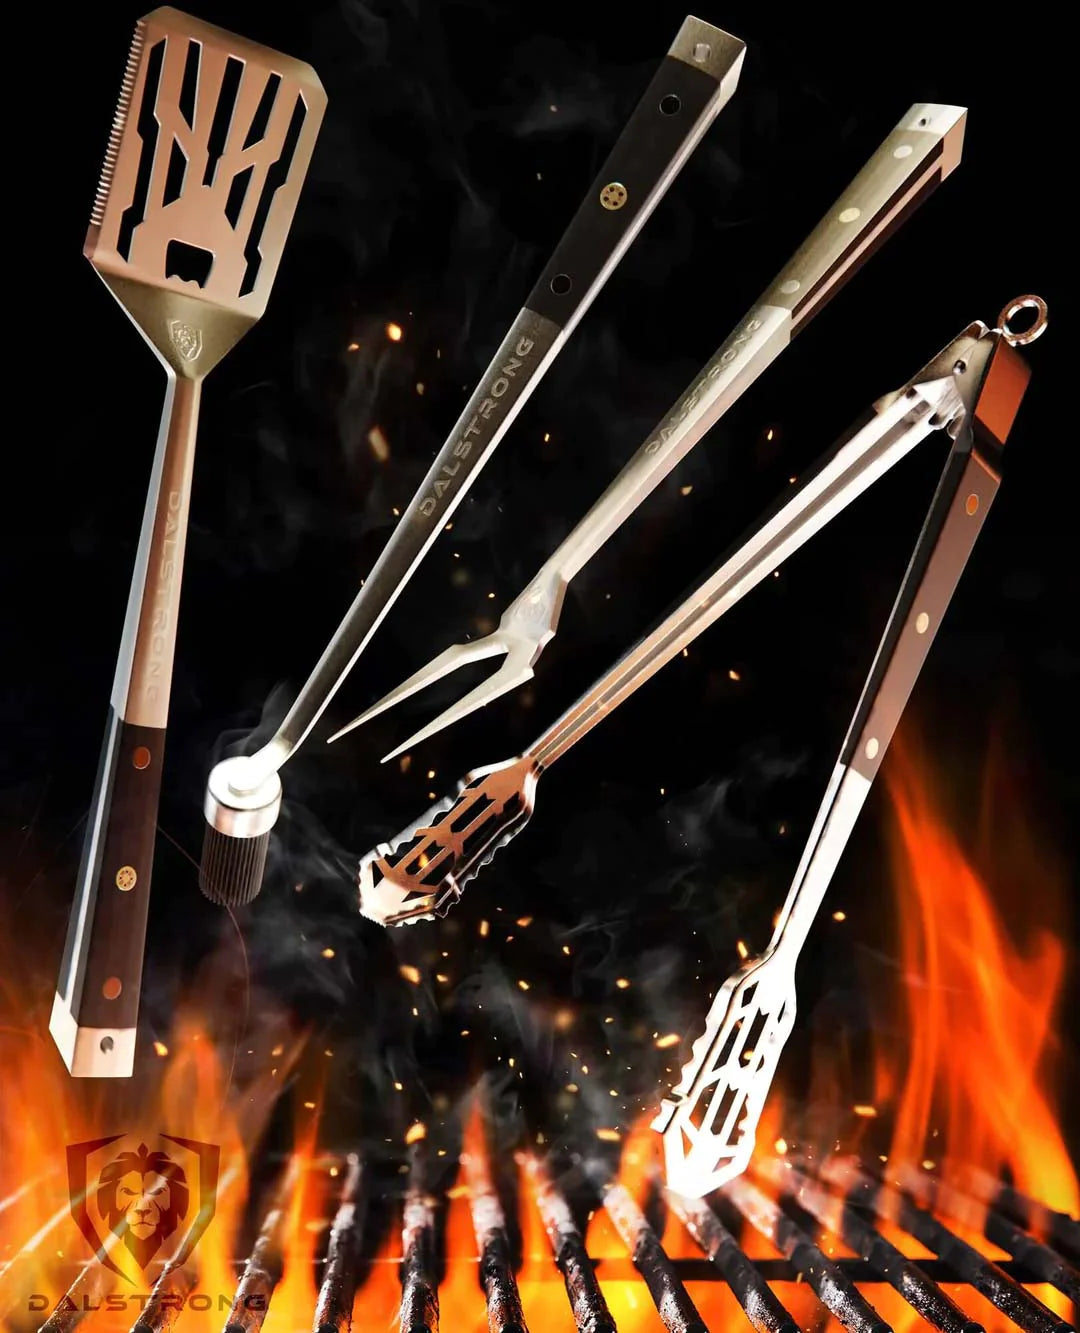
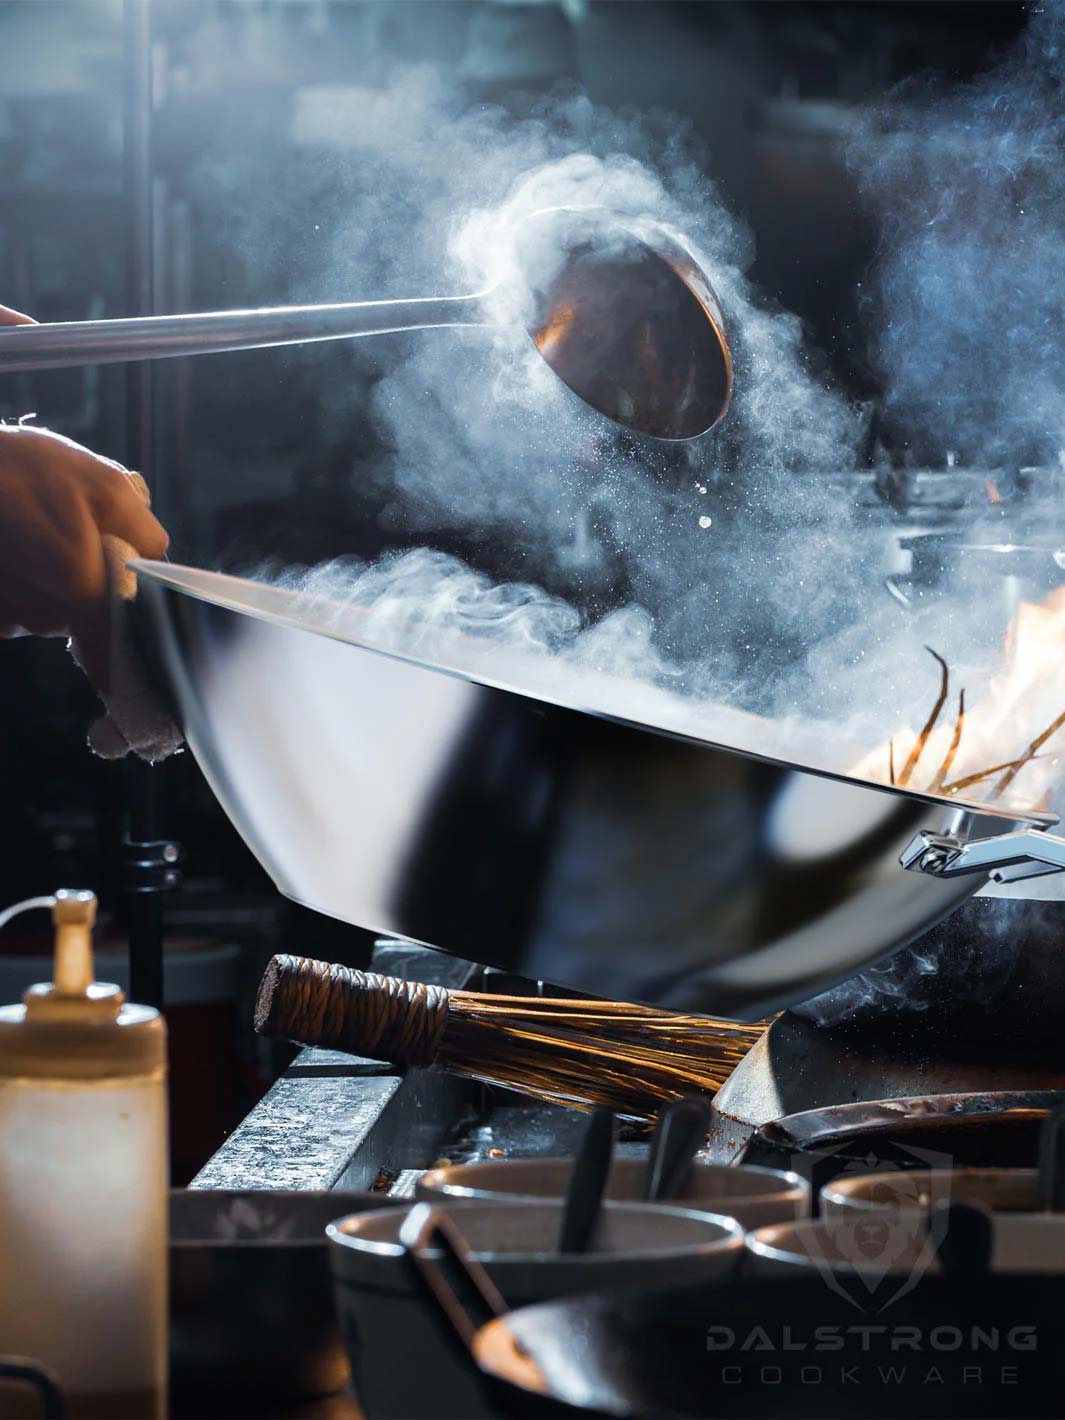
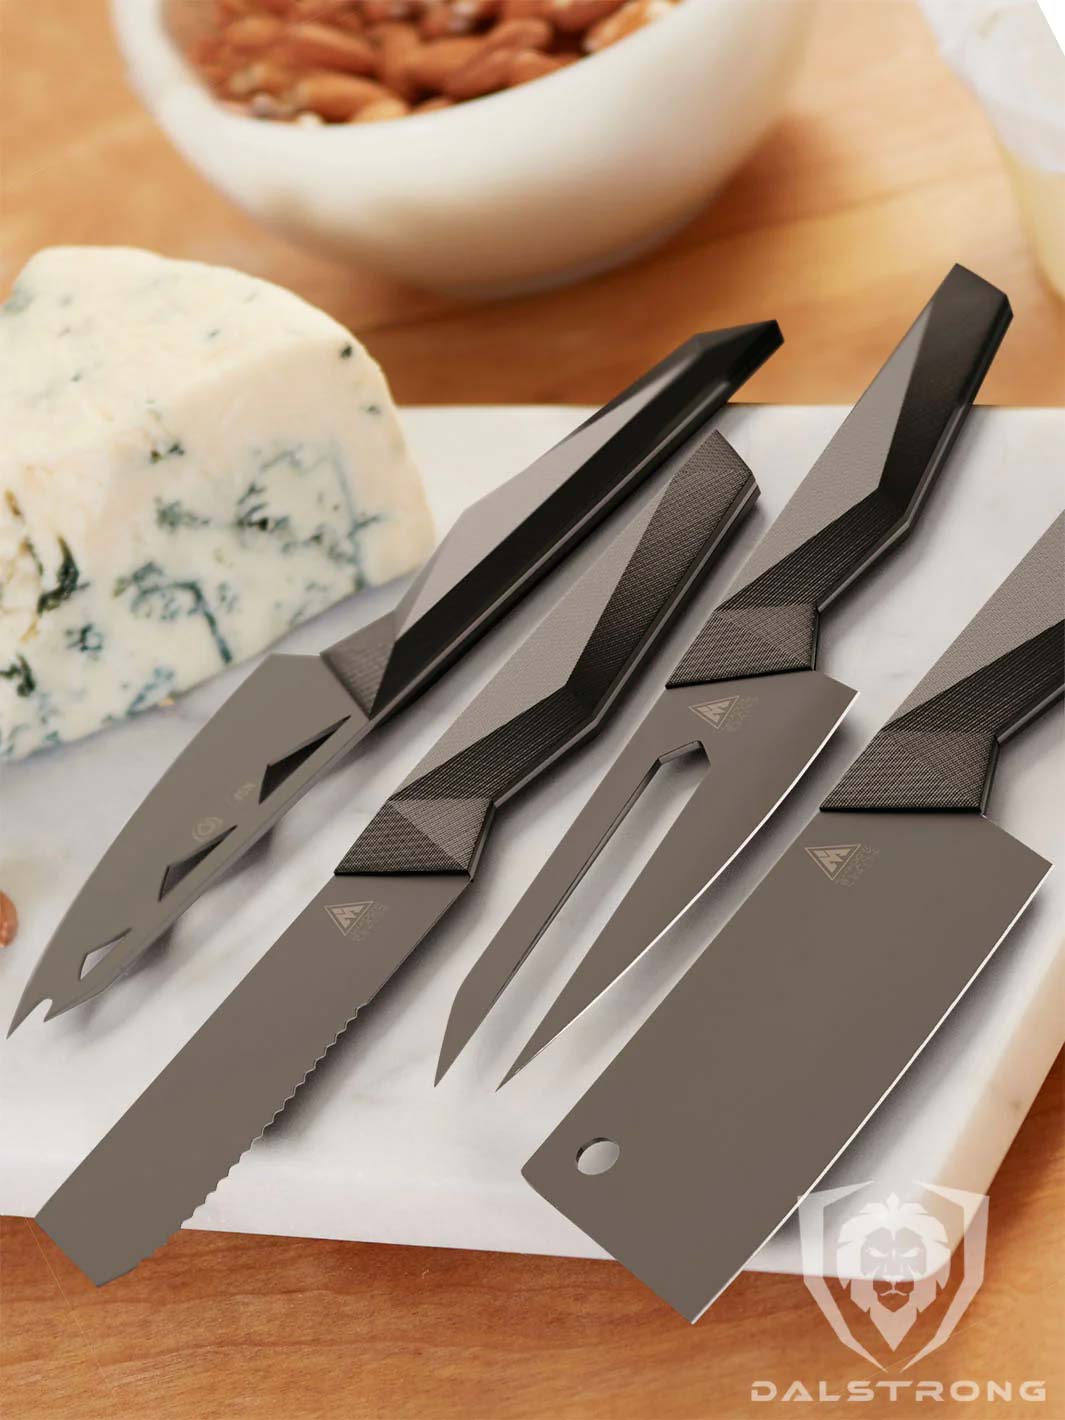
1. Premium Grill Kit - 4 Piece - Tongs, Spatula, Fork, Silicone Basting Brush
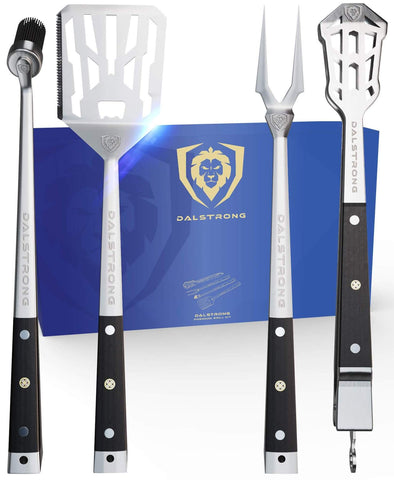
This grill kit will make you feel ready to fire up the grill. It will be your essential toolkit to grill like the pros.
PROS:
- Each tool is crafted out of premium stainless steel and a G10 handle that is highly impervious to heat, cold, and moisture with military strength.
- The razor-sharp Grilling Fork is perfect for turning and lifting grilled fruits and vegetables.
- Cleans easily for low maintenance.
- Complete with Dalstrong’s lifetime warranty on defects.
CONS:
- Many would prefer a more innovative design.
- You might need to buy some chef knives to complete your perfect kit.
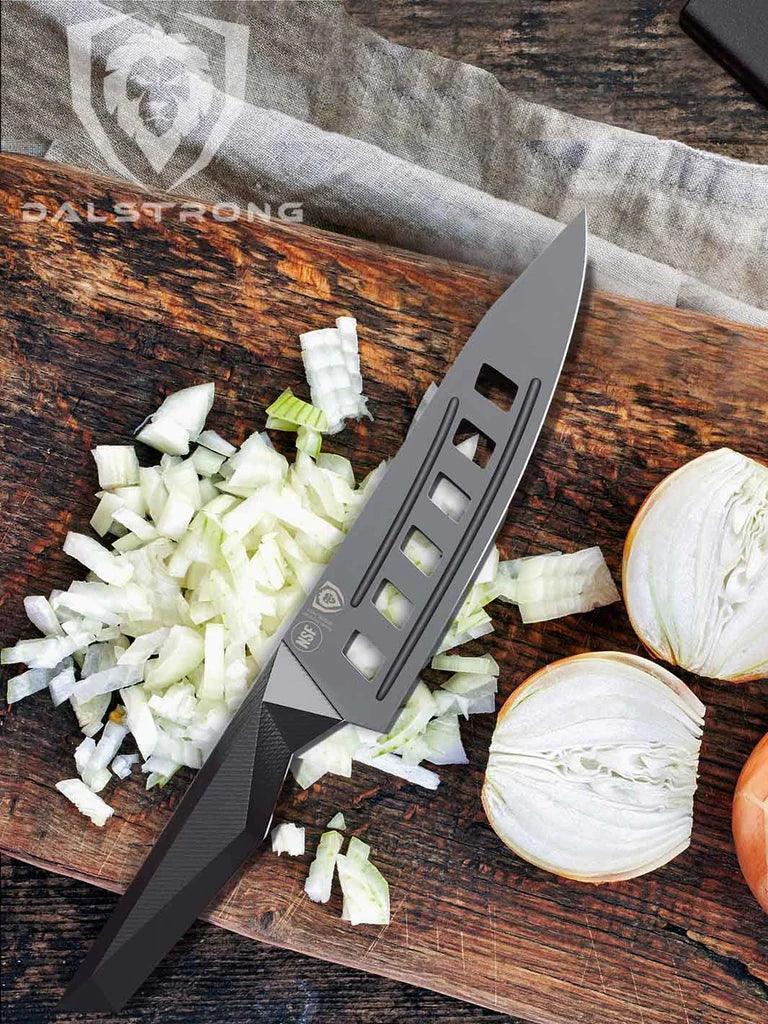
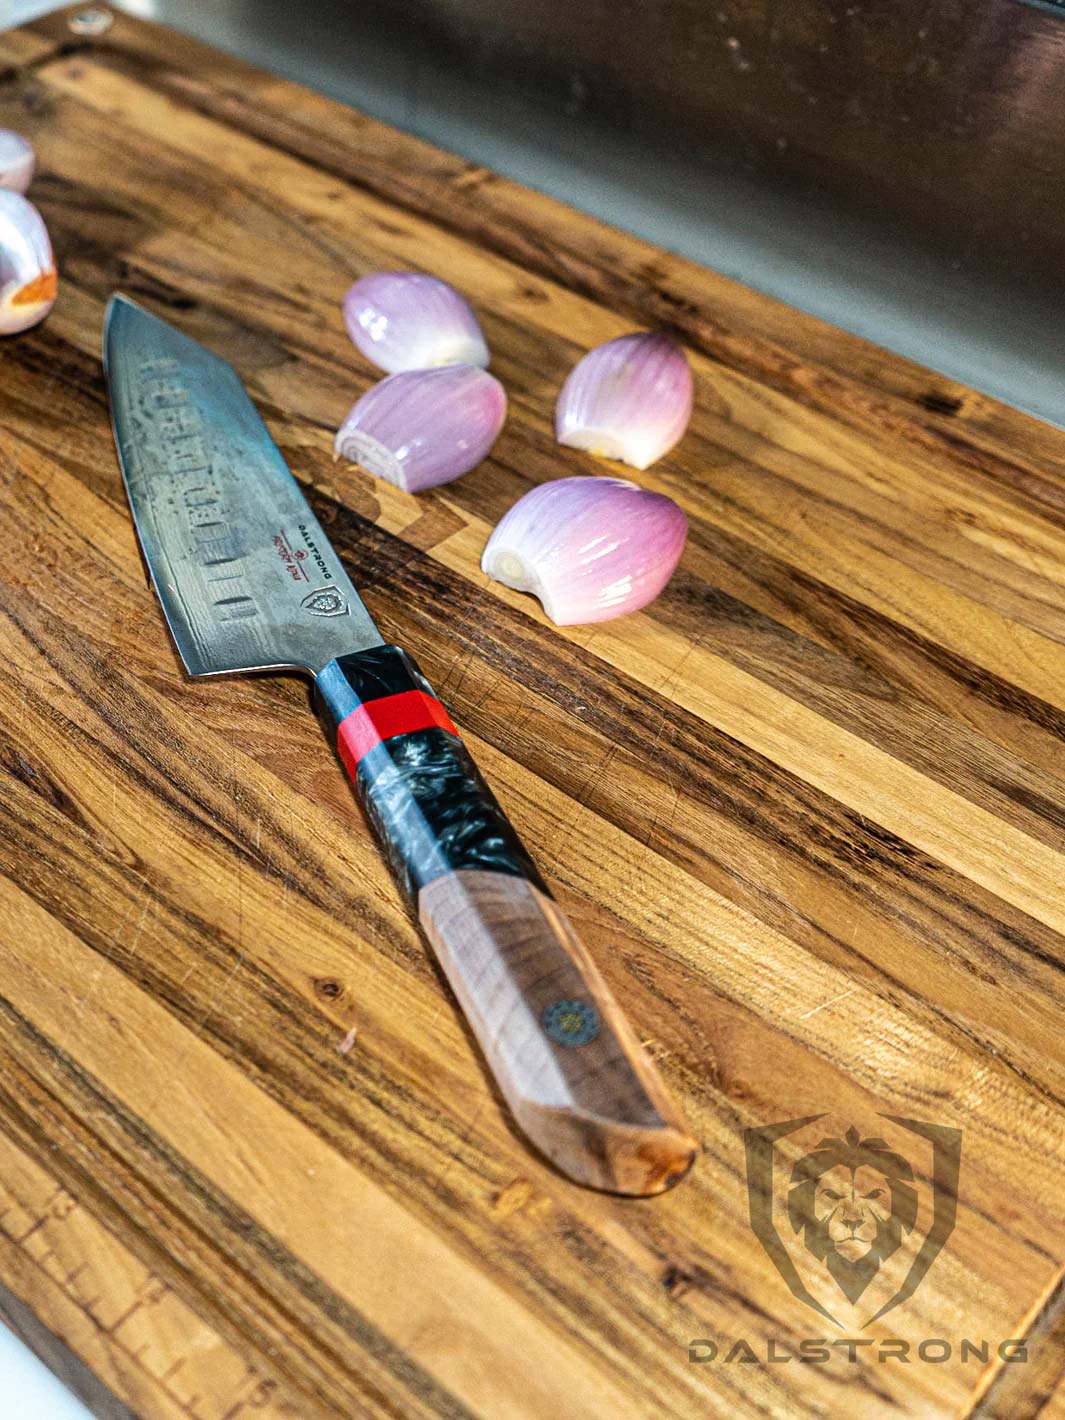
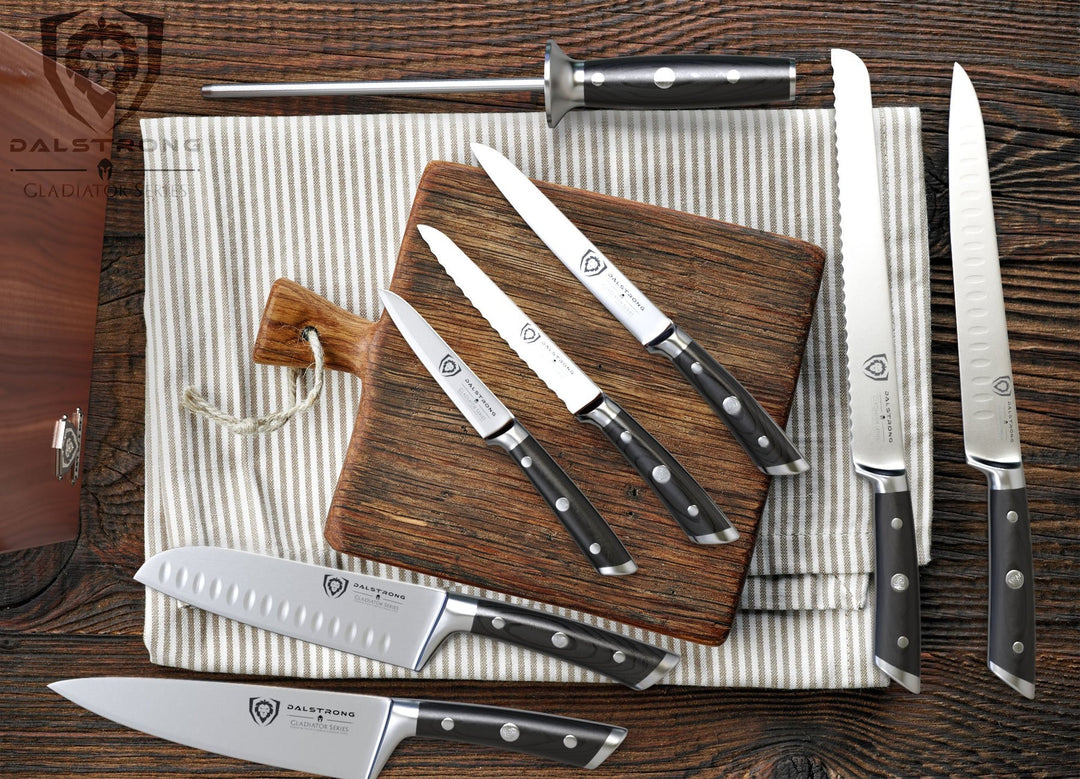
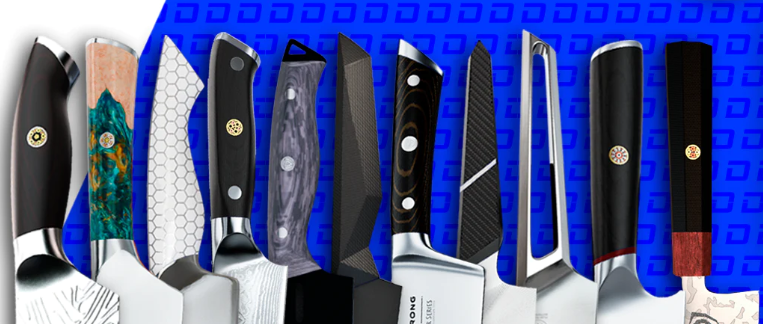
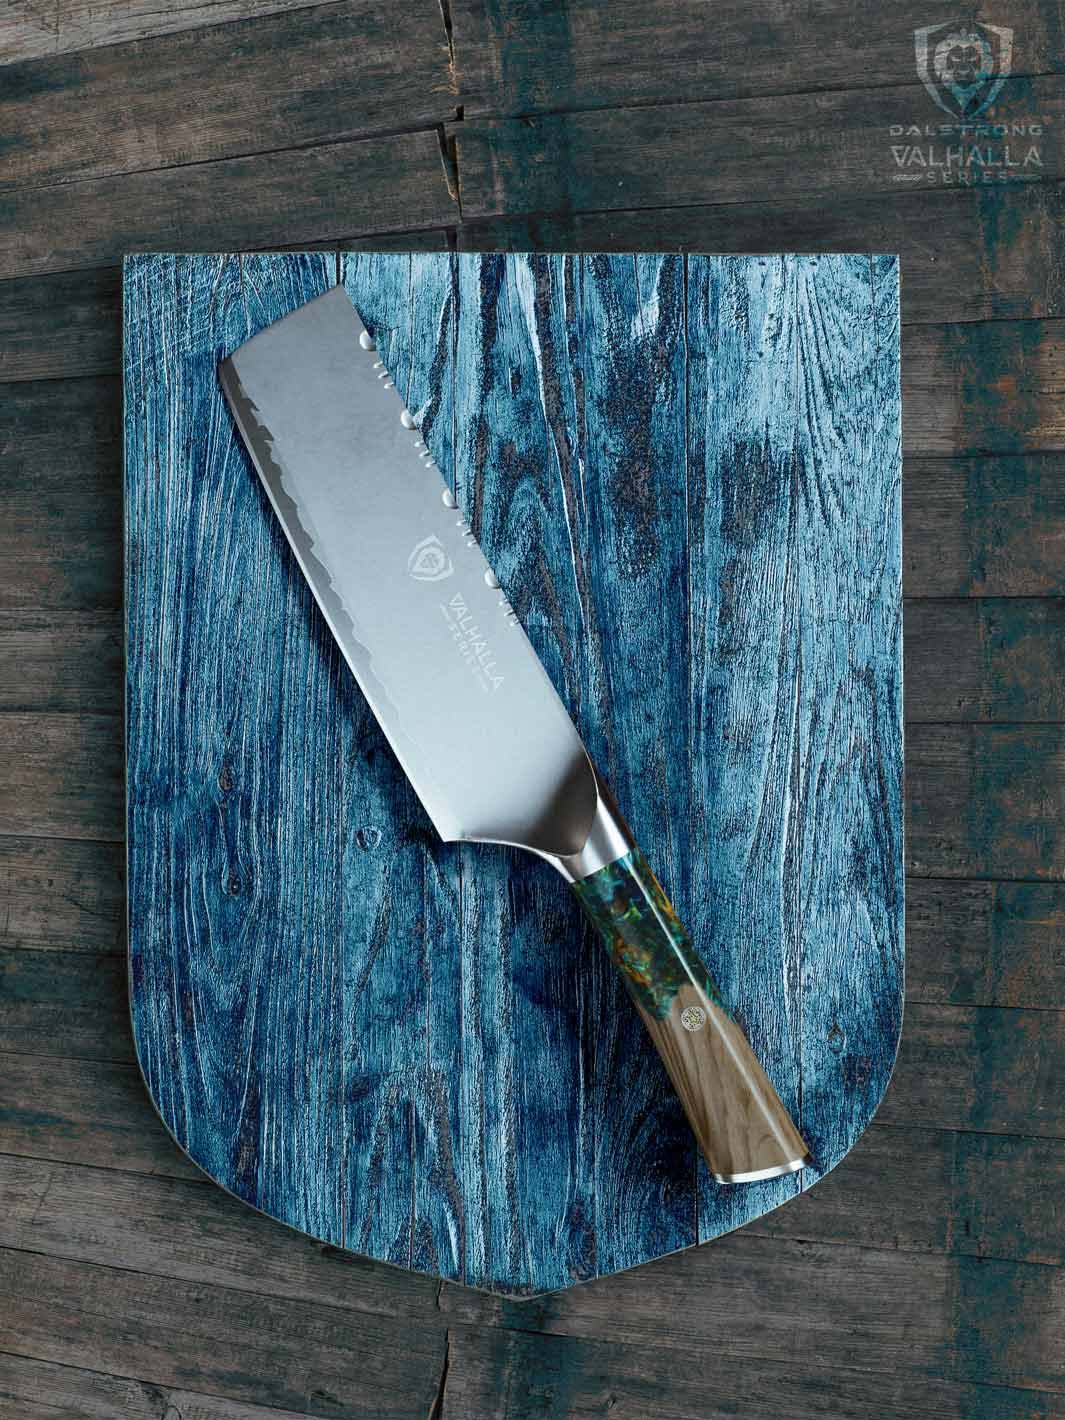
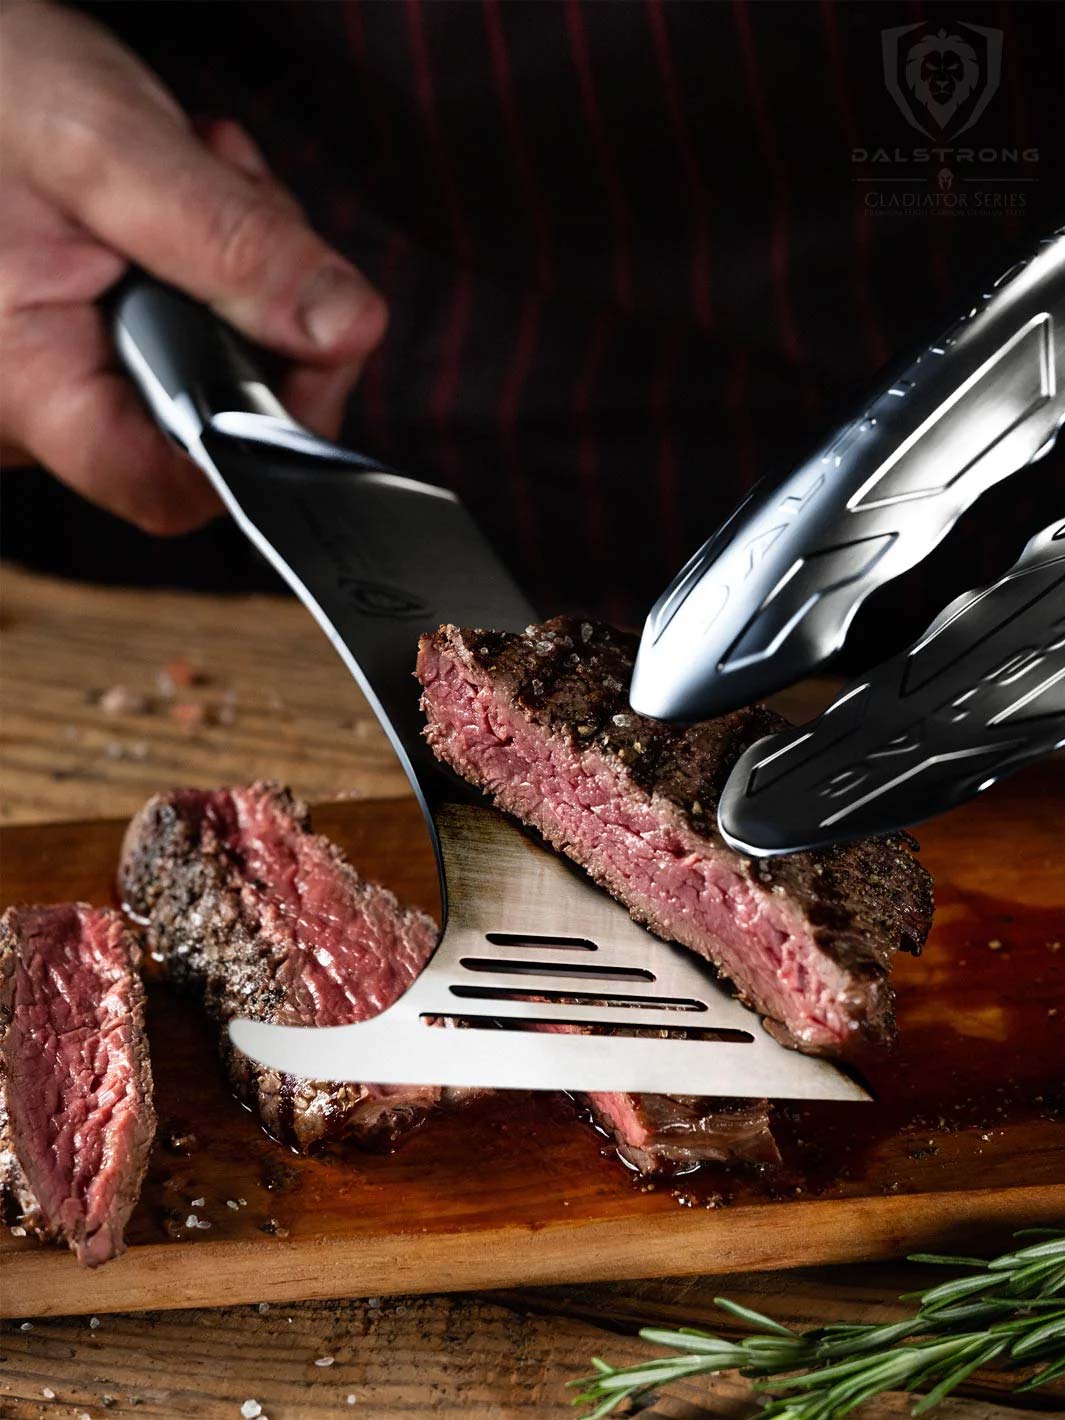
2. Spatula Knife Hybrid Utensil 8" | Gladiator Series

Crafted to challenge your idea of the common kitchen spatula, this high-carbon, stainless steel blade is perfect for carving through meats, veggies, cakes, and more. If a flat top is your arena, we can’t imagine a more convenient and effective tool.
PROS:
- Military-grade G10 handle for life-long durability.
- Mirror polished, finger protective bolster provides for a perfectly engineered balance with just the right heft.
- Ergonomic handle shape for maximum comfort, grip, and maneuverability.
CONS:
- You may also prefer a traditional spatula.
- Some cookers would prefer a classic 8” knife.
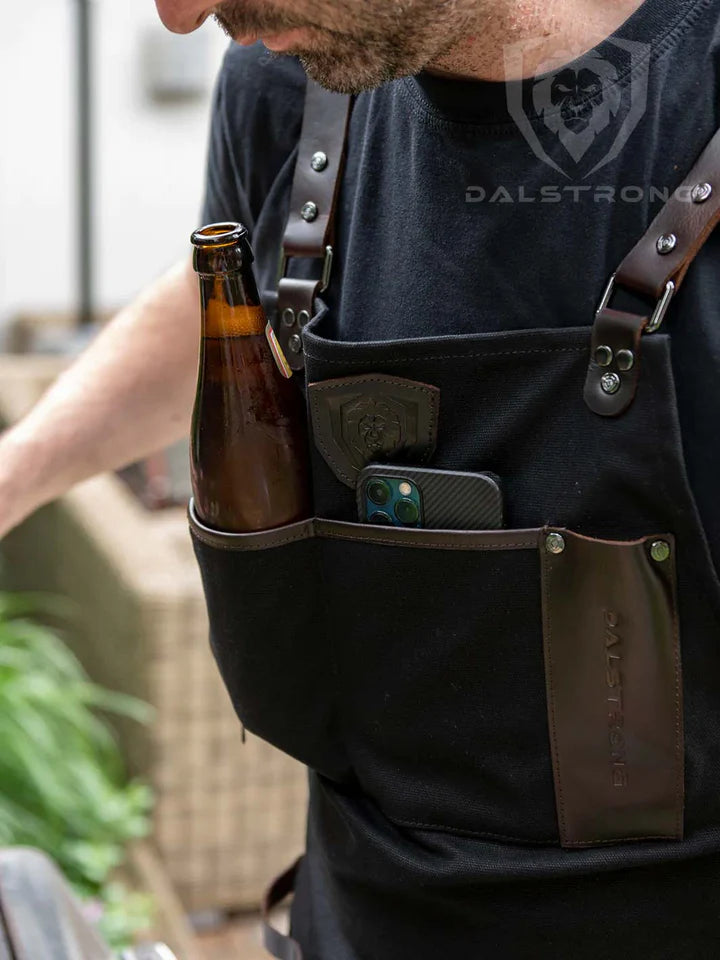
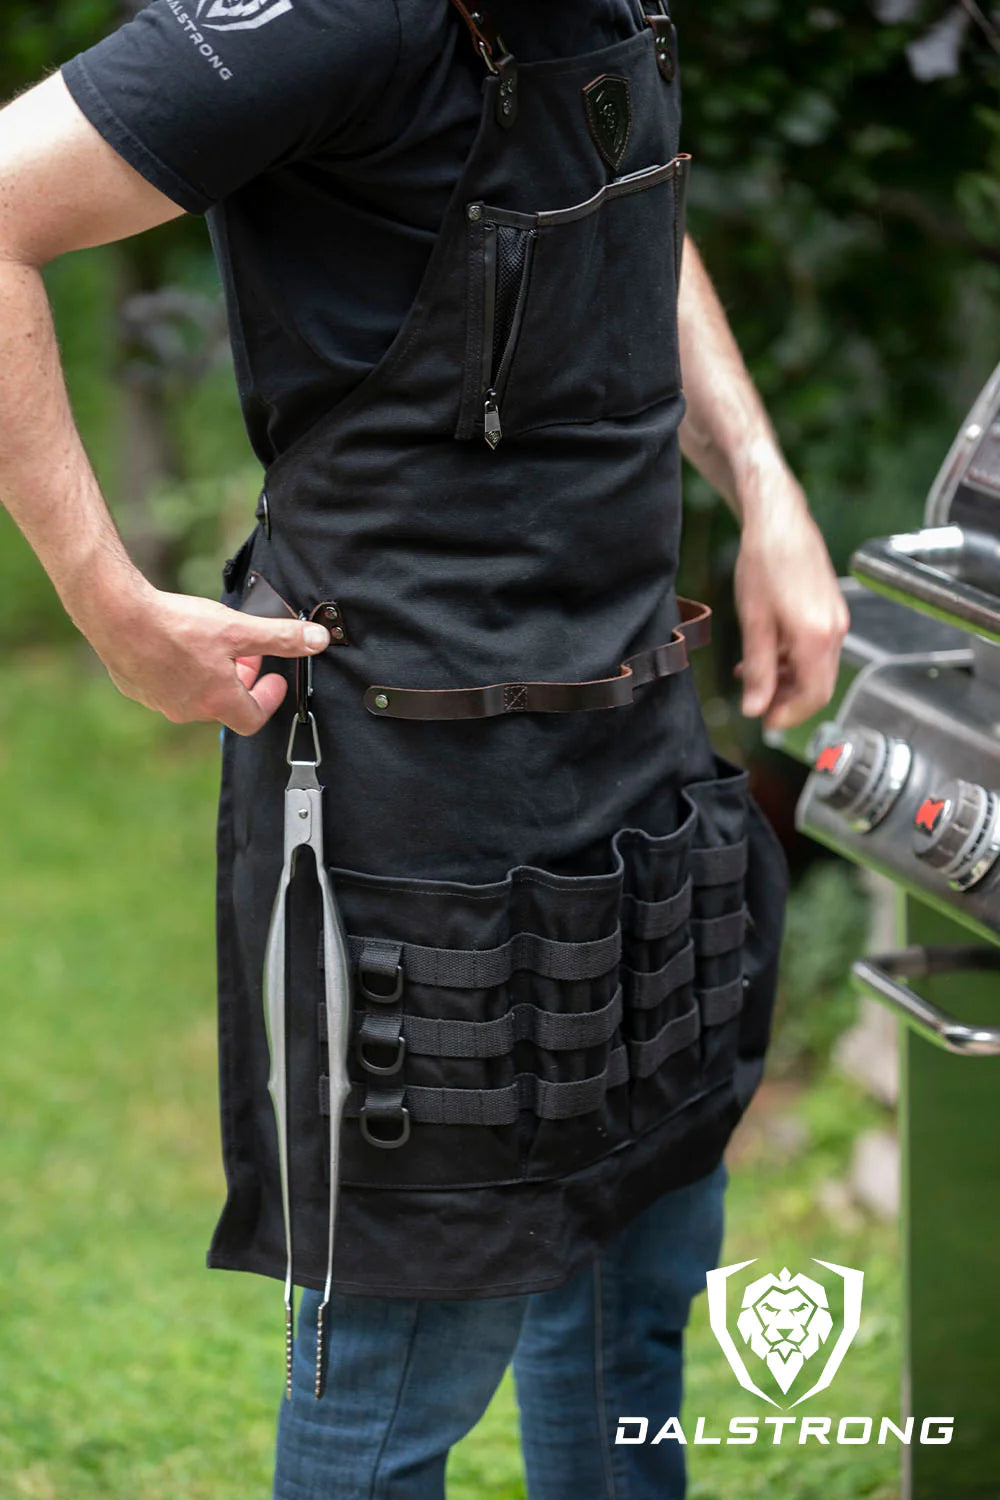
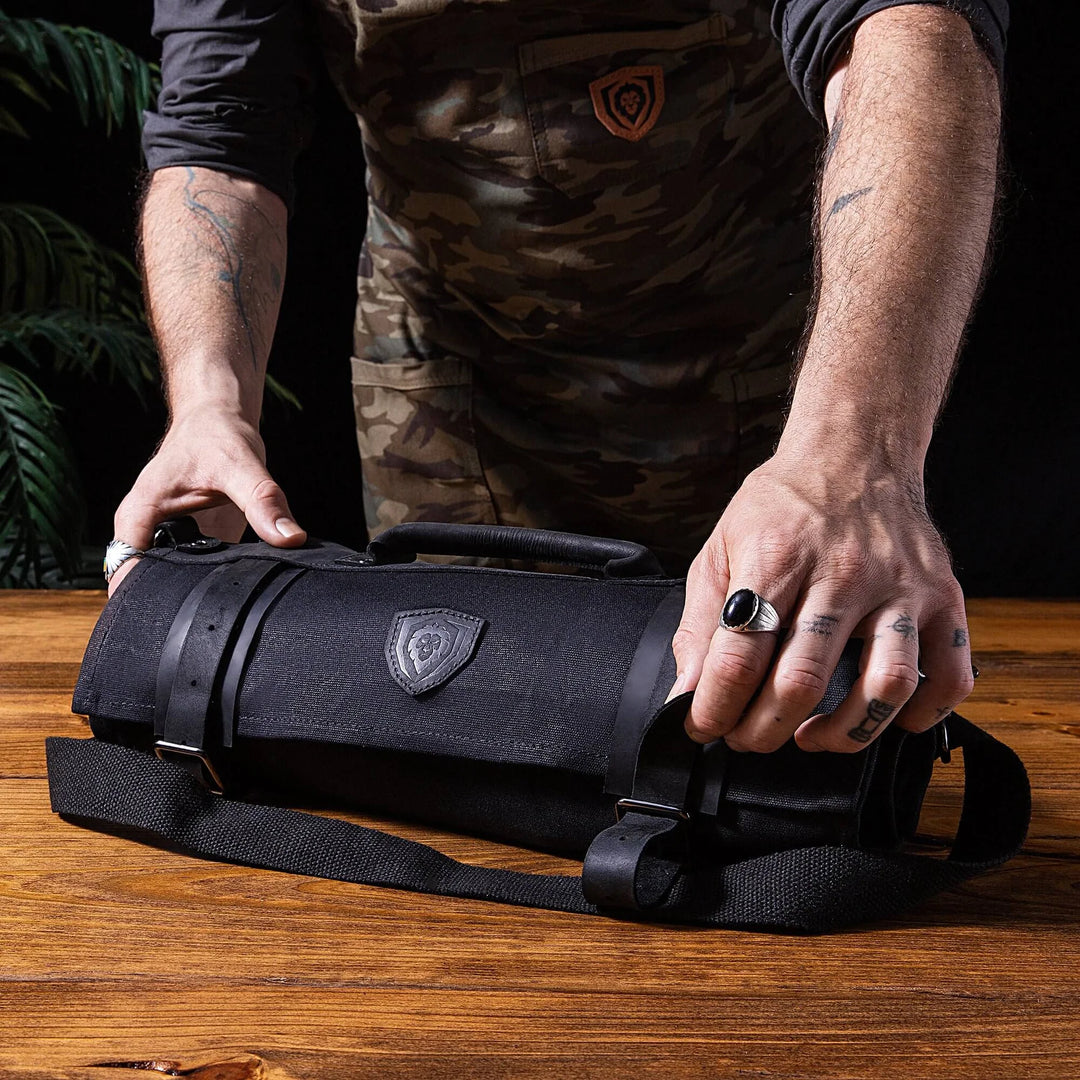
3. The Culinary Commander | Top-Grain Leather Apron

Designed & built for the roughest, toughest culinary environments. This low-maintenance apron is a stylish and functional essential for any culinary space, perfect to hold all of your most-used tools and essentials for expedited access and efficiency.
PROS:
- Luxurious cross-back harness equipped with extra-thick buckles for unparalleled strength.
- Built to last, feel good, & work alongside you in the kitchen, butchery, & other professional culinary environments.
- Equipped with 3 easy-access chest pockets, 1 extra-large knife pocket for your culinary weapon of choice, and 1 easy-access towel and tong loop.
CONS:
- Some cookers may prefer another fabric for their aprons.
- It might not be the most comfortable apron for everyday use.
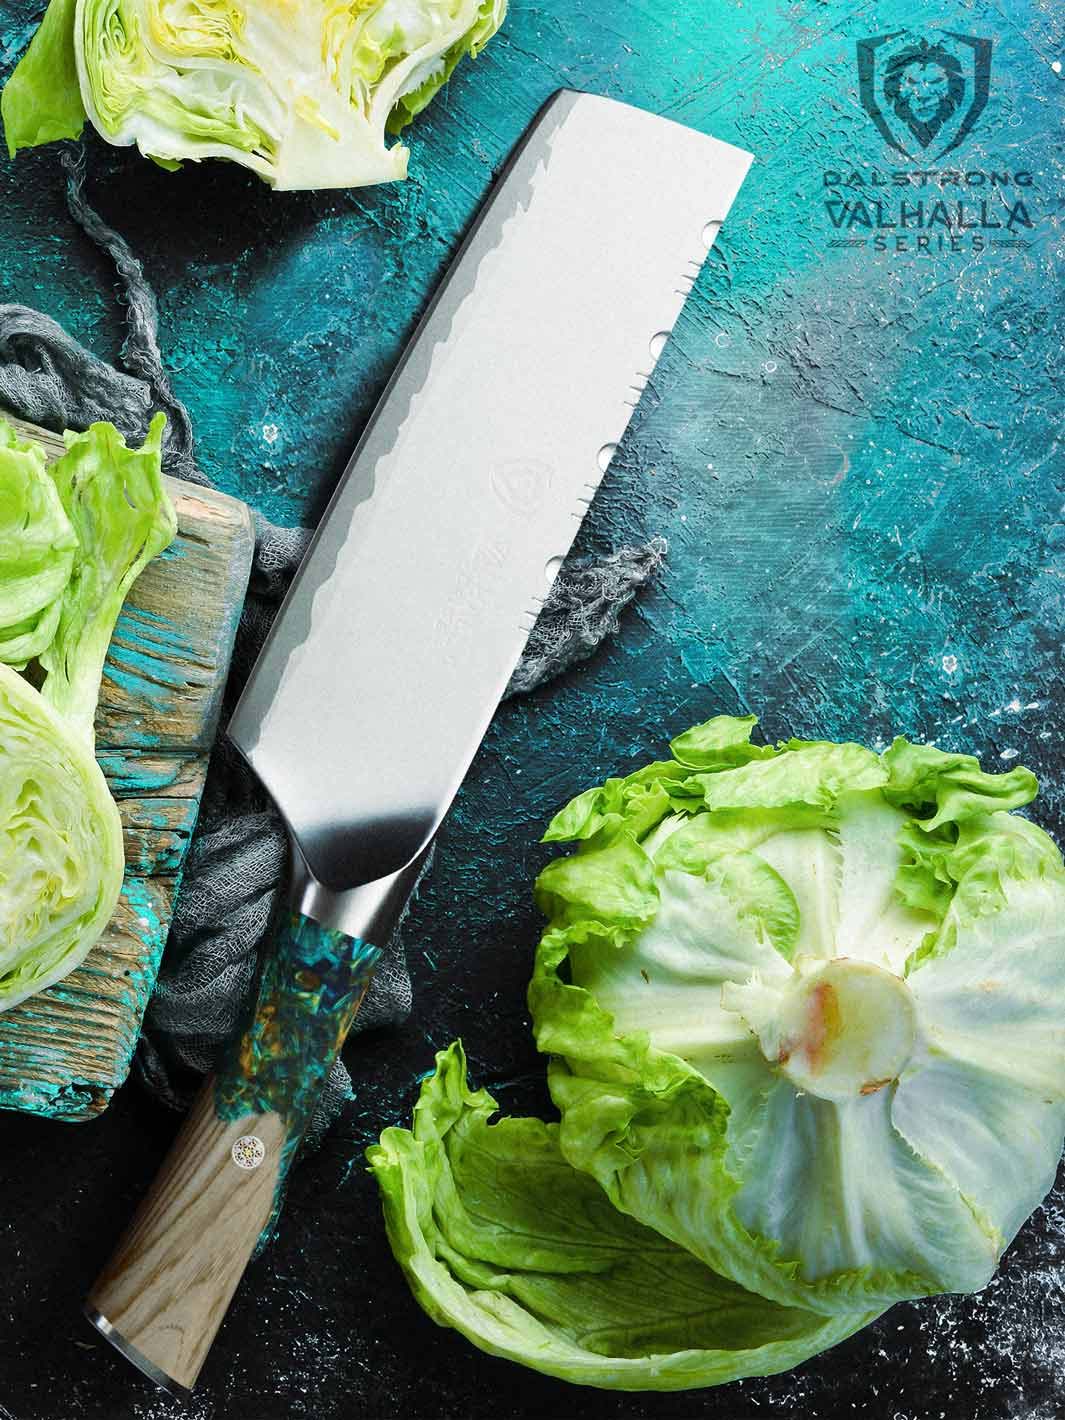
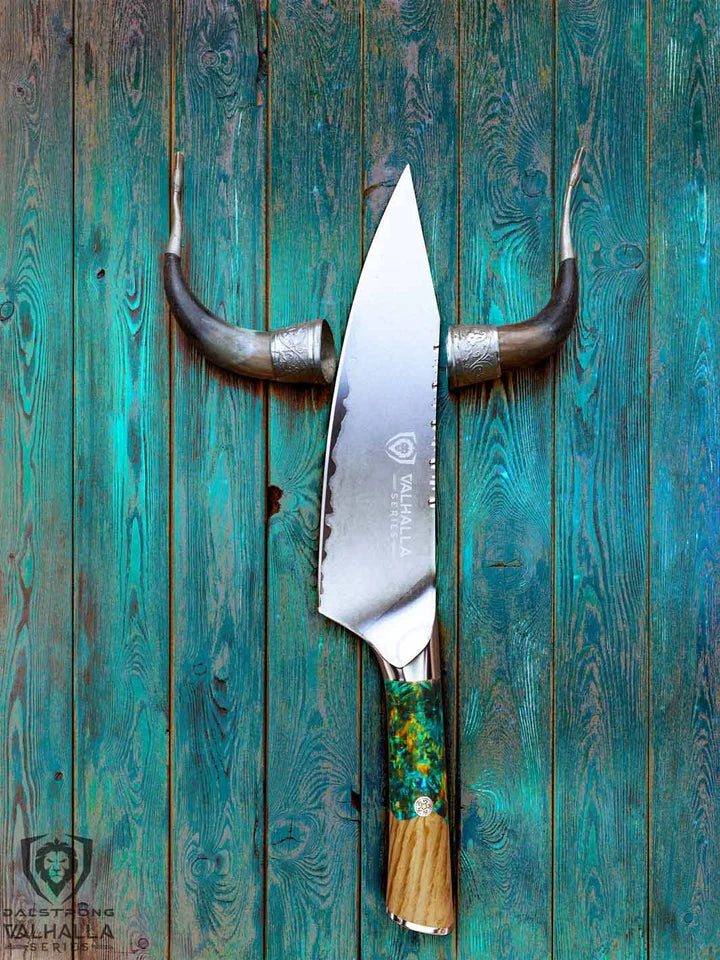
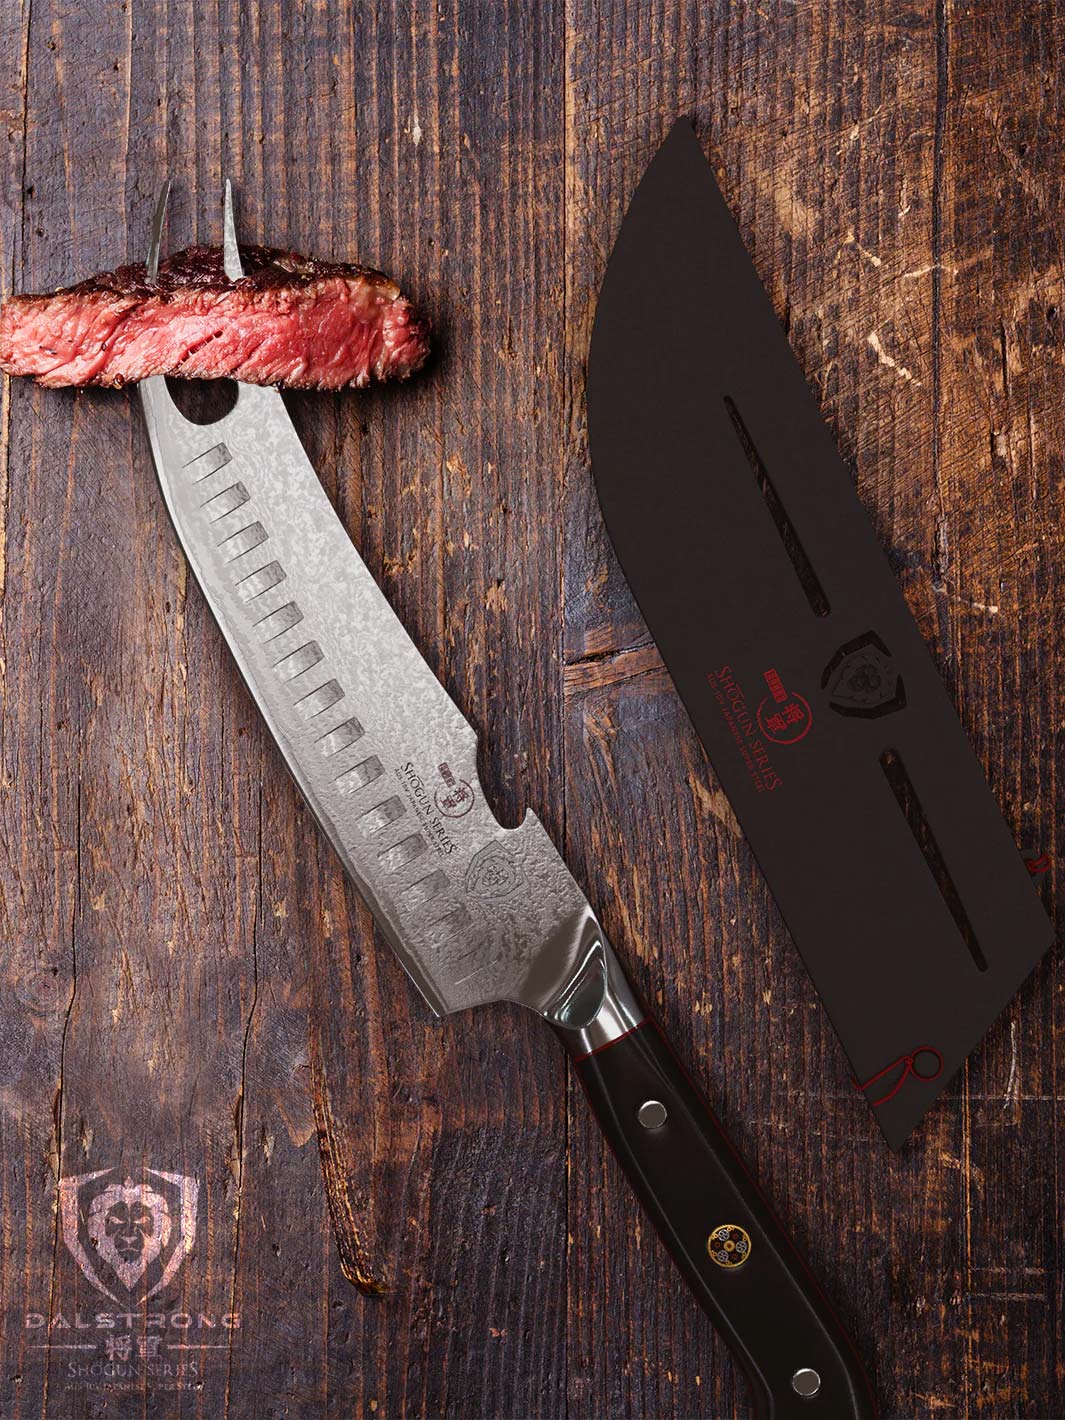
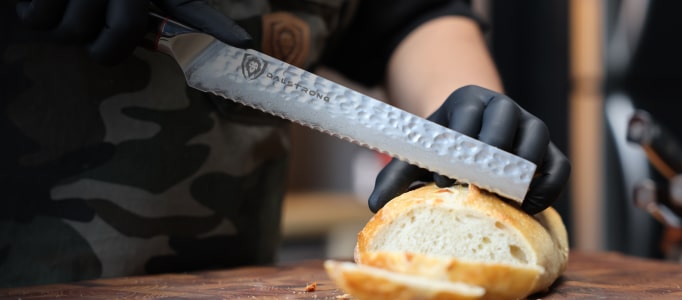
4. Carving Knife & Fork Set 9” | Crusader Series

This collection of all-steel knives and fork offer a minimalist aesthetic with unobtrusive beauty. The blade is reminiscent of historical medieval swords, and the transition from the blade to a high-chromium stainless steel handle characterizes the knife with an aggressive, forward-moving stance. Delivering exceptional performance.
PROS:
- Polished spine to facilitate a comfortable pinch grip.
- Fuller groove near spine reduces friction & stuck on food while lightening the knife for improved balance.
- It includes a hand-crafted Acacia wood magnetic sheath to hold the knife securely in place.
CONS:
- While ideal for vegetables and different types of meat, this is not best suited to larger and thicker food items.
- Some people would opt for a more traditional handle.
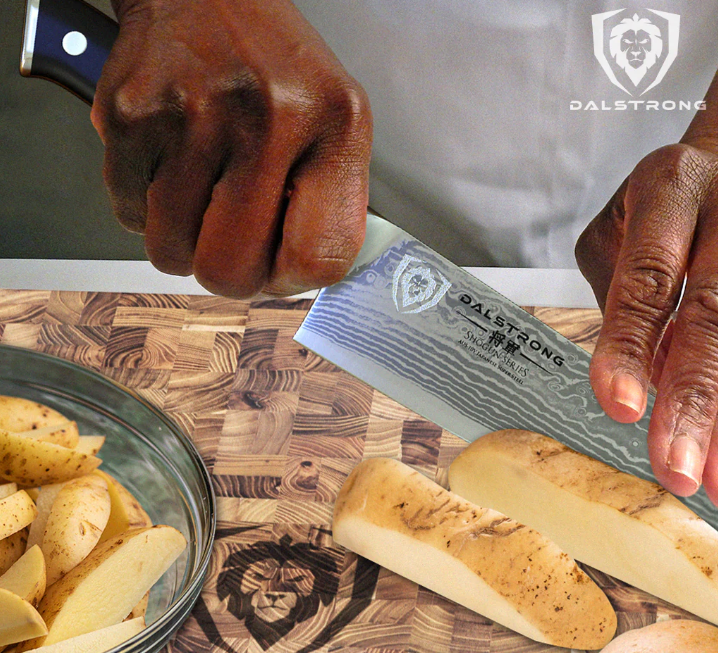
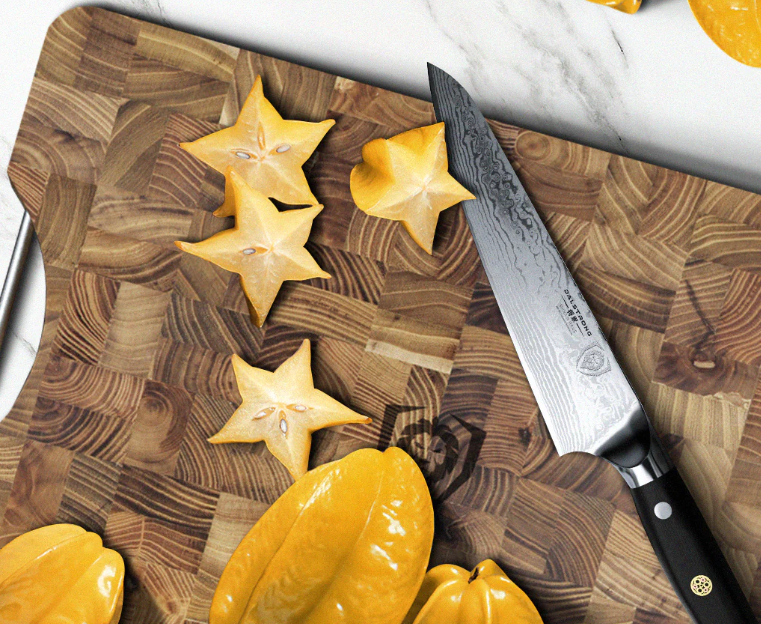
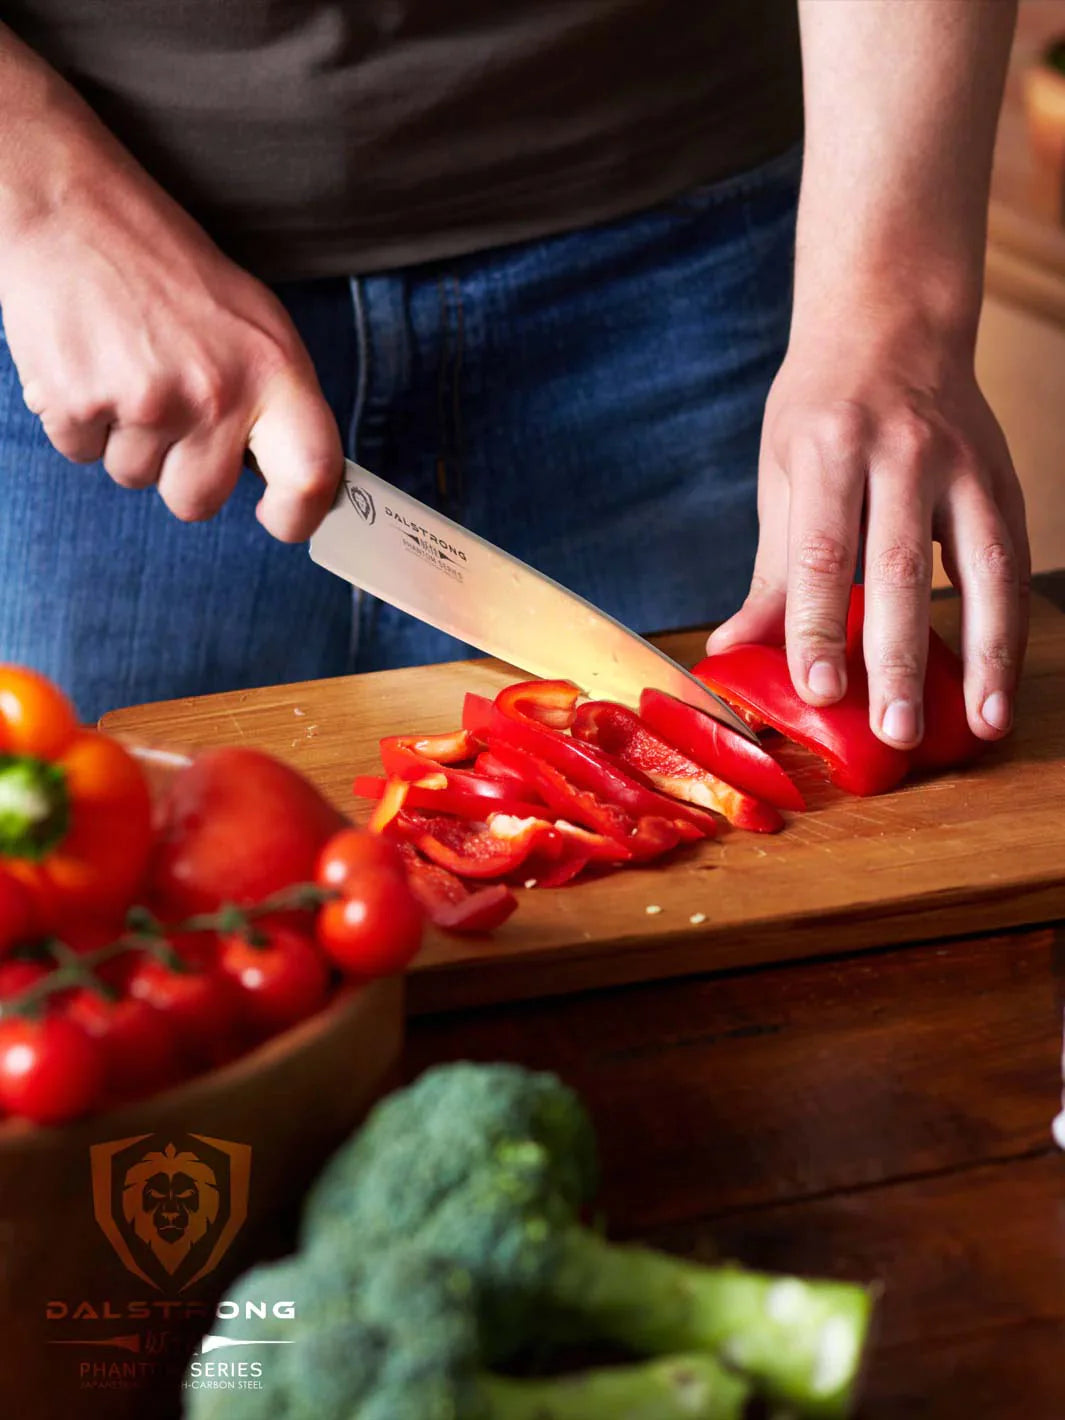
5. Chef's Knife 8" | Colored ABS Handle | Shogun Series X

A premium high-quality knife with an exquisite finish that is not only a beautiful statement in craftsmanship, but also serves the purpose of reducing drag and minimizing stuck-on food. Perfect for cutting vegetables and delivering the best results when preparing your food.
PROS:
- Japanese super steel core. The ultimate steel for the ultimate performance.
- Rust/Corrosion resistant cladding means your knife will stay cleaner and last longer.
- Precise cryogenic tempering increases the steel’s crystalline structure, enhancing, strength, flexibility, and hardness.
CONS:
- The price may go beyond many home cooks’ budgets.
- If you're not a fan of green, this handle is also available in Blue, Red, White, and Black.
8. Frequently Asked Questions About Grilled Corn On The Cob

How long does corn need to be on the grill?
For this tender corn recipe, we recommend grilling for 15 to 20 minutes. It all depends on your grill and the size of the cob, but after 20 minutes the corn should be cooked through. Some people like to char their corn slightly, in that case, you can grill it for more minutes until you see the husks getting roasted.
Should you soak corn before grilling?
Yes, we highly recommend you do that. Soaking corn in its husk for up to 1 day will ensure moisture and tenderness. The minimum we recommend you to soak your corn on the cob is 15 minutes. The more you can let it soak, the more saturated it will be when you grill it.
Why do you put corn in water before grilling?
To put corn in water before grilling is not mandatory, but it’s a great way to prevent the corn to dry while grilling. There’s no need to soak the corn if you’re cooking fresh corn. The only thing that can happen it’s that it will improve your corn on the cob texture.
Is it better to grill corn with or without foil?
It depends on the method you choose to grill the corn. If you’re husking the ears then we highly recommend wrapping the corn on foil, as we previously explained. This will ensure steam, and the seasoning and corn juices will prevent the ears from drying out. If you’re grilling corn on the cob with the husk on, there’s no need for you to wrap it in foil. The husk is doing the work for you.
Written by Camila Feijoo
Camila is a foodie by nature. She believes that the best way to get to know a culture is through its food. She always cries while chopping onions; and just like Julia Child, Camila agrees that “with enough butter, anything is good.”