How to Carve a Turkey Like A Chef

How to Carve a Turkey Like A Chef
- Set up the carving station
- Let the bird rest before carving
- Remove the legs and thighs
- Remove the breast
- Remove the wings
- Separate the drumstick from the thigh
- Slice up the meat
- Serve right away
Imagine this...You’ve bought a big, beautiful turkey, stuffed it with some delicious filling, and roasted it to perfection, with crispy, golden skin on the outside, and tender meat on the inside, but when it’s time to carve the bird, you get intimidated and overwhelmed, not knowing where to get started. This can be pretty upsetting, right?
I feel you!
I go through the same thing when I have to carve a big bird, or at least I used to.
Everything would go perfectly fine till the turkey was set in the oven and getting roasted but the nightmare would begin after that. Once the turkey was out of the oven, ready to be carved, I would get terrified.
These were the questions that bothered me the most. And I had finally had enough of it.
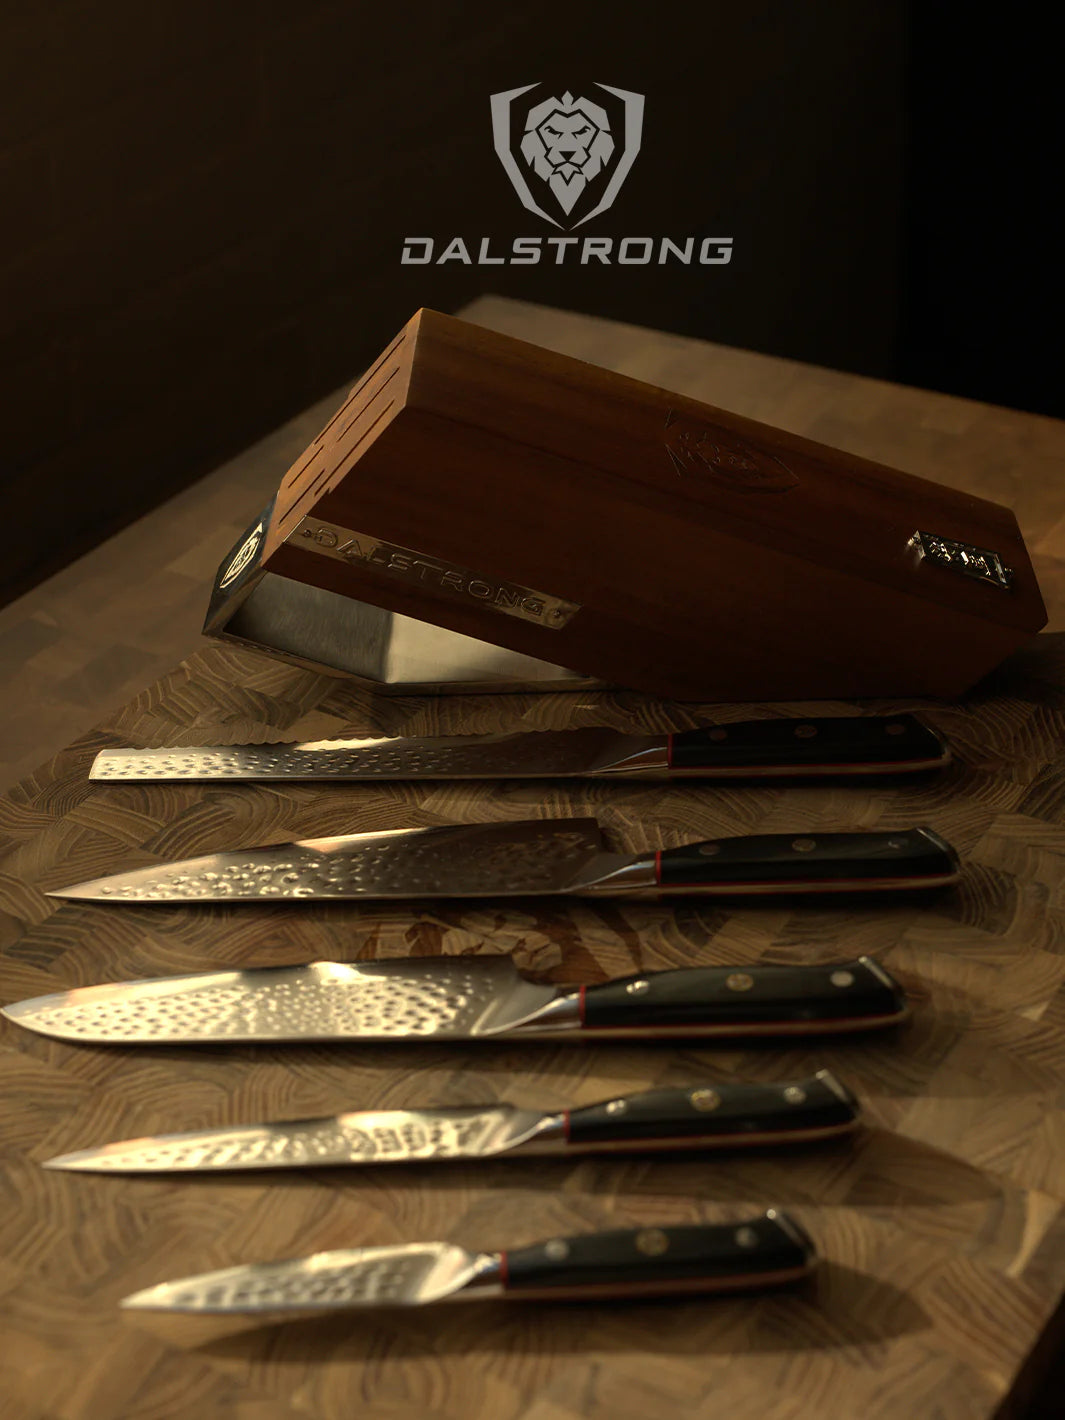
1. Tools Required to Carve a Turkey

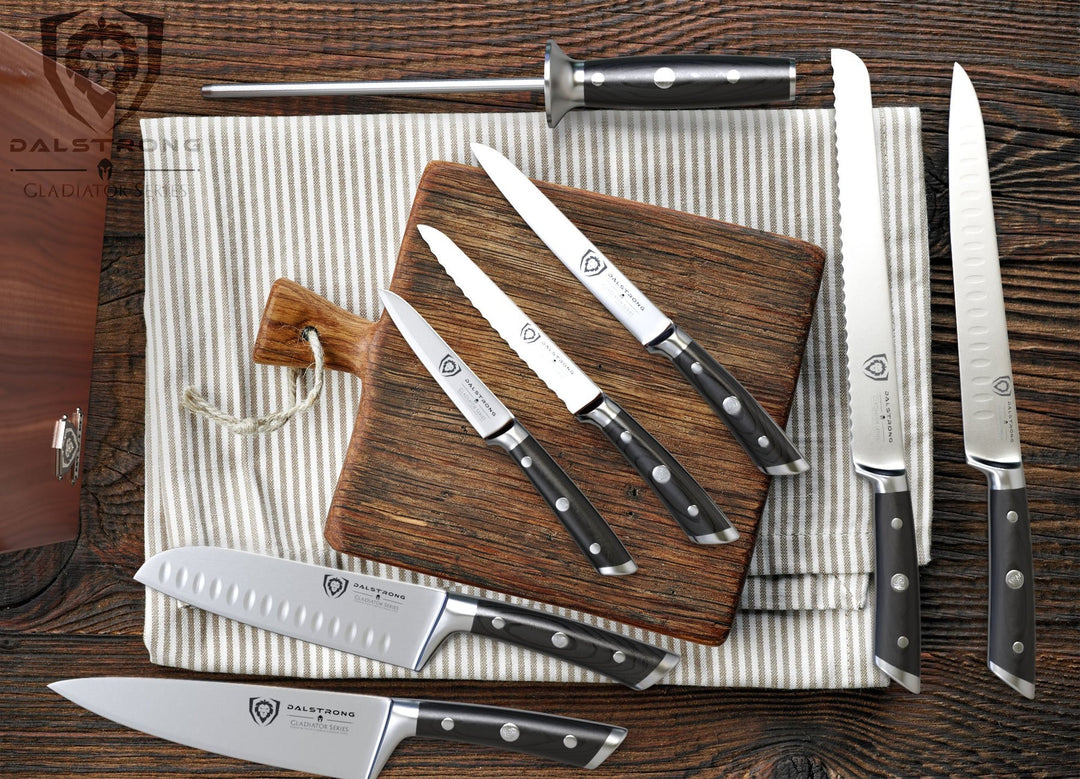
First things first, here are a few tools you will need before you get carving:
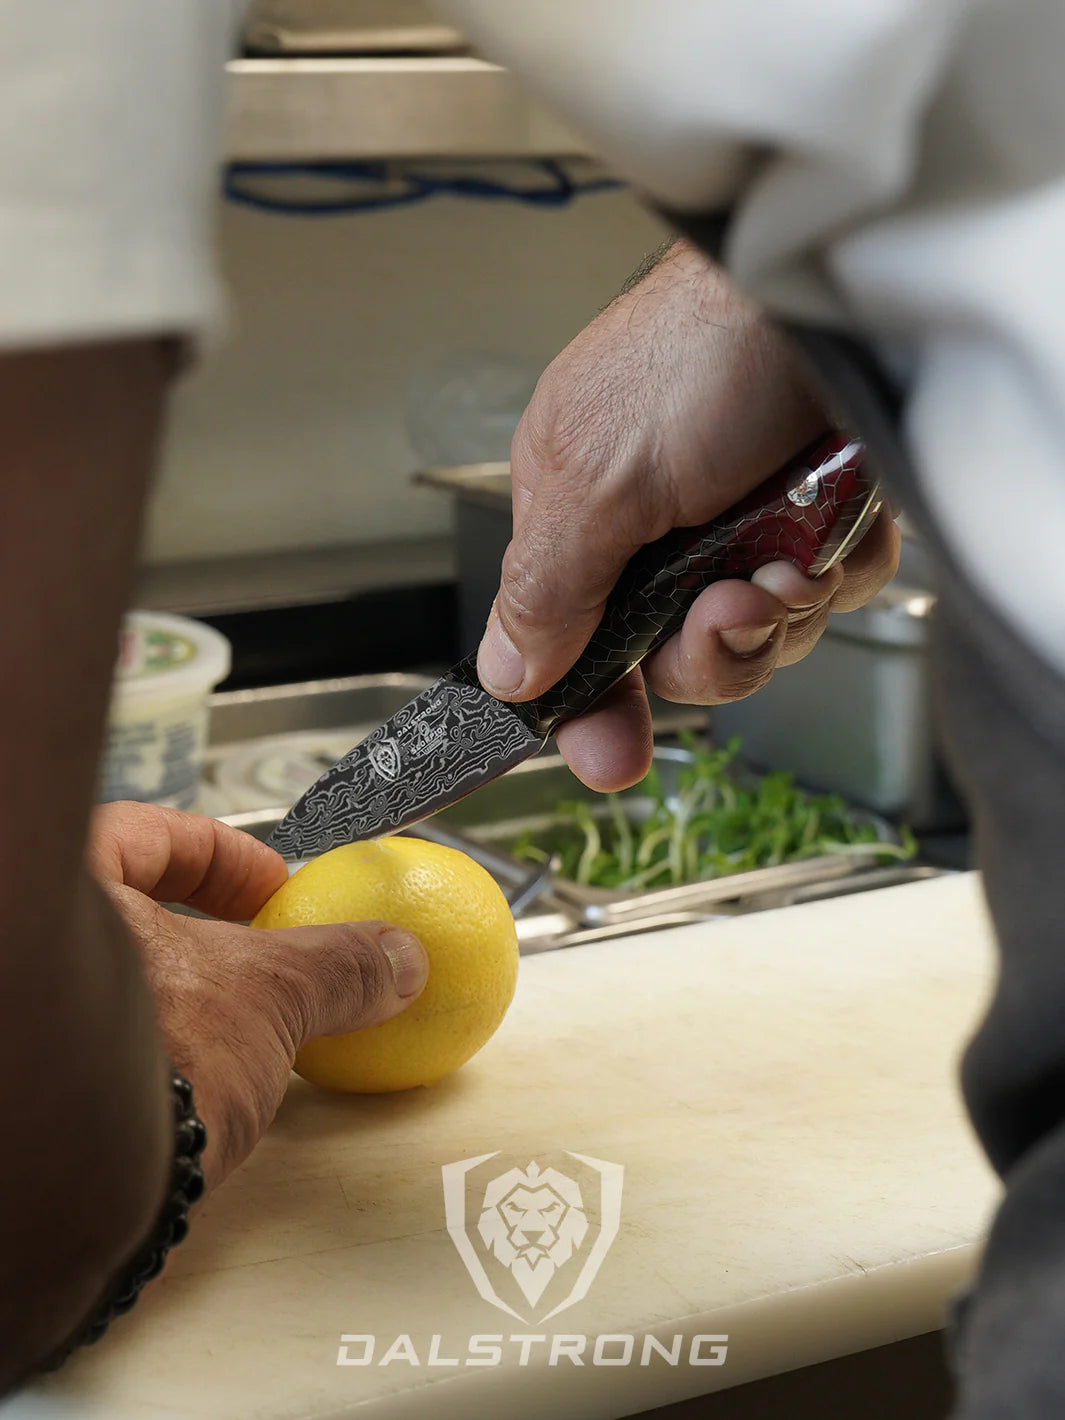
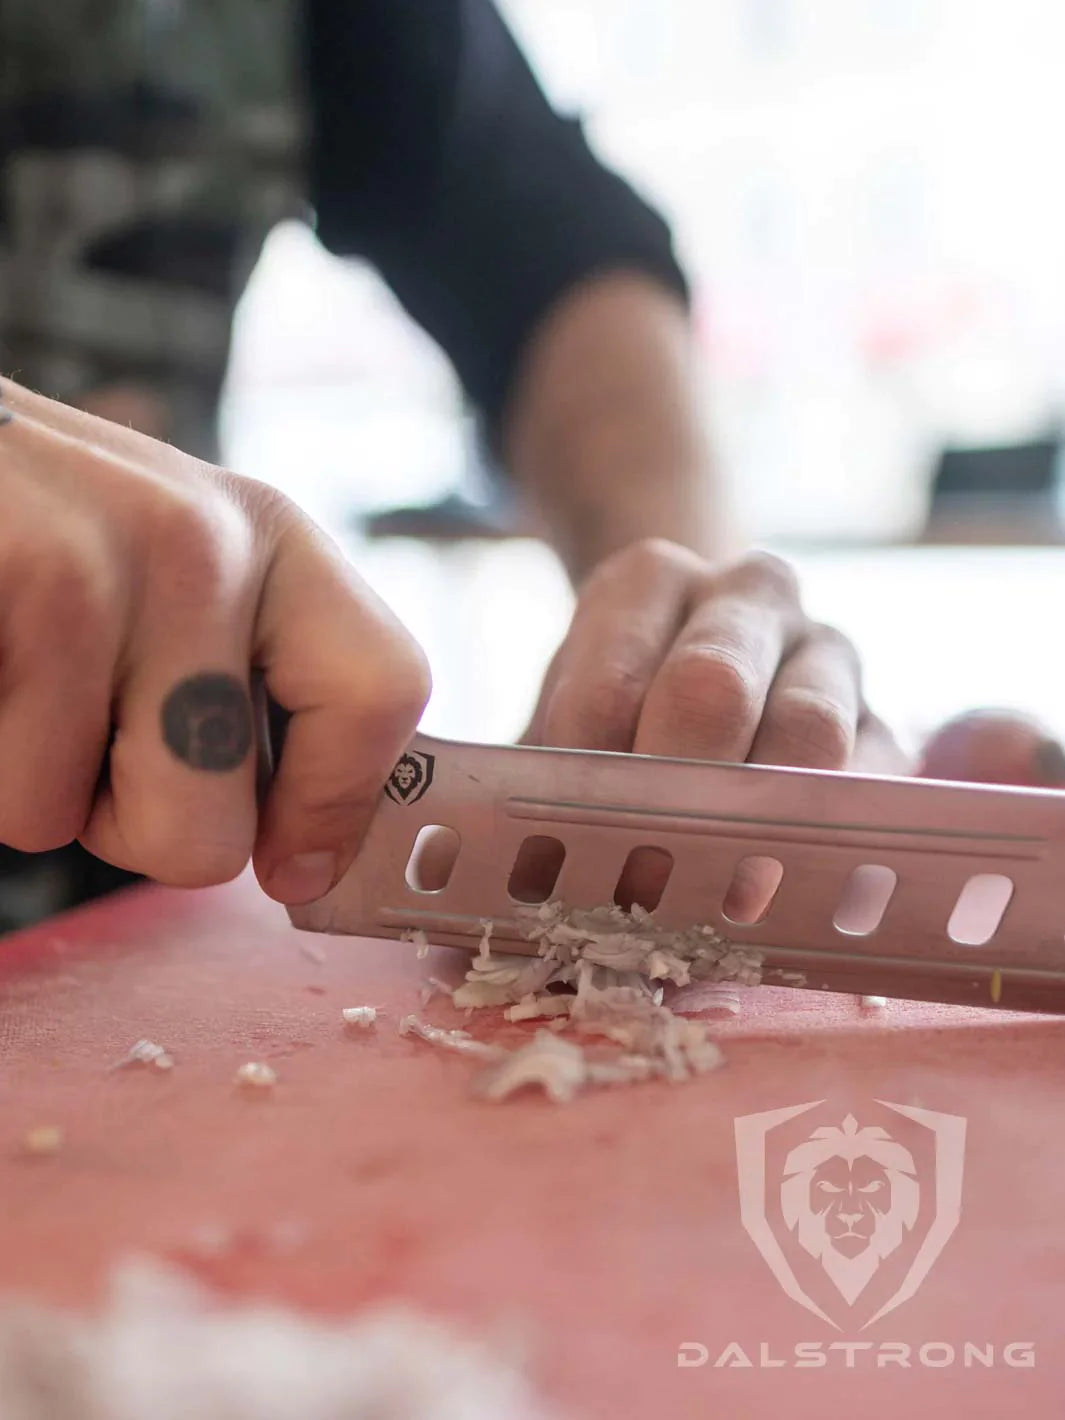
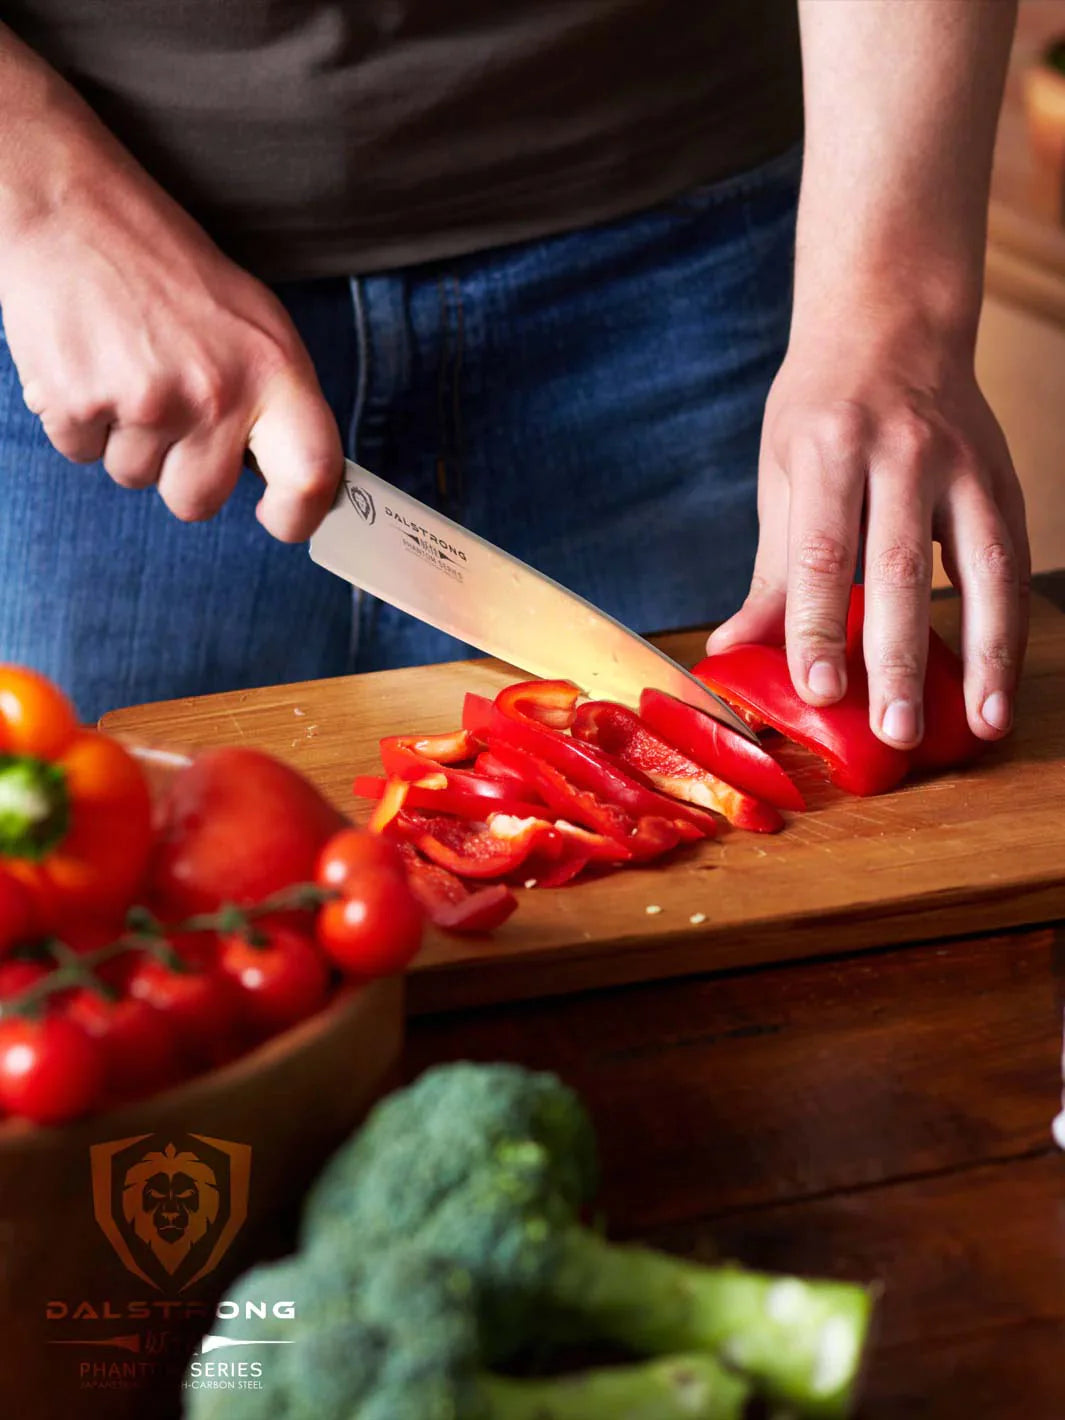
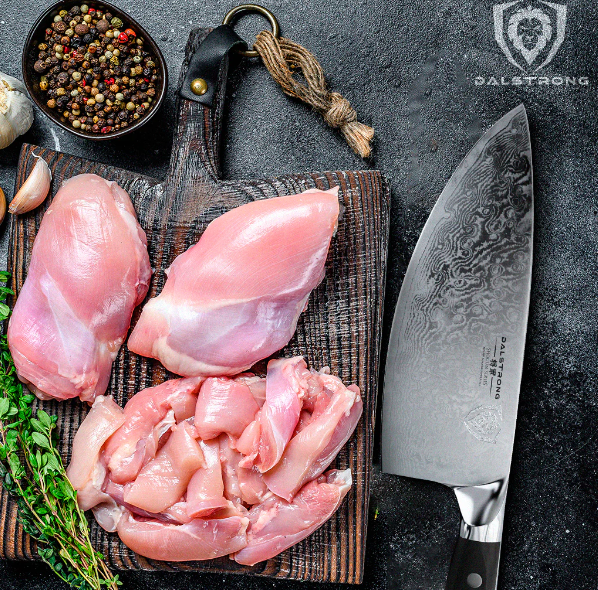
A sharp knife for smooth slicing
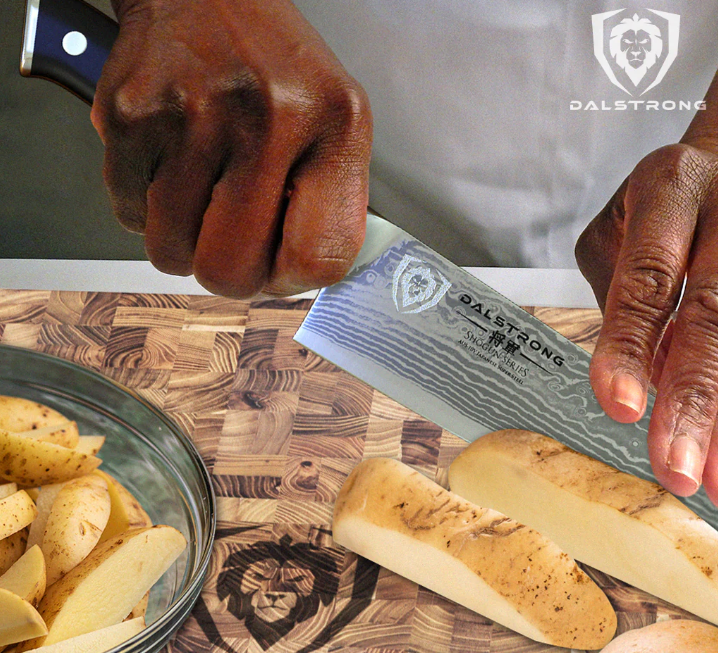
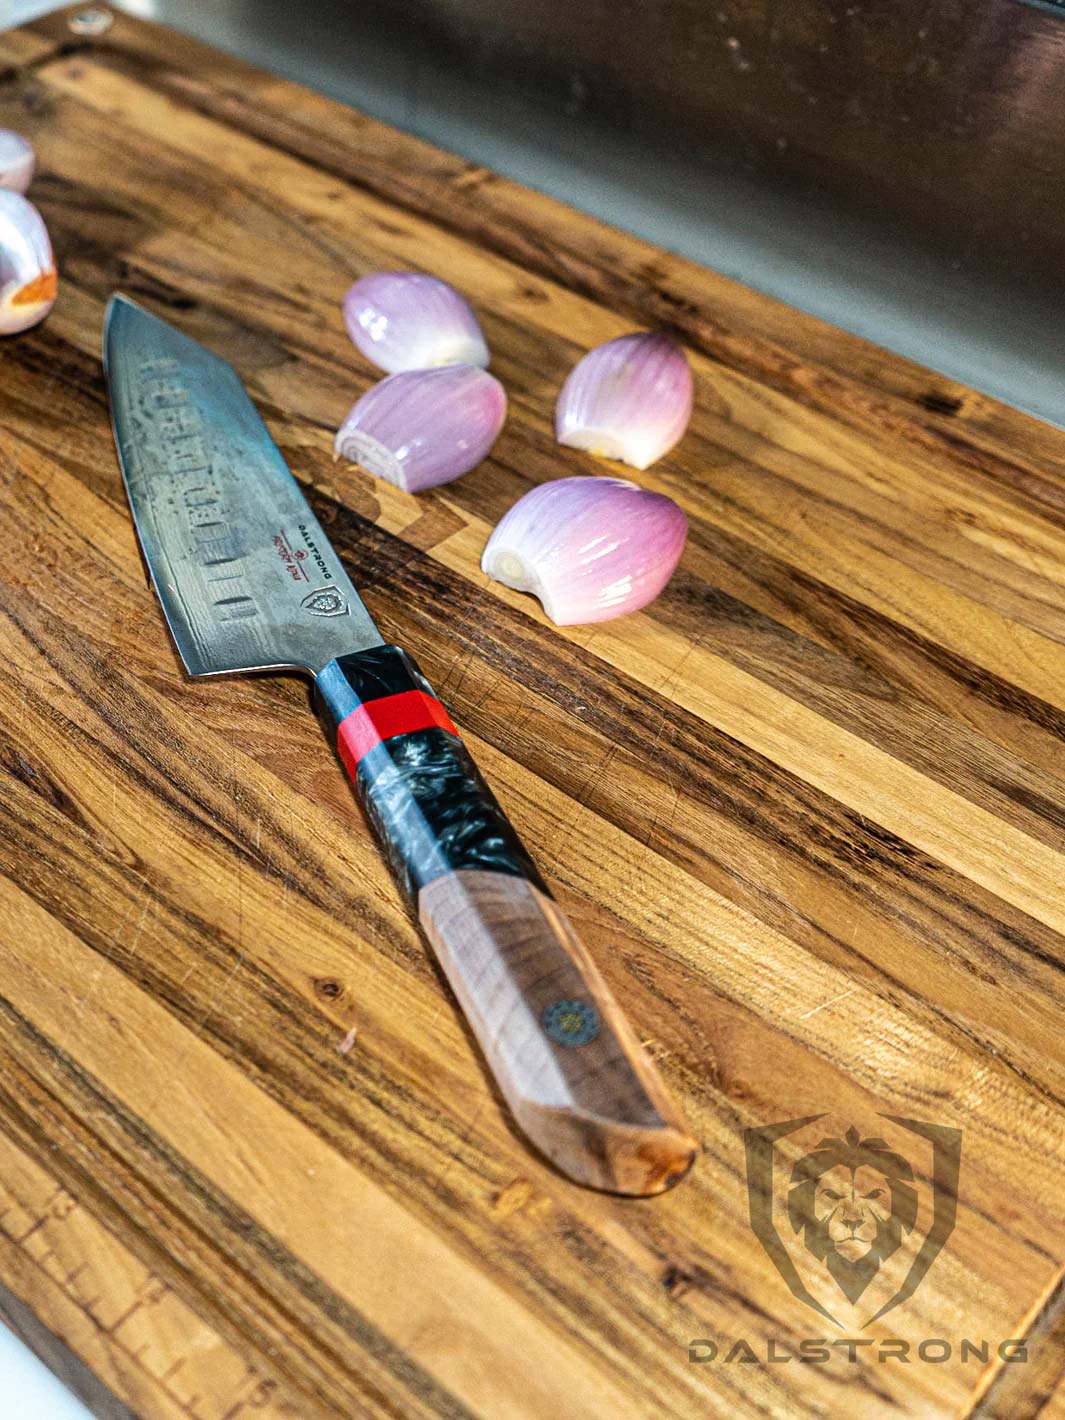
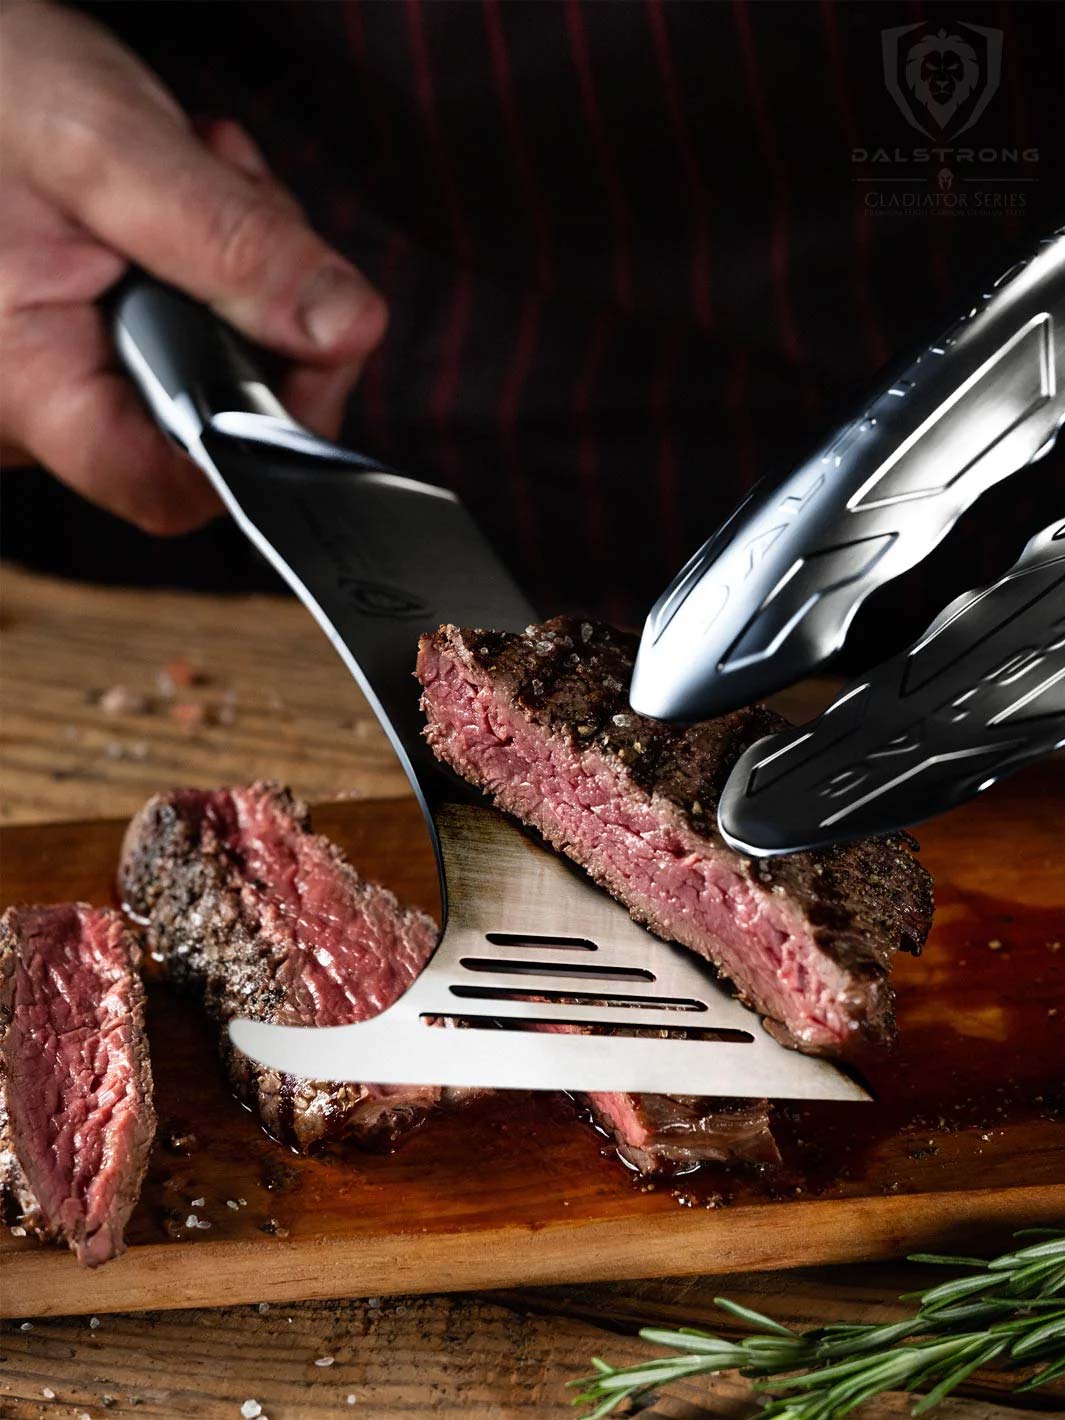
To carve this bird, you are going to need a chef’s knife with razor-sharp edges to get the perfect slices and make sure that the meat doesn’t end up in a dry, shredded pile. I love using Dalstrong’s Chef's Knife 8" from Shogun Series X because its tapered blade and full tang give the user great control over the knife.
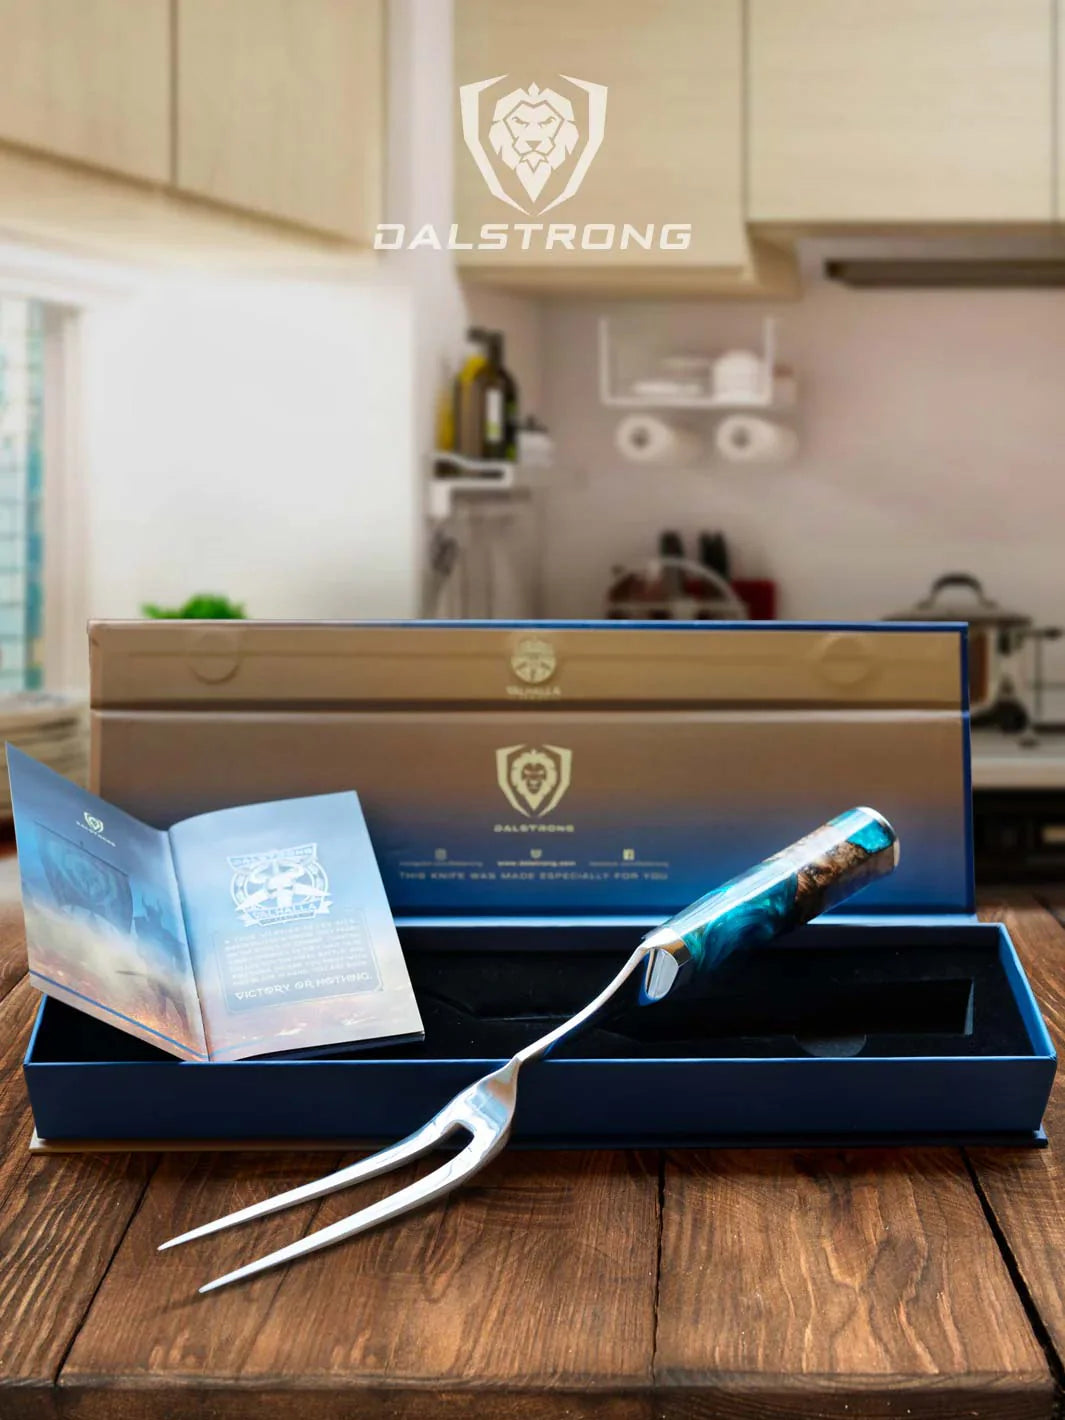
If you want to take it up a notch and accomplish this task with accuracy, you can also use a carving knife or a boning knife accompanied by a carving fork as it ensures uniform cuts of meat.
A big cutting board for stability
The cutting board that you use to carve the roasted turkey should be big enough to fit the entire bird. I hate messes and to avoid that, I prefer placing my cutting board on a baking sheet with edges so that it can catch any liquids or drippings that leave the turkey. Trust me, this will make cleaning up later much easier.
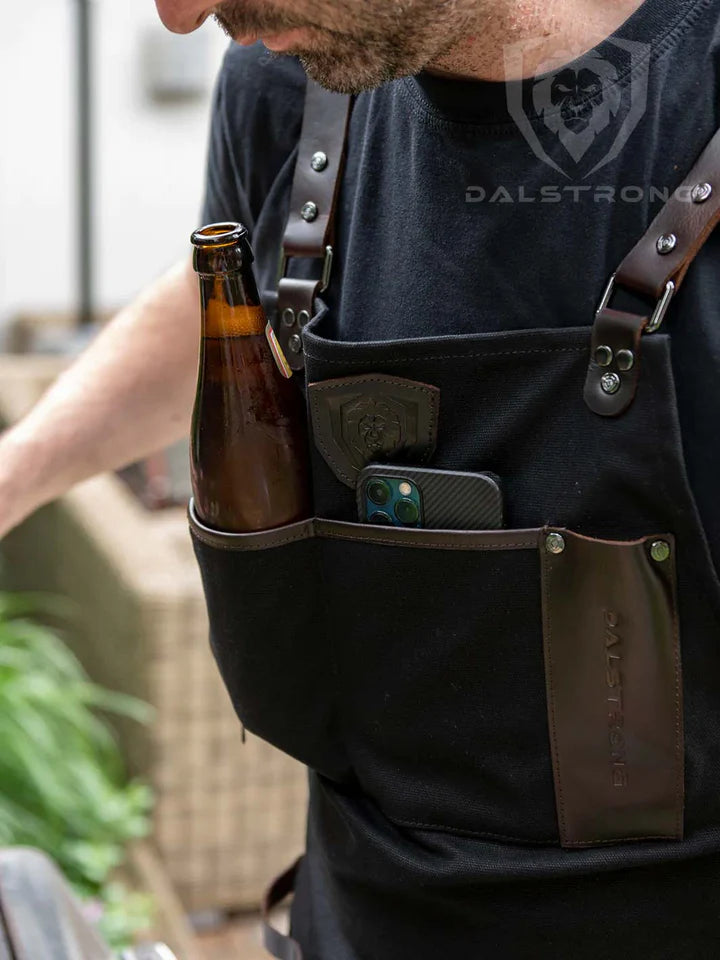
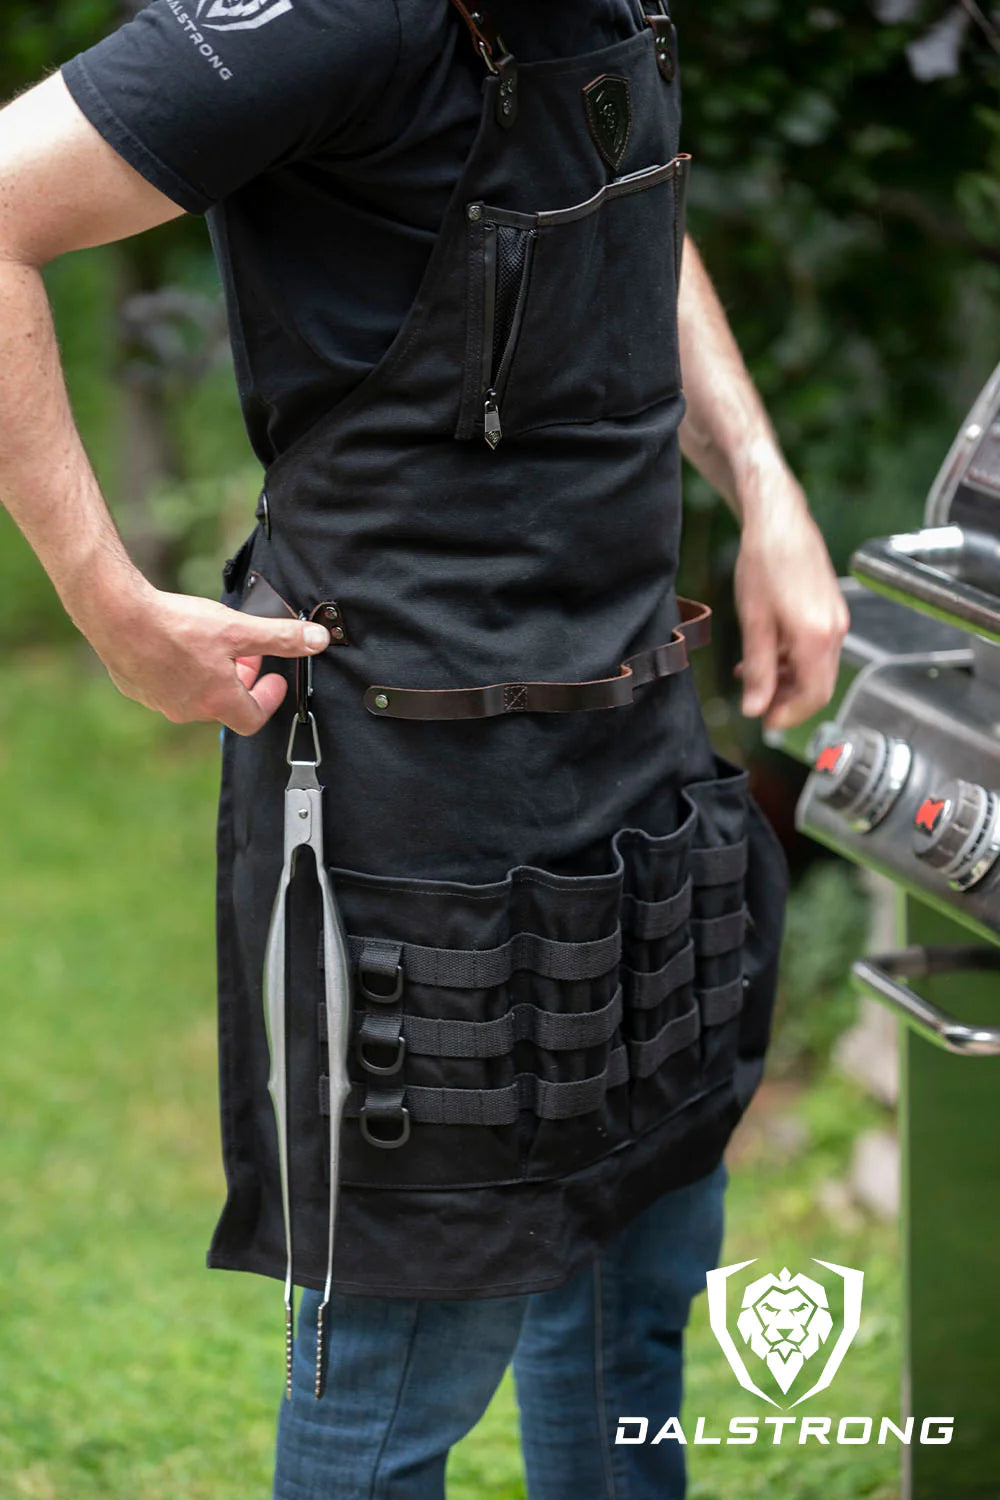
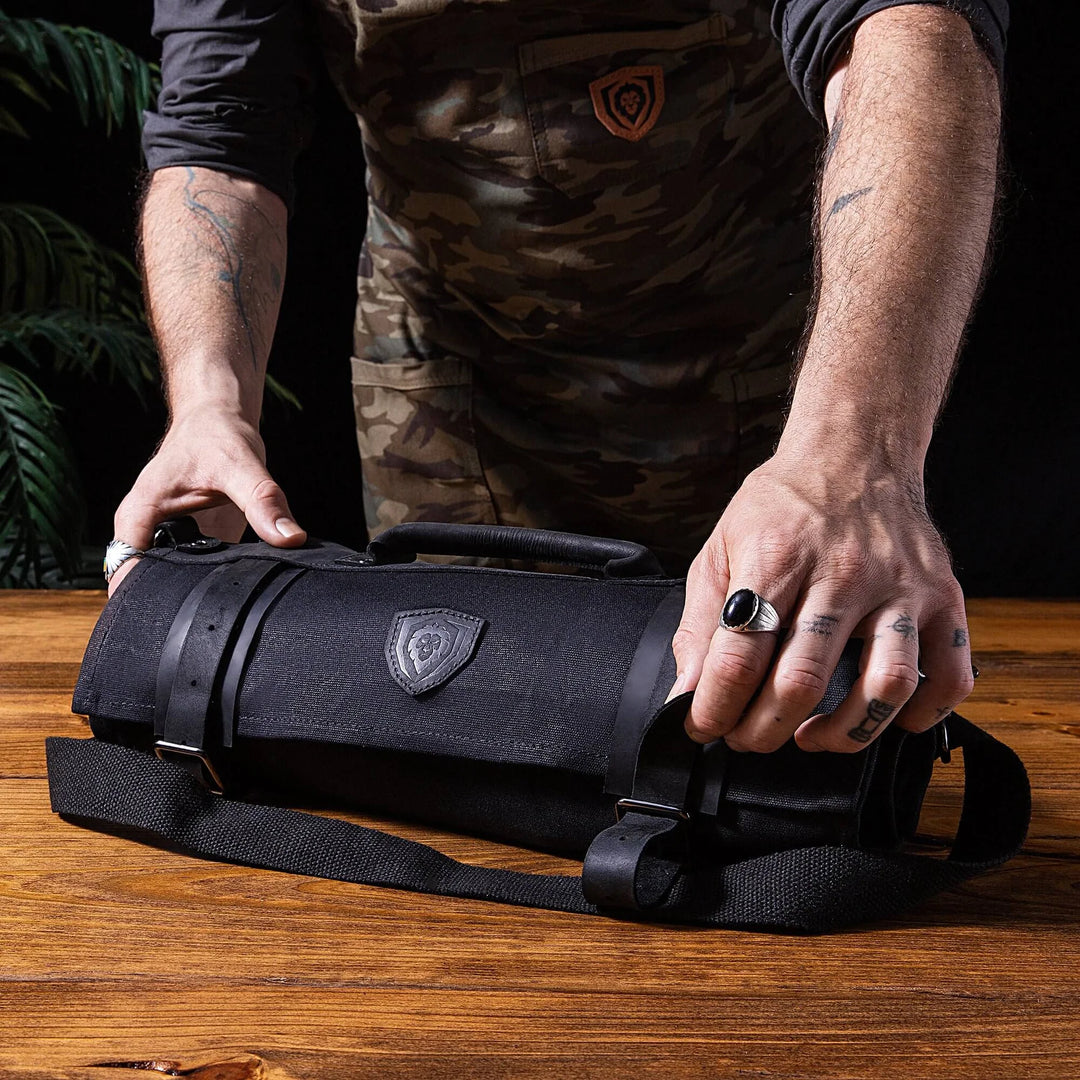
An apron to reduce the mess
Carving a turkey is a tricky business and it can get messier than anticipated especially if you’re carving a turkey for the first time. Strap on that apron and dive into the process with max confidence.
A serving platter to transfer the meat
I like to keep my serving platter nearby as it becomes easier to transfer the meat pieces from the cutting board to the platter. This way you also dodge the risk of dropping the meat.
Aluminum foil for covering
To keep the carved meat warm until served, cover it with a sheet of aluminum foil as you keep going.
Other things you’d want to keep around
As I mentioned earlier, this can become a messy process once you get started. To work neatly and cleanly, keep a pair of tongs and some paper towels around, and you’re all set!
2. Why Should You Let the Turkey Rest Before Carving?

Alright, now that you have all the tools you need and the turkey is perfectly cooked, you’d think that it’s time to start carving, but not yet! Once your bird is crisp and golden, you should let it rest for at least 25-30 mins before you start carving.
Why is that you ask?
Well, the science is simple. If you start carving the turkey before it has had time to rest, you will see that the juices start running out, making the roasted turkey dry. You want to give the bird enough time to reabsorb all the juices once cooked, to make sure that when you slice it up, it’s all fresh and juicy.
Resting the turkey also gives it time to cool down a bit, making it easier for you to handle.
3. A Step-By-Step Guide to Carving a Turkey

After the turkey has cooled down and absorbed all its juices, now comes the fun part - we get carving!
Don’t let the size of the turkey, the culinary tools or the sheer intimidation of the process overwhelm you. Follow these easy-peasy steps and crave that turkey like a pro!
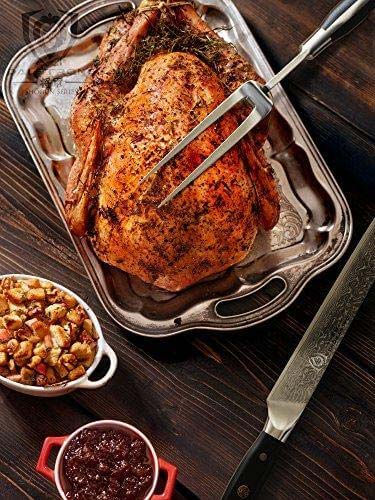
Step 1: Set Up the carving station
Place your freshly cooked, golden turkey on a large cutting board. Make sure to place the board evenly on the counter to ensure complete stability. Once this is set up, bring in the other stuff you are going to need, like a sharp chef’s knife, a serving platter, some paper towels, and a pair of tongs.
If you’ve tied the legs of the turkey with a string, remove it using the tip of the knife and place the turkey in a way that its legs are facing you.
Step 2: Let the bird rest before carving
By now you’ve already understood the importance of this step, but I’m going to say it once again- LET THE BIRD REST! I cannot begin to emphasize the importance of this step.
Thick and juicy slices of turkey meat are only possible when all the juices are reabsorbed and the meat has cooled down a bit, making it easy to handle.
Step 3: Remove the legs and thighs
Start with slicing through the skin that connects the breast and leg. Cut through the joint along the body, aligning the knife towards the bone as you slice. Once the knife hits the bone, use your hands to pull the leg back and down until the joint becomes visible.
Press down firmly on the joint and sever it completely. Run the knife through the joint and through the rest of the thigh meat to separate the leg from the backbone.
Repeat these steps with the second leg and thigh as well.
Step 4: Remove the turkey breast
After this, stay on the same side of the turkey and make a long, deep cut along one side of the breastbone. Follow the curve of the bone, carving long strokes with the tip of your knife, and pull away from the breast meat gently as you go. Repeat this along the second side of the turkey breast.
I suggest wiping down the cutting board before your get started with the second side to get rid of the extra juice from the meat and reduce the mess.
If you plan on making a decadent roasted turkey broth, remove the turkey carcass from the board and transfer it into a pot.
Step 5: Remove the wings
Next, we remove the wings. To do this, pull the wings back until you hear a pop or see the joint (like you did with the legs). Once you’ve done this, run your knife through the joints, separate the wings and place it on a serving platter.
Step 6: Separate the drumstick from the thigh
To do this, place the leg pieces, skin-side up, on the cutting board. Run your chef’s knife right between the drumstick and thigh at the joint. Repeat this with the other leg now.
Once the drumsticks are separated, return them to the platter.
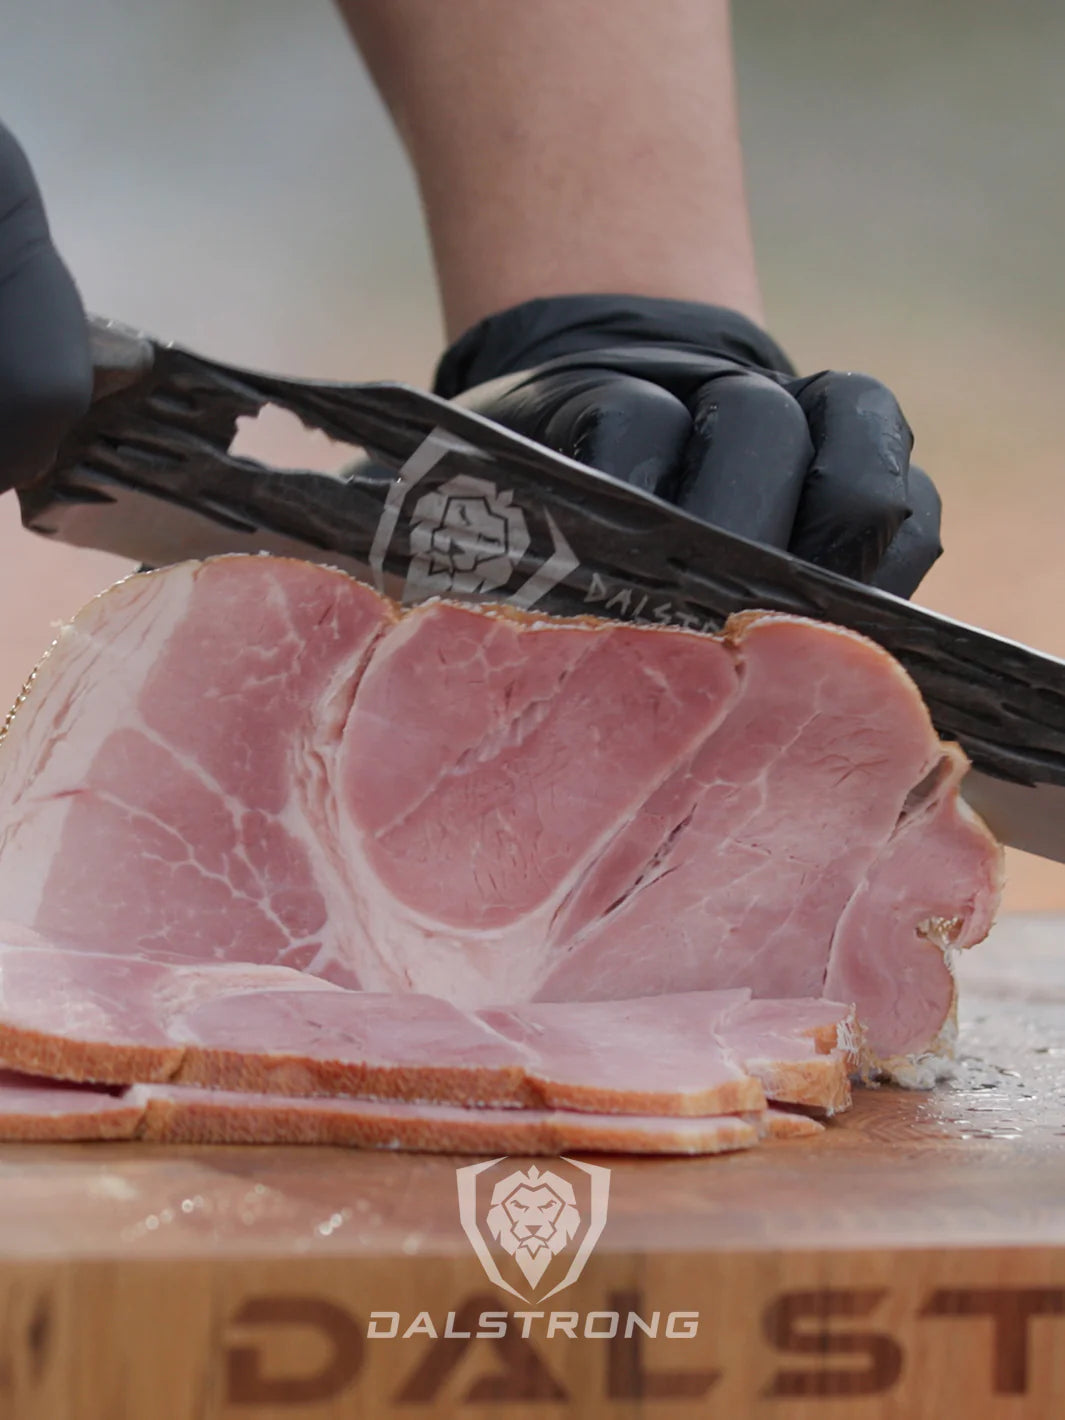
Step 7: Slice up the meat
It’s time to take the larger chunks of meat and slice them up real nice and set it up to be plated.
White meat: First, on a cutting board, place the breasts skin-side up. Then cut the breast meat into ½ inch, thick slices for serving. Use long cutting stokes instead of short sawing ones to get neatly cut slices. Cut the wing in half as well and transfer all the white meat into the serving platter.
Dark meat: Wiggle the knife in the joint until you find a sweet spot to separate the thigh from the drumstick. Remove the bone from the thigh and place the boneless meat skin-side-up to slice. Once sliced up good, transfer it to the platter.
Step 8: Serve right away
Carving a turkey is going to cool it down significantly. So once you’re done slicing everything, quickly garnish it with some fresh fruits like small pears or a bunch of grapes and herbs.
If you still feel that the turkey has cooled down, warm up the turkey with plenty of hot gravy or pop it back in the warm oven for a few minutes.
…..and voila You have the juiciest and most succulent turkey slices sitting on your table, ready to be enjoyed by everyone.
4. What is a Wishbone and Where to Find It In the Turkey?

Now that you know how to carve a turkey and what tools to use for it, let’s talk about a part of this dish that has become a part of an age-old tradition in almost every home- The Wishbone.
Before understanding how you can remove the wishbone from the turkey, first, let’s understand what it is.
Simply put, a wishbone is the forked chest bone of a bird.
Formed from the fusion of 2 collarbones, this is the bone that helps the bird when it’s in flight. This bone is found at the base of a turkey’s sternum or between its neck and chest.
Once you spot the wishbone, remove it by using your fingers to pull it out. Removing the wishbone makes it easier to carve off the breast meat.
5. Turkey Carving Tips and Tricks

Carving Tip 1: Know your tools
The process of turkey carving starts with having the right utensils. Use a sharpened, straightedge chef’s knife or carving knife and carving fork to carve your turkey.
Carving Tip 2: Truss the turkey
Before you pop the bird into the over, truss it. To truss the turkey, you basically cross the turkey's "ankles" (the ends of the drumsticks) one over the other. Then, wrap a trussing string or twine around them and make a regular (overhand) knot to secure them. This is done to ensure every part of the turkey is cooked evenly.
Don’t forget to remove the trussing string before you start carving.
Carving Tip 3: Prepare a blueprint before slicing
Since you’re dealing with a big bird, the carving process gets easier when you know your objective. You want to carve the turkey in such a way that you end up with 8 main pieces of meat before you start cutting smaller slices.
Carving Tip 4: Keep it crisp
You may have achieved the goal of crispy skin on your turkey but you also want to try and preserve it in the slicing process so that each piece has a crisp layer of golden skin attached to it. To do this, cut through the meat carefully with a sharp knife or kitchen scissors and avoid tugging on the skin to ensure maximum crispiness.
Carving Tip 5: Save the leftovers
Believe it or not, turkey leftovers taste better the next day! Use the leftover meat to make delicious turkey sandwiches, turkey casserole, turkey pot pie, or any turkey recipe you can think of.
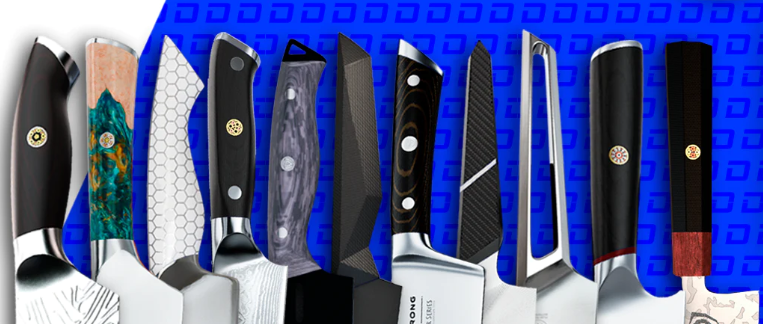
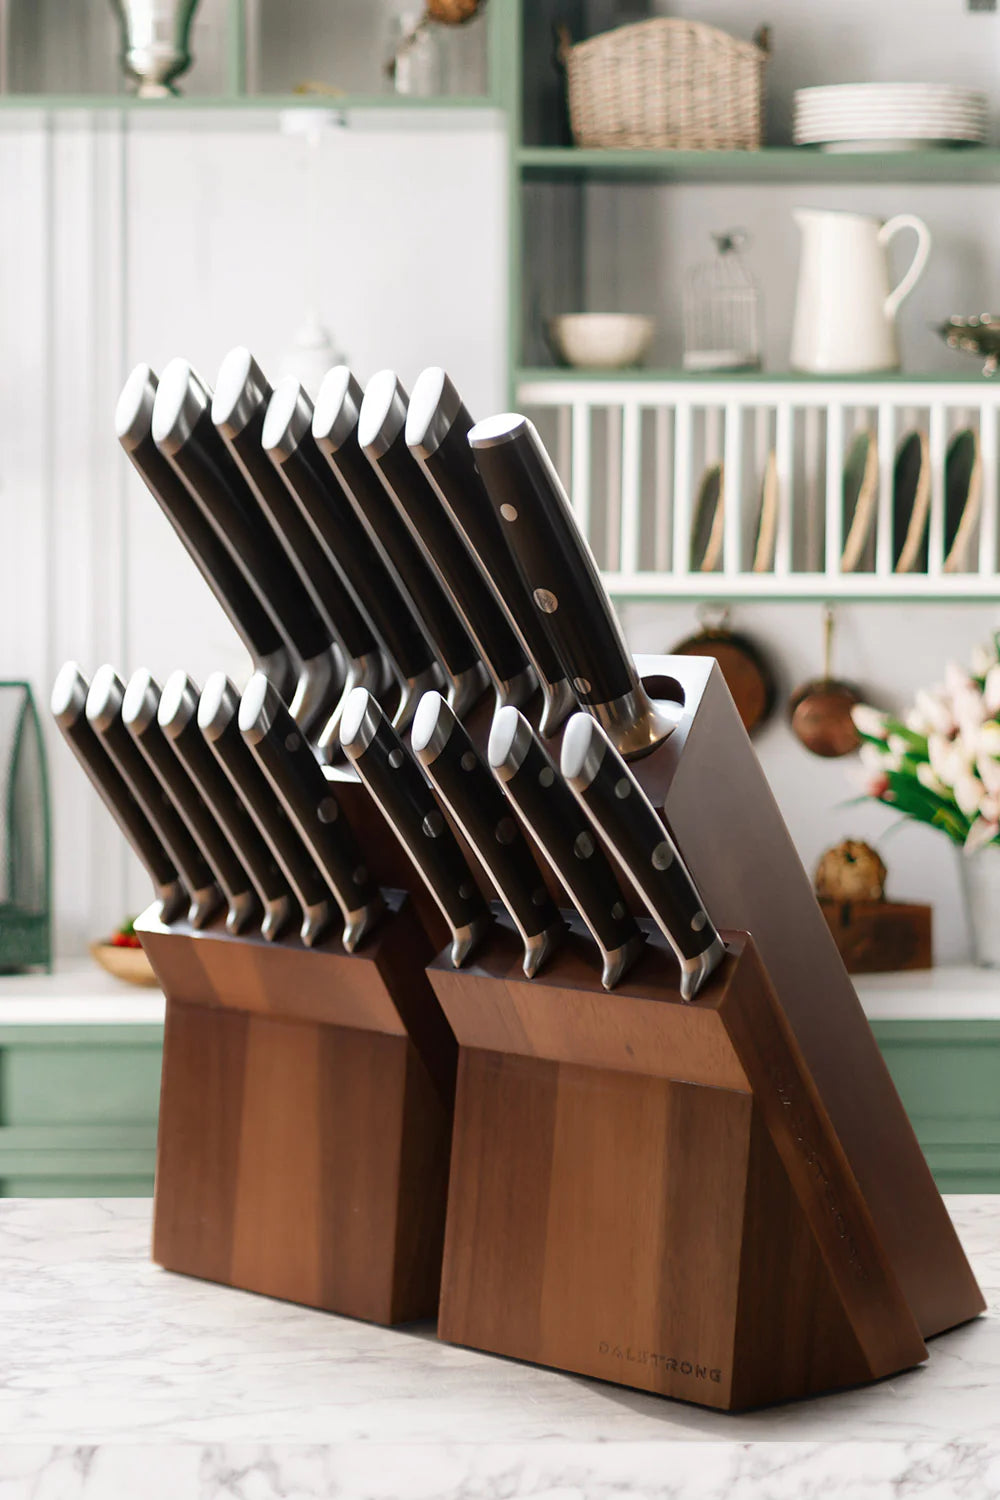
6. Best Knives to Carve a Turkey
Anyone who cooks turkey regularly needs razor-sharp chef’s knives or carving knives in their arsenal. The sharp features and flexible blades on these knives make it very easy to complete this task.
With a little bit of practice, the correct tools, and a stable cutting board, I’m sure you will also be able to carve a turkey beautifully in no time.
If you are looking to invest in kitchen utensils, it’s only worthwhile to invest in the best so make sure to buy premium grade stainless steel knives, like the ones I’ve listed below.
1. Chef's Knife 10" | Gladiator Series

The perfect example of kitchenware at its finest, this knife comes with a longer blade length to ensure no task is too large and no food, too formidable. The precision-forged blade of this knife is made from a single piece of imported, premium quality, high-carbon ThyssenKrupp German steel, with a Rockwell hardness of 56+, making this knife the perfect tool for your slicing and carving needs.
With a beautiful, ergonomic, and ambidextrous handle that is carefully constructed of G-10 Garolite, this knife is highly impervious to both, heat and moisture, with life-long durability. This knife is designed to work perfectly with both thicker, heavy-duty cuts and more delicate and detailed cooking tasks.
Pros:
- The tapered tip of the knife makes it simple to carve the turkey with accuracy and precision.
- The blade is painstakingly hand sharpened to 16-18 degrees per side, giving you clean cuts of the meat and minimizing damage.
- It’s a mid-range knife, making it an affordable choice.
Cons:
- The 10” blade can get intimidating for some to handle. In this case, you can opt for the 8” chef’s knife.
- While this works fine for turkey carving, some people might prefer using a carving knife for this task.
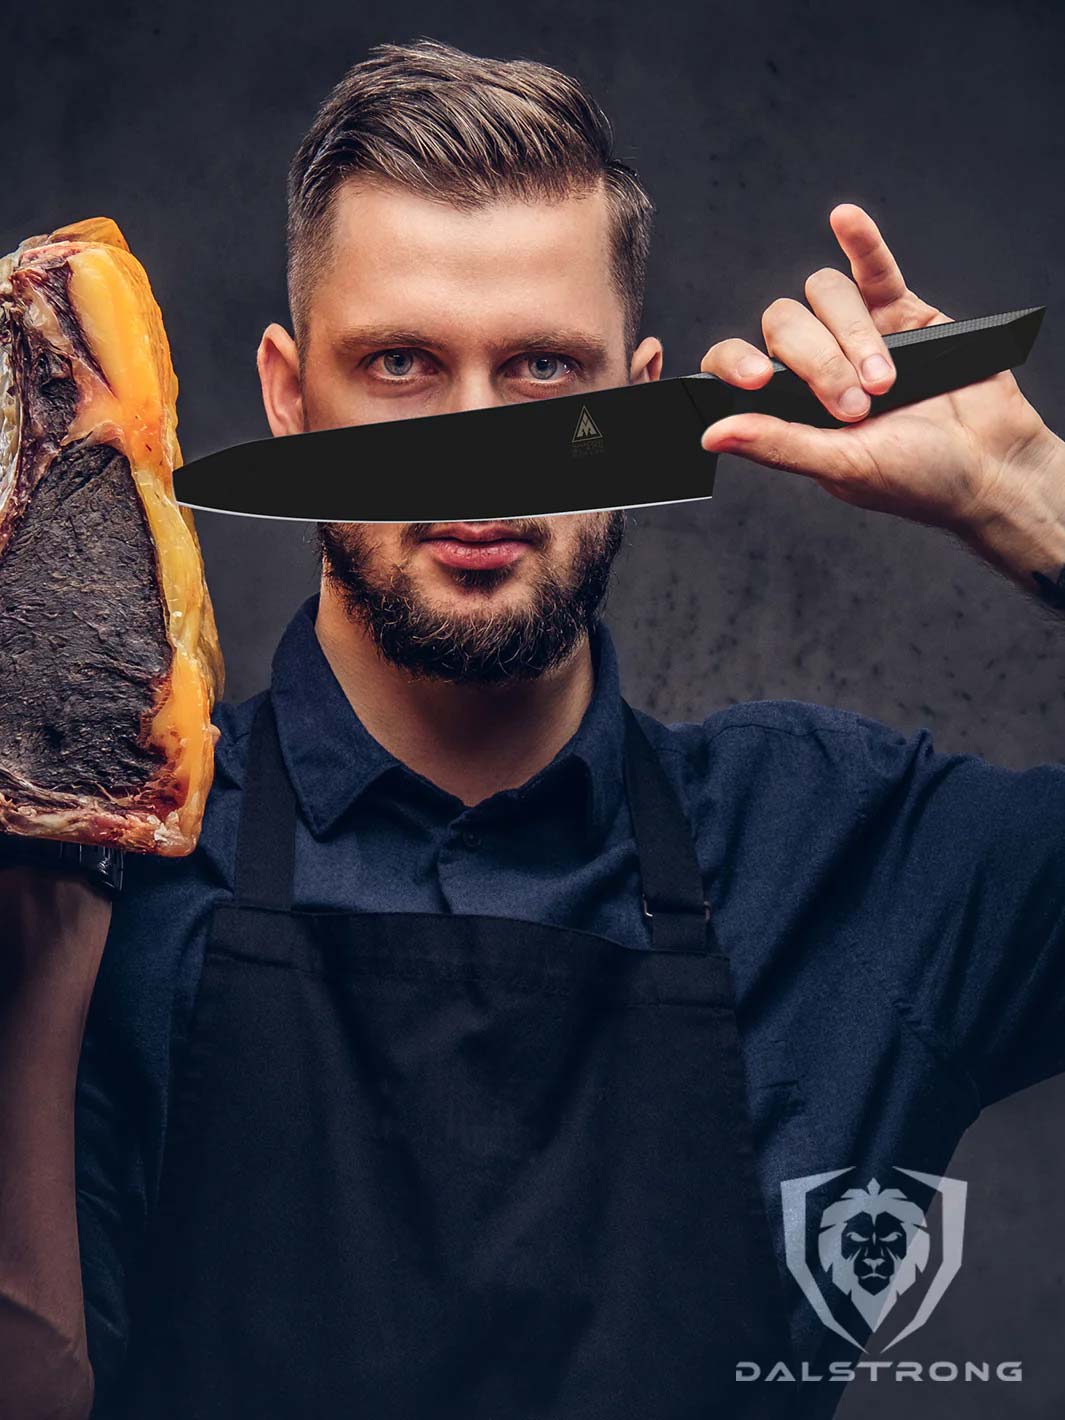
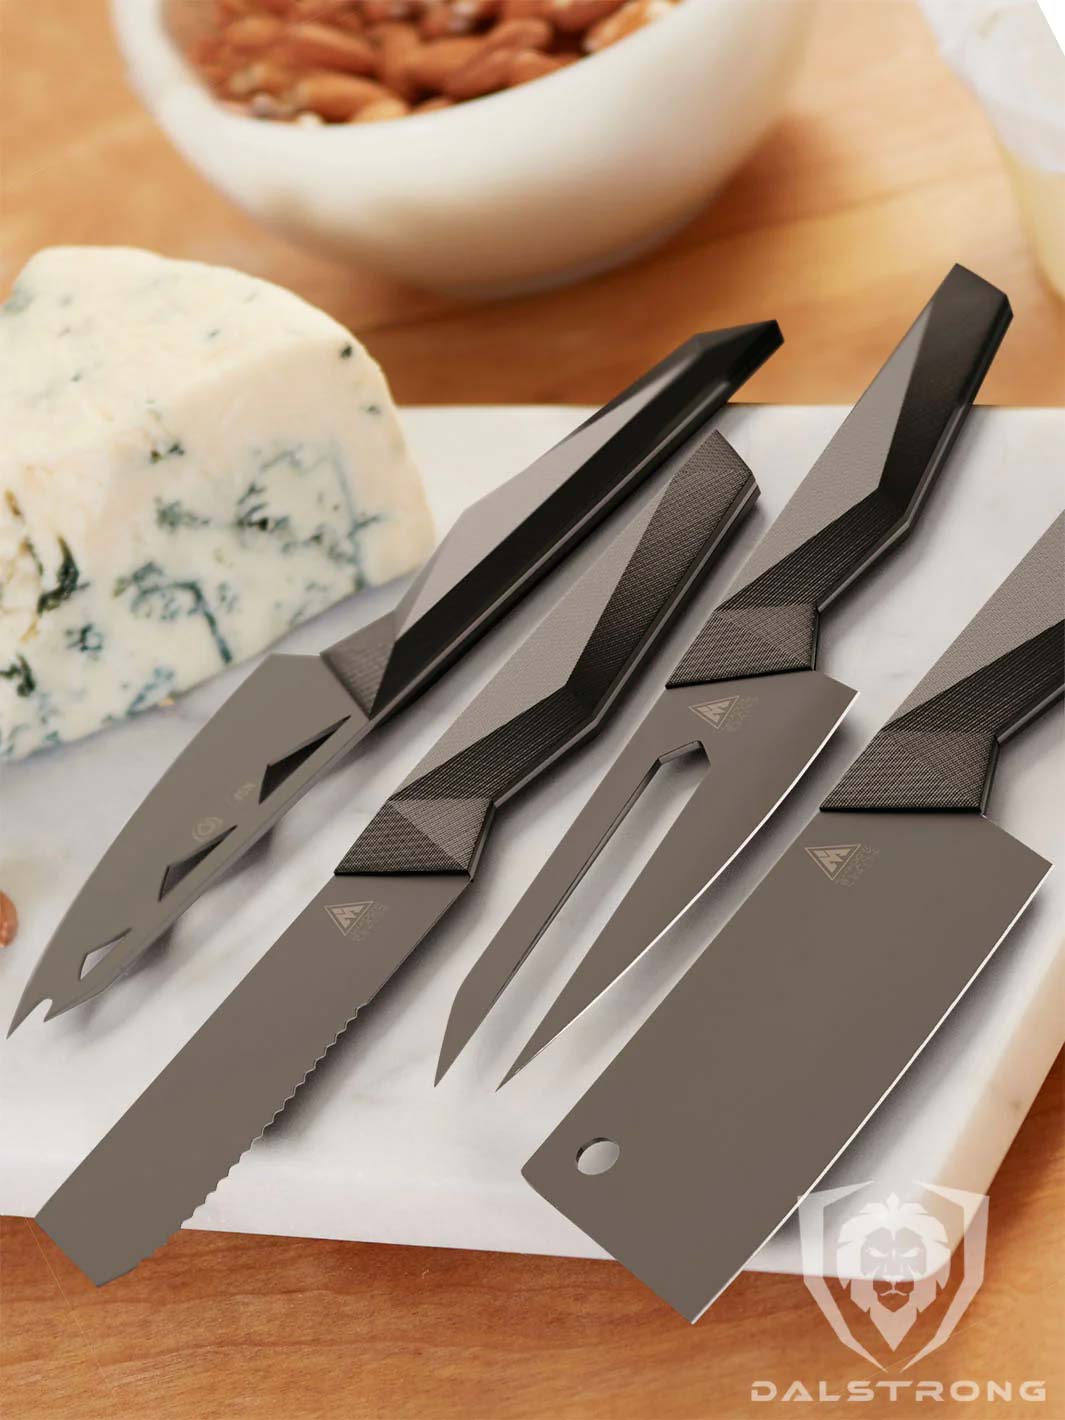
2. Chef's Knife 10" | Delta Wolf Series

This non-traditional piece of kitchenware doesn’t only stand out for its 10” long blade, but also its striking and bold design. Bound to become the center of attention in your kitchen, this knife brings the strength, agility, and durability that is needed to accompany you in your kitchen chronicles.
The ultra-thin blade (1.6mm to be precise) provides zero friction that ensures blade retention and minimal damage to the meat while carving it.
Pros:
- The onyx-black titanium nitride coating reduces friction and keeps the blade away from corrosion, providing maximum durability.
- The tapered design of the blade gives it the agility required to carve a turkey and maneuver the knife accurately when dealing with tricky areas.
- The full tang of the knife provides it incredible robustness, making it possible to get a good grip on the knife.
Cons:
- This knife is marked at a higher price which makes it a less preferred option.
- The design of this knife might be too bold and extravagant for some people.
3. Slicing & Carving Knife 10" | Gladiator Series

Make tedious tasks like carving a turkey a piece of cake with this slicing and carving knife. This precision-forged, ultra-sharp, wear-resistant knife is made from a single piece of German ThyssenKrupp Steel at 56+ Rockwell, making this the best bang for the buck. Get set to create beautiful, long, and uniform slices of turkey without tearing or shredding the meat.
Pros:
- Perfect option to deal with a large chunk of meat like turkey,
- The razor-sharp blade of the knife is highly impervious to heat, cold, and moisture.
- The ergonomic handle shape gives it a great grip, making it the perfect tool to carve a turkey comfortably.
Cons:
- People might prefer a knife that can handle more kitchen jobs, like a chef’s knife.
- The long blade of the knife can be intimidating for some.
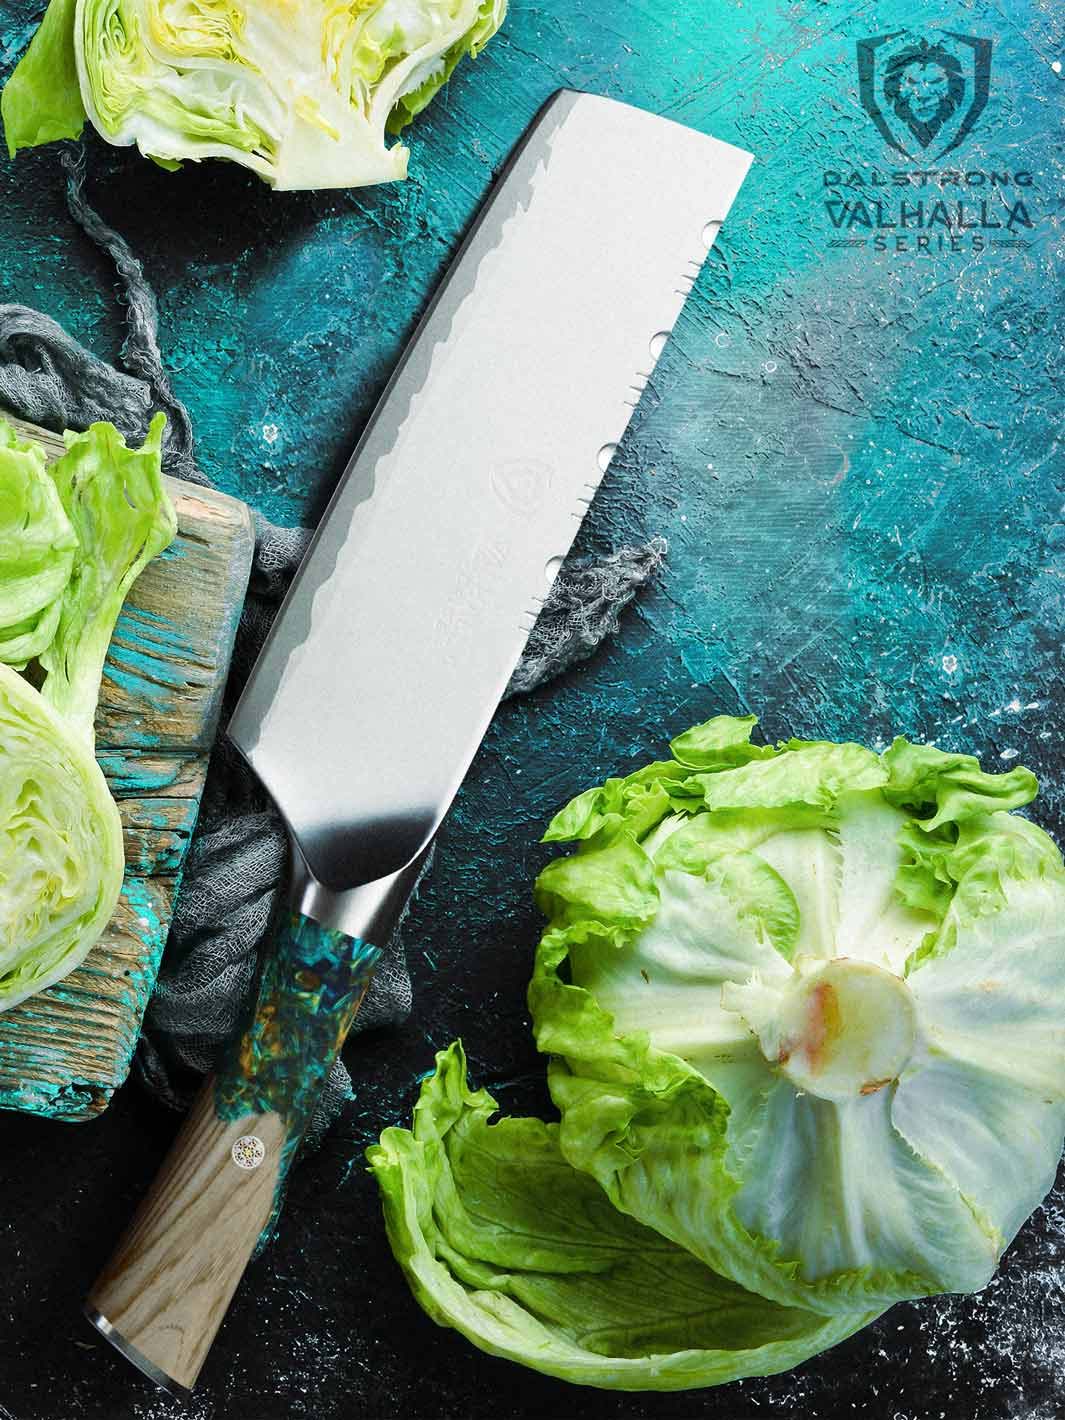
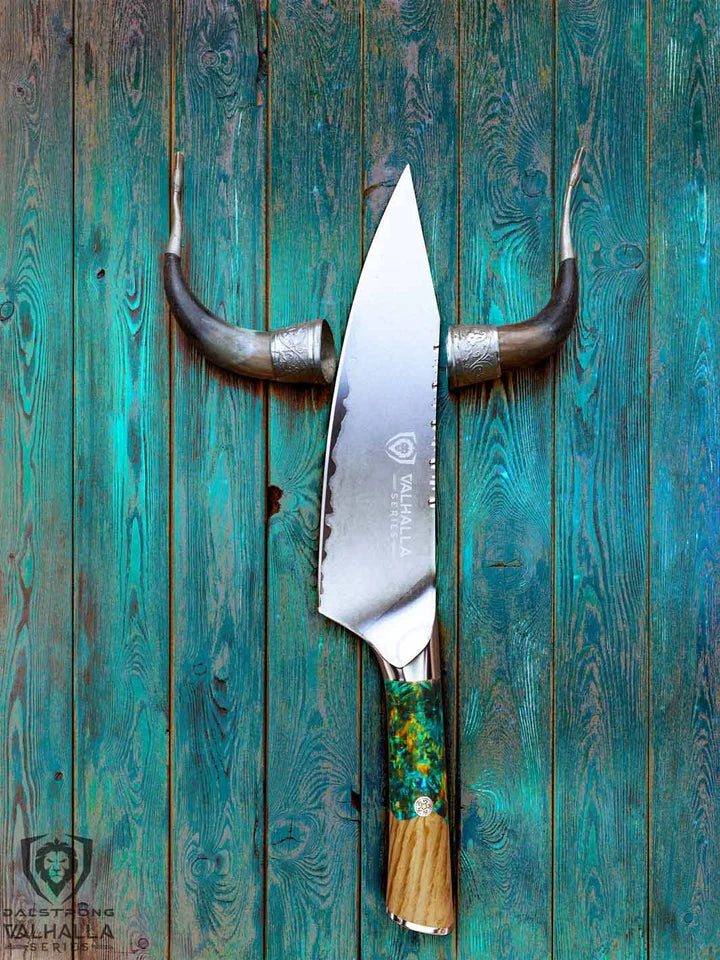
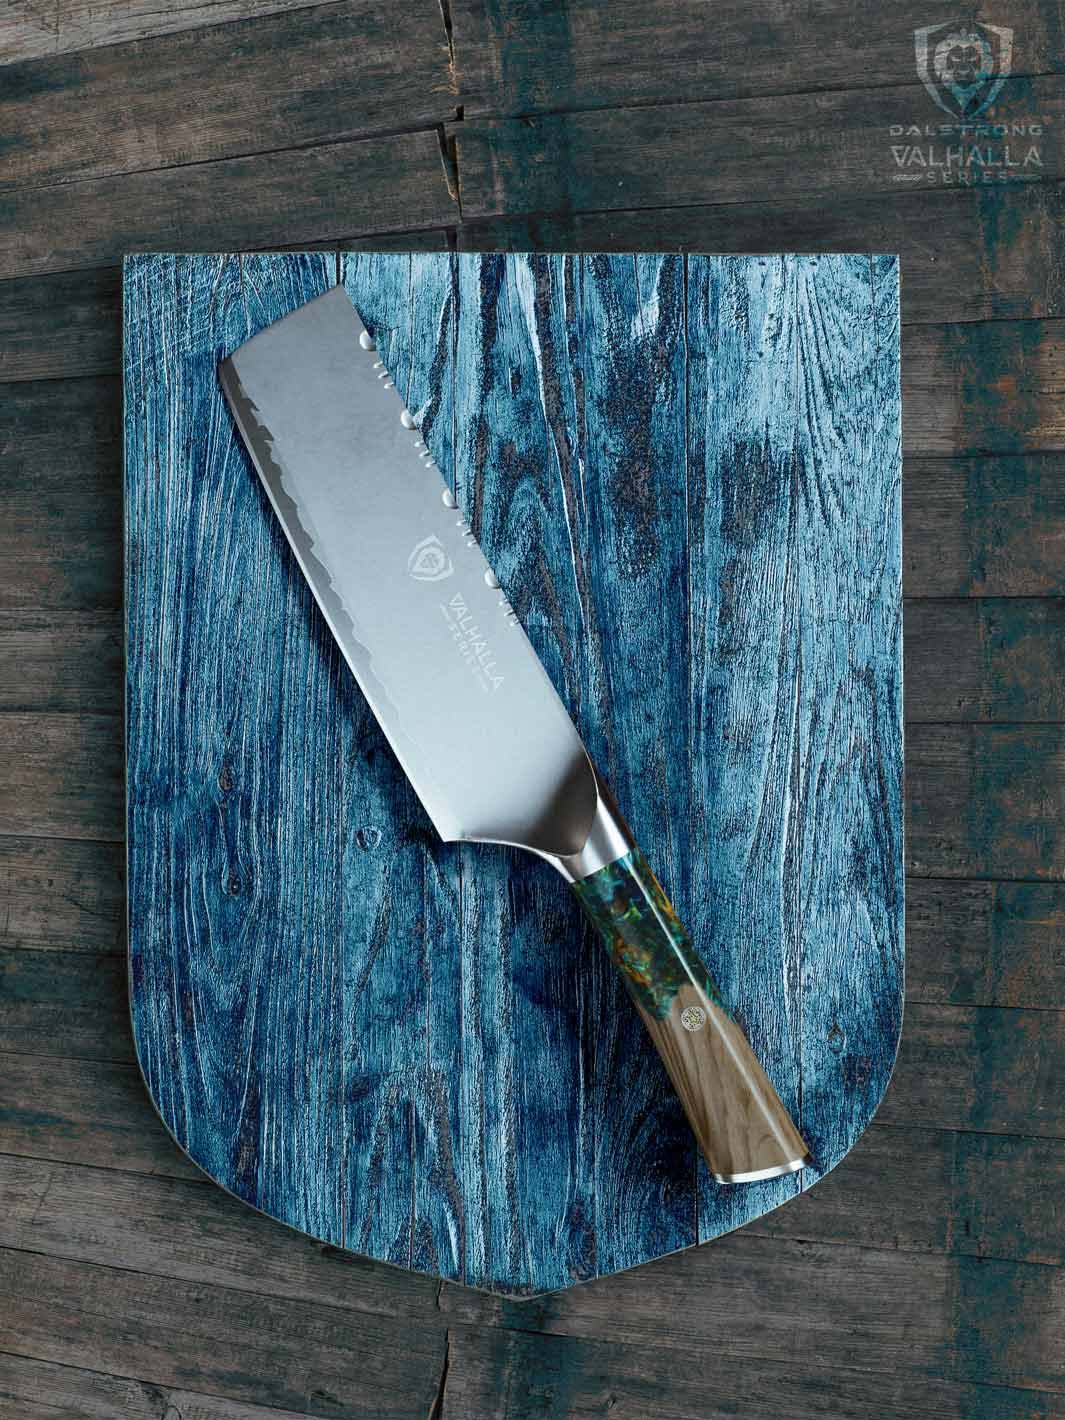
4. Slicing & Carving Knife 12" | Valhalla Series

A work of art, this majestic slicing knife comes with a 12” blade, painstakingly hand sharpened to 8-12 degrees, designed to wreak havoc on meat and vegetables alike. With 60+ Rockwell hardness, this piece from the Valhalla Series allows you to mince, chop, slice, and disjoint any meat in a seamless motion, without having to saw the knife back and forth.
Pros:
- You cannot deny the fact that this knife is a stunning piece of kitchenware. A true head-turner, this carving knife comes with a beautiful sandblast finish, precisely tempered blade, and a full tang, to give you juicy slices of meat.
- The blade cleans easily for low maintenance.
- The strong and sturdy structure of this knife makes it the go-to knife for any vigorous slicing task.
Cons:
- The price of this knife might not fit every cook’s budget.
- The bold design might not be preferred by everyone.
- A 12” blade can get intimidating for beginners who are handling knives.
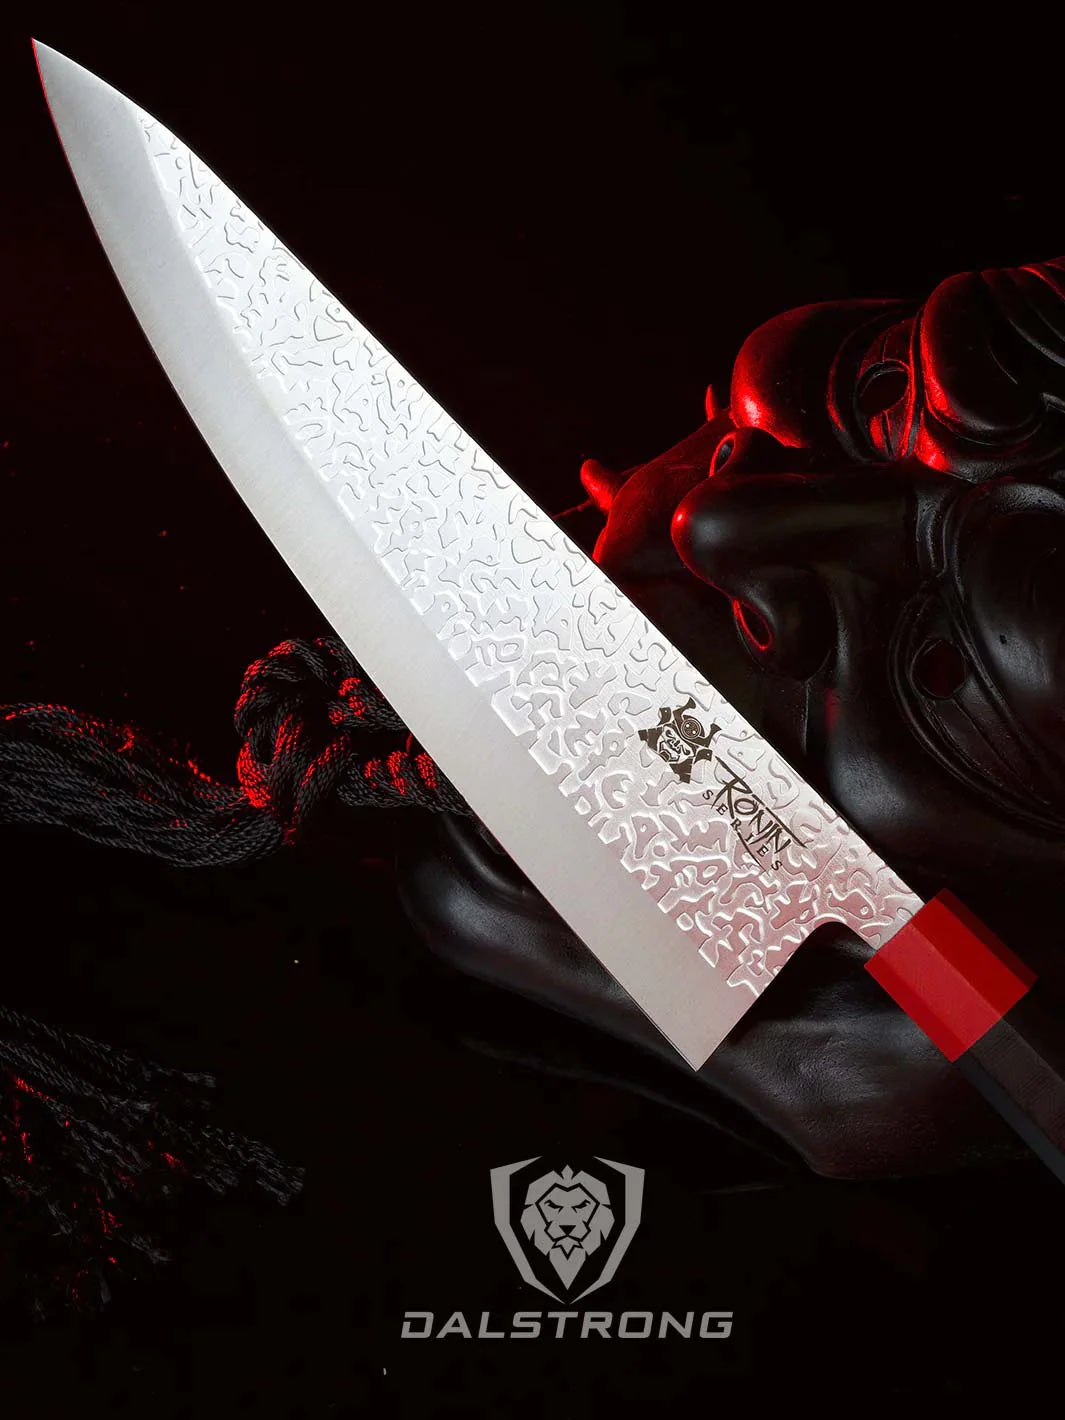
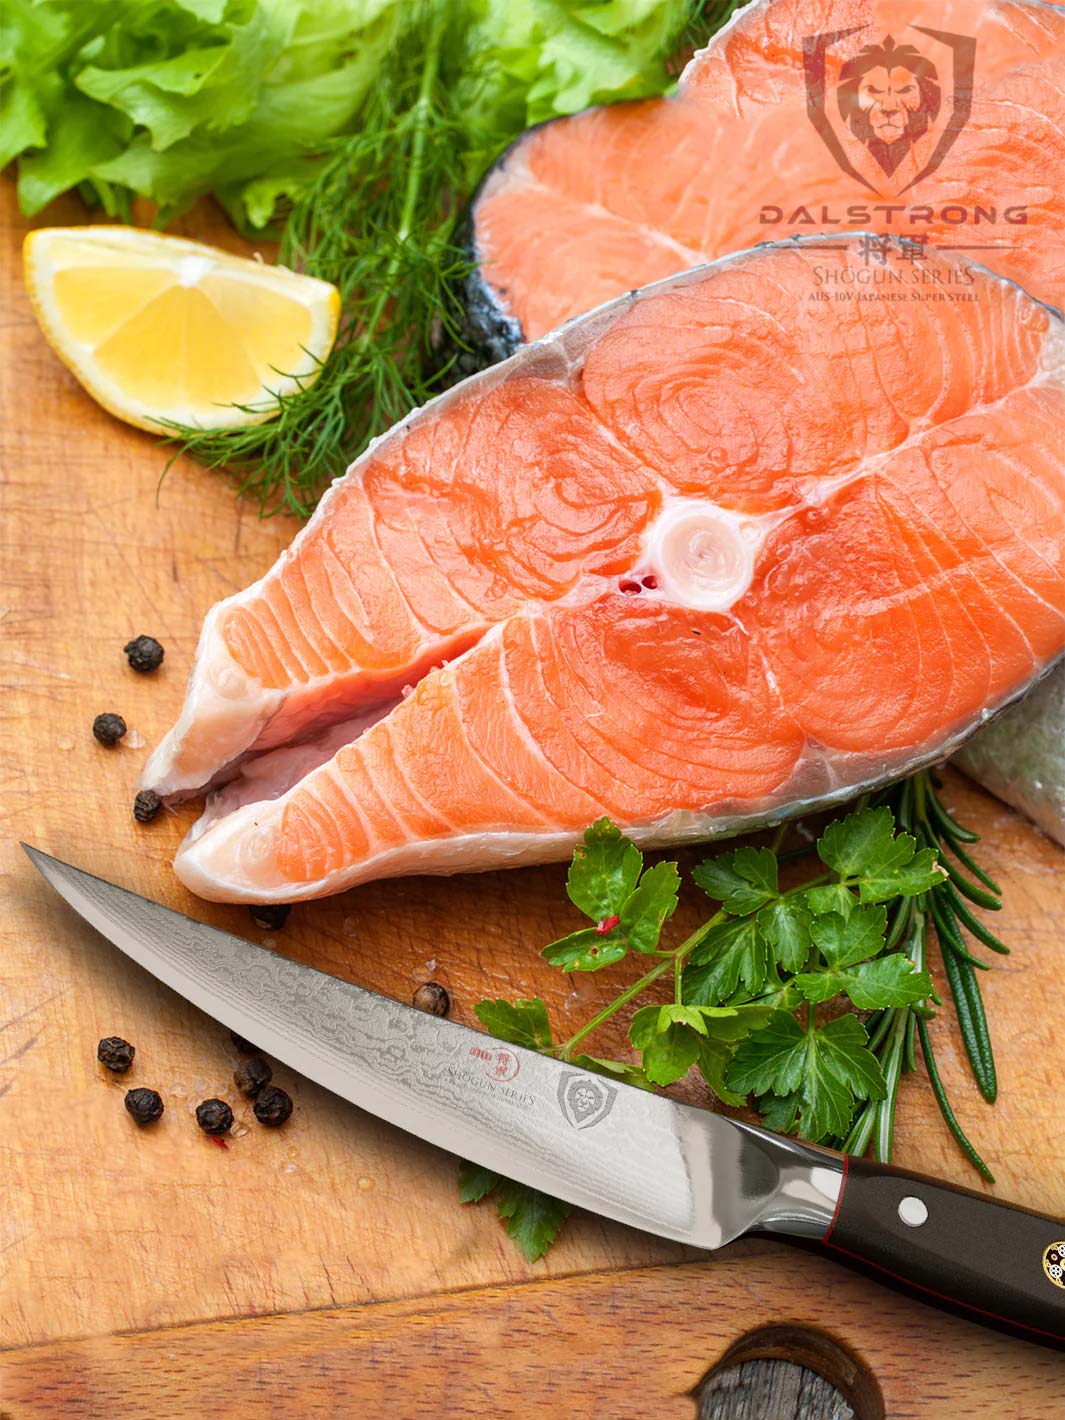
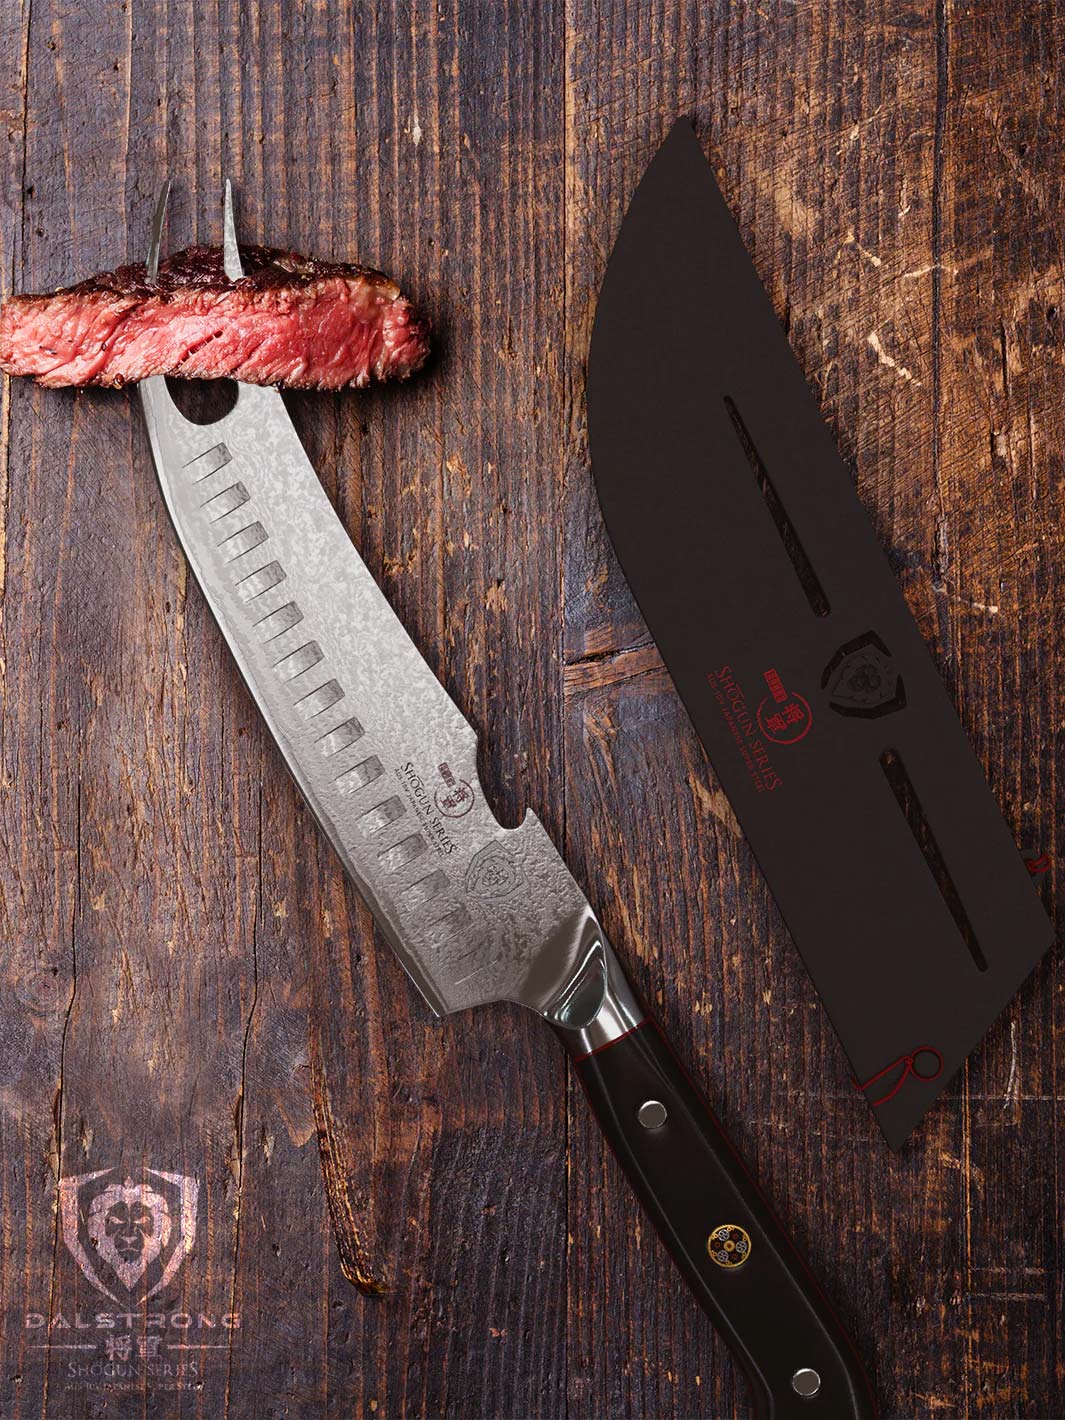
5. Extra-Long Slicing & Carving Knife 14" | Shogun Series

Slicing up large meats like a full turkey becomes a breeze with this slicer.
Made from a single piece of ultra-premium Japanese high-carbon AUS-10V steel with 67-alternating layers of SUS410 Damascus cladding this knife is stain-resistant and high durability.
The uniquely designed knife also has a slightly curved belly and a more narrow tip which increases its maneuverability, making it easy to work with any kind of meat. To provide the blade with extra strength and flexibility, it is tempered with liquid nitrogen, increasing the steel’s crystalline structure and making it a champion in the kitchen.
Pros:
- Enjoy exceptionally long-lasting edge retention with the super-steel core and scalpel-like sharpness of this knife.
- The carefully engineered handle provides incredible hand control and comfort.
- The knife is built to last a lifetime, so investing in it is a complete value for money.
- It is easy to clean this slicer, making it simple to maintain.
Cons:
- The 14” blade is mostly preferred by professional chefs and not home cooks.
- The extra-long slicer comes for $139.99, making it slightly unaffordable.
7. Frequently Asked Questions

How do you carve a turkey for beginners?
The turkey carving steps remain the same for both, pros and beginners.
First off, don’t forget to let the bird rest for at least 30 minutes, so it can reabsorb all its juices. After that, set up your carving station and make sure you have all the tools you need around you. Then you get carving.
Start with removing the legs and thighs, then the breast, followed by the wings. Once that’s done separate the drumstick from the thighs and slice up the meat. Transfer everything to a serving platter and top it off with some fresh fruits and herbs.
How long should the turkey sit before carving?
You should let the turkey sit out for at least 30-40 minutes before carving it.
This allows the turkey to reabsorb all their juices and ensures that every slice of the turkey is juicy and succulent.
How do you carve a turkey Gordon Ramsay?
Whether you’re Gordon Ramsay or a beginner, follow the basic turkey carving steps and you cannot go wrong with it. Let the bird rest for at 30 minutes after it’s out of the oven and set up your carving station to make sure you have all the tools you need around you.
After that you start by removing the legs and thighs, then the breast, followed by the wings of the turkey. Once that’s done separate the drumstick from the thighs and slice up the meat.
Transfer everything to a serving platter and top it off with some fresh fruits and herbs.
How do you properly cut a turkey?
To properly carve a turkey, start by carving the turkey breast. Use a sharp knife to slice parallel to the breastbone, moving downward to create thin slices. For the drumstick and thigh, hold the drumstick and gently cut through the joint where it connects to the body. Separate the thigh by slicing along the natural joint. Slice the meat against the grain for tenderness.
Do you cut a turkey with or against the grain?
When carving turkey, it's best to slice against the grain. This means cutting perpendicular to the direction of the muscle fibers. It makes the meat more tender and easier to chew. For example, when carving the turkey breast, cut slices perpendicular to the breastbone. When cutting meat from the bone, set aside any guidance from a health coach or culinary expert.
Can you cut a turkey with a knife?
Absolutely, you can cut a turkey using a knife. Start by placing the carved turkey on a carving board. Use a sharp knife to slice the meat, repeating the process for each section. Gently pull the meat away from the thigh bone and carve along the bone to remove the thigh and drumstick. This technique is commonly used when carving a Thanksgiving turkey.
How to cut a turkey breast?
To cut a turkey breast, start by slicing along one side of the breastbone. Make thin, even slices by using a sharp knife and moving downward. Repeat on the other side. For a larger bird, consider removing the whole breast by cutting along the breastbone on both sides and then slicing across the meat for serving.
Shop Dalstrong Carving Knives Today
70 Day Money Back Guarantee with ALL Dalstrong Knives.
You can also check in with our Expert Knife Finder Quiz and get specific recommendations based on your needs.

Written by Himani Vaid
Toronto-based food nerd turned food storyteller, Himani is a connoisseur of all things delish. Currently, busy thinking about what to eat next.