How To Grill Burgers: The Complete Step-by-Step Guide

Grilling burgers

Dalstrong Grill Kit 

Quick Steps Overview: 

  • Step 1: Use cold ground beef
  • Step 2: Mix in butter
  • Step 3: Don’t overwork the meat
  • Step 4: Season the burgers liberally
  • Step 5: Use a clean grill
  • Step 6: Heat your grill
  • Step 7: Wait to flip
  • Step 8: Avoid flare-ups
  • Step 9: Let the burgers be
  • Step 10: Add cheese at the end
  • Step 11: Serve with your favorite side! 

Chef in black apron seasoning ground beef

    Dalstrong Apron | Sous Team 6

    ‘Tis the season to fire up the grill and put together juicy burgers in your backyards. While there are tons of great dishes like a turkey burger, or chicken burgers, to cook on a grill the classic beef burgers have to be my all-time favorite! This year, I decided to perfect the art of grilling burgers. 

    I aimed to craft a meal that is easy to throw together, flavorful enough to stand up to the person who adds any condiments to his or her burger, and yet balanced enough to please and satisfy even the minimalist burger eaters, like those who like ketchup only. 

    Read on for some basic yet very crucial information that will help you grill burgers like a pro! 

    1. Best Ground Beef to Buy

    A burger can be seasoned a hundred ways to Sunday, but seasonings aren’t the star of the burger, the beef is. For a juicy, hearty, flavorful burger, avoid the extra-lean ground beef patty blends and use ground beef with higher fat content.

    Ground beef with an 80/20 mix is the most suited for grilled burgers. This simply means that the beef has a mix of 80% lean beef and 20% fat. When you go to the supermarket to shop for beer, you will usually get ground chuck which is perfect for burger patties. 

    Remember, ground beef with 20 to 25% fat is just about perfect. More fat will cause the burger to fall apart and less fat will result in a dry burger. 80/20 ground chuck is also easily available in the market. However, you can also ask your butcher to grind your blend or grind a higher fat-to-beef ratio. 

    2. Shaping Burger Patties

    There are 2 very important rules to keep in mind when making burger patties:

    • Keep the meat cold 
    • Avoid overcooking the meat 

        These rules might not seem like anything but in the burger patty-making process, they are very important. You want to keep the beef in the refrigerator until you are ready to form patties. It is important to keep the fat in the beef cold because it will rapidly expand when it hits the heat of the grill, creating tiny flavor pockets inside the patty. 

        Here are a few simple steps to follow while forming and shaping your burger patty: 

        1. Start by wetting your hand with cold water. This will keep the meat from sticking to your warm hands. 
        2. Cup the portioned beef in your hands to form a lightly-packed ball. Be careful not to overpack it. This can lead to a very dense burger. 
        3. Press the ball down into a disk that is about 1-inch thick and just over 3-inches wide. Use your thumb to smooth out the edges.
        4. If you want perfectly round patties, you can also use a tool. 
        5. You can also press the beef down using the lip of a large sour cream container or a peanut butter jar lid that is lined with plastic wrap. 
        6. Once shaped, pop the patties back into the refrigerator to ensure the meat remains cold. However, before you do that, press a small indentation into the center of the patty. Creating this dimple will ensure that the patty is cooked evenly when placed on the grill. 
        7. If you plan on using a cast-iron skillet, make a doughnut hole in the center of the patty to ensure even cooking. 

            3. Tips & Tricks for Grilling the Perfect Burgers

            While there are tons of grilling tactics around, there are only a few that result in a truly great, juicy burger. Here are some tips and tricks that might come in handy when you fire up some burger patties on the grill:

            Let the Patties Chill

              Making burger patties well in advance and refrigerating them allows the patty to hold better shape and stay intact while grilling. Make sure you don’t overhandle the patties as they can compress the meat and start to melt the fat.

              Stick Your Thumb In

                Press your thumb into the center of the prepared burger to make a dimple. This will keep it from bulging as it grills. This will keep your burger patty nice and flat on the grill.
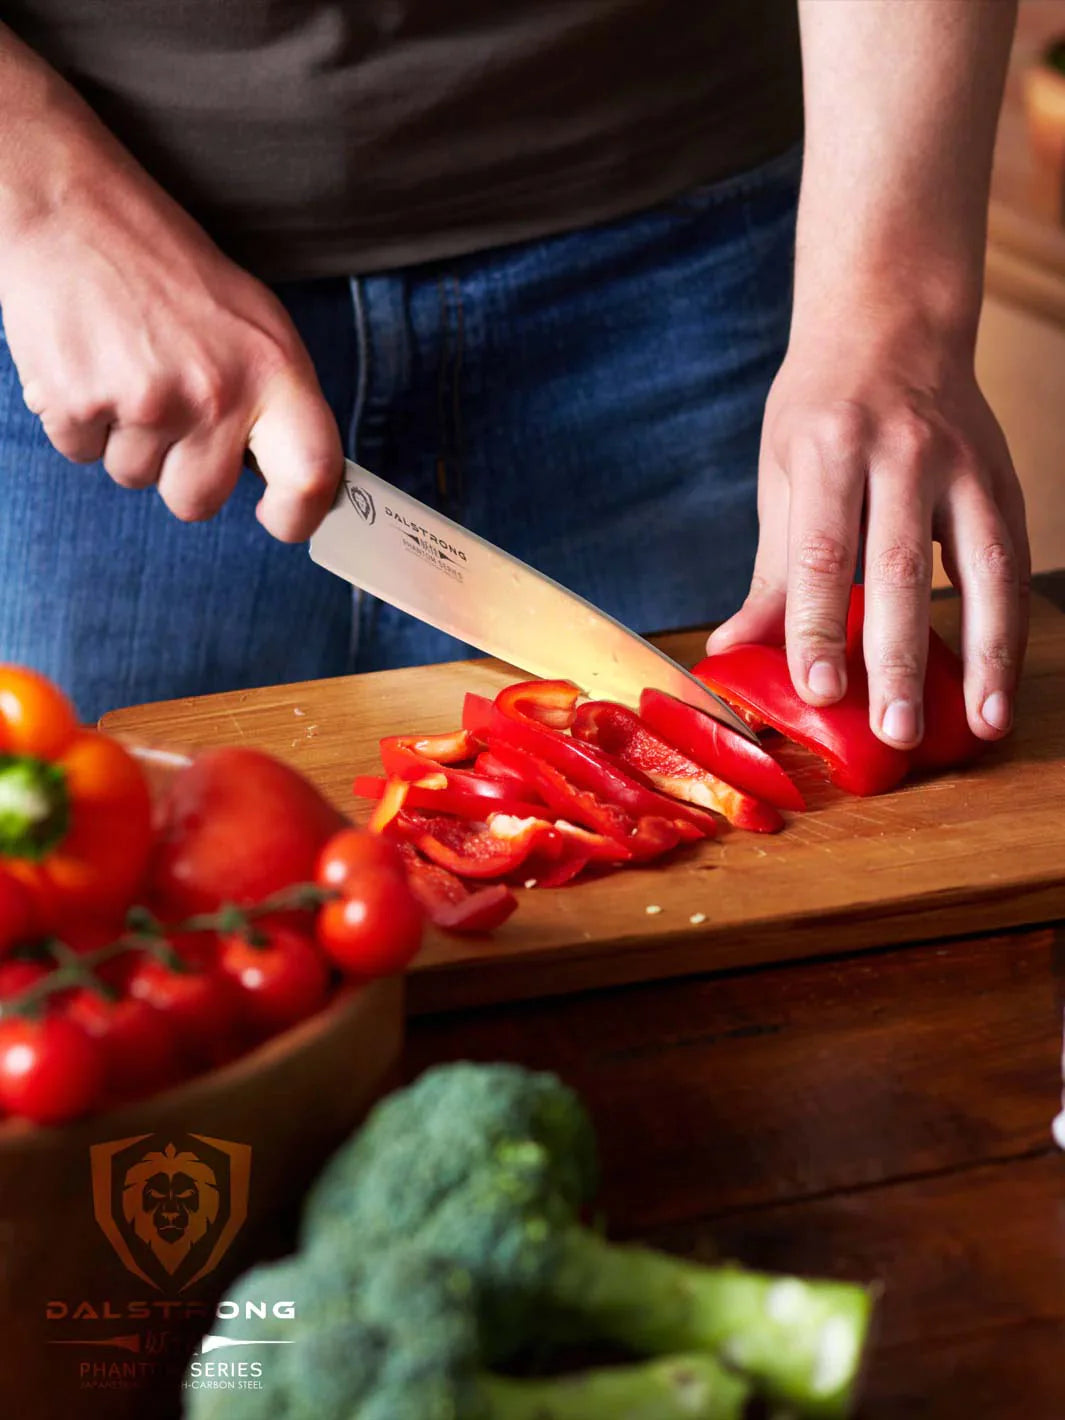
                Oil the Burgers

                  Brush the burgers with olive oil before you place them on the grill. This will ensure that the burgers don’t stick on the grill and will take on a nice sear, sealing the juices inside the patty.

                  Do Not Push on a Burger

                    For some reason it is commonly seen that people push down on the burger with a grilling spatula. DO NOT DO THIS. This only squeezes out the juices that are supposed to keep the patty moist and tender.

                    Turn it Once

                      For the best results, turn a burger patty the fewest times possible. I recommend you start with a hot grill, allowing a 2-3 minutes sear on one side and then flipping it to fully cook the opposite side. This will ensure that the burger is intact and remains juicy.

                      Check the Temperature

                        The best way to check the internal temperature of the patty is by using an instant-read meat thermometer. You need to ensure that the internal temperature has reached 160 degrees. Remember, that the meat will continue to cook for some time even once it is removed from the gill. So you want to take it off when it has reached 3-5 degrees under the desired internal temperature.

                        Let the Burgers Rest

                          Once the burgers are done, take them off the grill and place them on a platter to rest. Let the patties sit for about 5 minutes before serving. This will ensure that all the juices have been absorbed by the patty and remain juicy and tender. 

                          4. How Long Does it Take to Grill Burgers?

                          The grilling time for burgers depends on the desired level of doneness you would like to achieve. In general, you can follow these grilling times:

                          Level of Doneness

                          Time

                          Internal Temperature

                          Rare Burgers

                          4 minutes total

                          125 degrees F

                          Medium-Rare Burgers

                          5 minute total

                          135 degrees F 

                          Medium Burgers

                          6-7 minutes total

                          145 degrees F

                          Well-Done Burgers

                          8-9 minutes total

                          160 degrees F


                          With all this being said, ultimately it all boils down to how hot your grill is and how thick the patty is. As per my experience, 1-inch thick, 4-inch diameter patties are medium done at 5 minutes and well done at 6 minutes total. 

                          5. Detailed Method: How to Grill Burgers?

                          Easy Steps to Follow


                          Step 1: Use cold ground beef

                          • One of the most important things to keep in mind is that the best way to cook an average-sized burger patty is straight from the fridge. 
                          • By cooking from cold, you give the burger a chance to develop a lovely crust while getting the center to that desirable medium-rare. 

                          Step 2: Mix in butter

                          • While it is very common to find onions, herbs, and even eggs in your beef patties, they are not important. 
                          • What is important is to make sure you mix in the butter with the ground beef. This is because it adds moisture and fat to the patty. 
                          • For every 1½ pounds of beef, grate 1 stick of cold, unsalted butter into the meat mixture.  

                          Step 3: Don’t overwork the meat

                          • It is very important to handle the meat as little as possible. 
                          • Instead of wrestling with the meat, mix it just enough to form the perfect patty. 
                          • To do this, gently toss it from hand to hand and flatten the patty until it’s a little less than 1 inch thick. 
                          • After this, use your thumb to make an impression in the center of each patty. This will ensure even cooking and will make sure that the patty doesn’t fall apart while cooking. 

                          Step 4: Season the burgers liberally

                          • Remember, DO NOT salt the burgers before they are formed into patties. Salting it will cause the muscle proteins to dissolve, resulting in a patty whose texture is more like a sausage than a burger. 
                          • Instead, I recommend you season the patty liberally with salt and pepper evenly just before placing the patty on the grill.
                          • You want to sprinkle the salt and pepper from a height of at least 6-inches to ensure an even layer of salt on the patty. 

                          Step 5: Use a clean grill

                          • One of the biggest rookie mistakes when it comes to grilling is using a dirty grill. If the grill bars are clogged with crusty remains from the previous barbecue, it will obstruct the heat transfer between the fire and patty. 
                          • It is very important to use some elbow grease and scrub that grill. 
                          • You can use half an onion on a meat fork for this, but if the grill is really dirty, I recommend your use a brush that has stainless steel bristles to ensure a completely grit-free grill. 

                          Step 6: Heat your grill

                          • It is important to grill the meat at the correct temperature. 
                          • If the grill is too hot, the burgers will burn on the outside and remain raw on the inside. 
                          • If the grill is cold, the patty will stick to the grill, dry out and develop a gray colour. 
                          • One way to approach this is by setting up a hot zone, which has more coal and a cooler zone that has fewer coal pieces.
                            Start your burger in the hot zone to achieve the perfect sear on the crust and them move them to the cooler zone if they develop too much color too quickly. 

                          Step 7: Wait to flip

                          • Patience is key. I know the feeling of wanting to do something constantly when cooking, but trust me, that does not work with burger patties. 
                          • After you put the burgers on the grill, close the lid and let them cook before flipping it. 
                          • Midway through the cooking process of about 4-5 minutes later, you can  flip the burger. 
                          • To know when its time to flip, wait for the burger to develop a crust that is no longer sticking to the grill.

                          Step 8: Avoid flare-ups

                          • You want to avoid flare-ups as often as possible. While it may look cool in front of your guests, it does not do anything for the patty. 
                          • The fat from the butter may cause flare-ups. 
                          • The thing is, this flame adds an acrid charcoal flavor to the patty that is not a very appealing. 
                          • If flare-ups happen, move the burger to a more indirect heat source (like the cooler zone). 

                          Step 9: Let the burgers be

                          • While you may have seen a lot of people smashing the burgers, it is only done best with a flat griddle. 
                          • The problem with this is that when burger patties are pressed fat, any potential juiciness literally escapes through the grates. 
                          • You must let your burger cook and plump up by itself, without pressing it down. 

                          Step 10: Add cheese at the end

                          • You should add cheese right before you are about to take the meat off the grill. 
                          • This will ensure that the cheese is perfectly melted.
                          • Adding the cheese early on can cause it to burn. 

                          Step 11: Serve with your favorite side! 

                          • Burger patties are made of ground meat and not intact muscles. Due to this, the longer they sit, the more juices will run out, making the burger dry. 

                          • Once grilled, let the burger sit for 5 minutes only and then put the patty on a bun, add your topping and serve. 


                          6. Easy Recipe: Grilled Burgers 

                          Now that your know how to grill fantastic burgers, here’s one my favorite easy-peasy Grilled Burger recipes that will elevate the meal and leave your guests wanting more! 


                          Grilled Burgers

                          Prep Time

                          10 mins

                          Cook Time

                          5 mins 

                          Total Time

                          15 mins

                          Servings

                          6 burgers


                          Ingredients

                          Ground Beef

                          • 2 pounds Ground Beef (80/20, cold)

                          Ingredients

                          • 4 cloves Garlic (minced)
                          • 2 tablespoons Onions (minced)
                          • 1 tablespoon Worcestershire Sauce
                          • 1¾ teaspoons Black Pepper (freshly ground)
                          • 1½ teaspoon Salt
                          • 6 Burger Buns
                          • Butter  
                           

                          Cooking Instructions

                          Step 1: Set up the cooking station

                          Step 2: Make the burger mix

                          • Put the cold ground beef in a mixing bowl. 
                          • Sprinkle the ingredients evenly.
                          • Fold the meat over a few times to combine everything well. 
                          • This should take about 30-45 seconds. Make sure you don’t overhandle the meat. 

                            Step 3: Shape the burger patties

                            • Shape the patties using your hand or form them on a tray. 
                            • Divide the meat into 6 equal parts.
                            • Follow the steps mentioned at the beginning of the article to shape the perfect patties. 
                            • Once shaped, cover the patties with plastic wrap and transfer them to the fridge while you heat the grill. 

                              Step 4: Heat the grill

                              • Heat your gas grills or charcoal grill to 450-500 degrees F. 
                              • Butter the insides of all the buns and set them near the grill. 

                                Step 5: Grill the burgers

                                • Place the patties over direct heat. Cook them to your desired doneness. 
                                • Follow the doneness chart provided at the beginning of the article. 
                                • Try and flip the burger only once during the cooking process.
                                • Do not press down on the patties at any time. 

                                  Step 6: Add the cheese and toast the buns

                                  • When you have about a minute left, add cheese to the burgers and the buttered buns to the grill over indirect heat.

                                  Step 7: Rest the burgers

                                  • Remove the burgers and buns from the grill and transfer to a platter. 
                                  • Let the patties sit for 1-5 minutes before serving. 

                                    Step 8: Assemble and serve!

                                    • Assemble all the components for the burger and serve hot. 
                                    • You can serve the burger with tomato jam, bacon jam, garlic aioli, blue cheese sauce, sautéed mushrooms, or thousand island sauce.
                                    • You can also choose to go the classic way and serve with fresh lettuce, tomato slices, pickles, and red onion. 


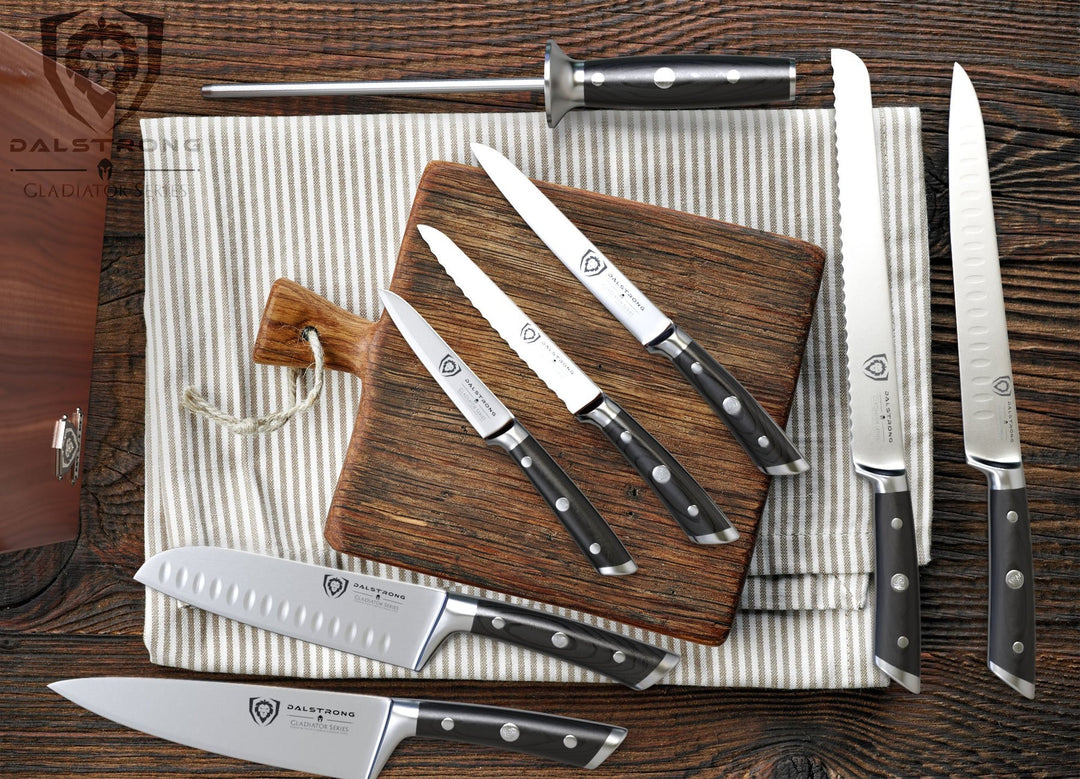
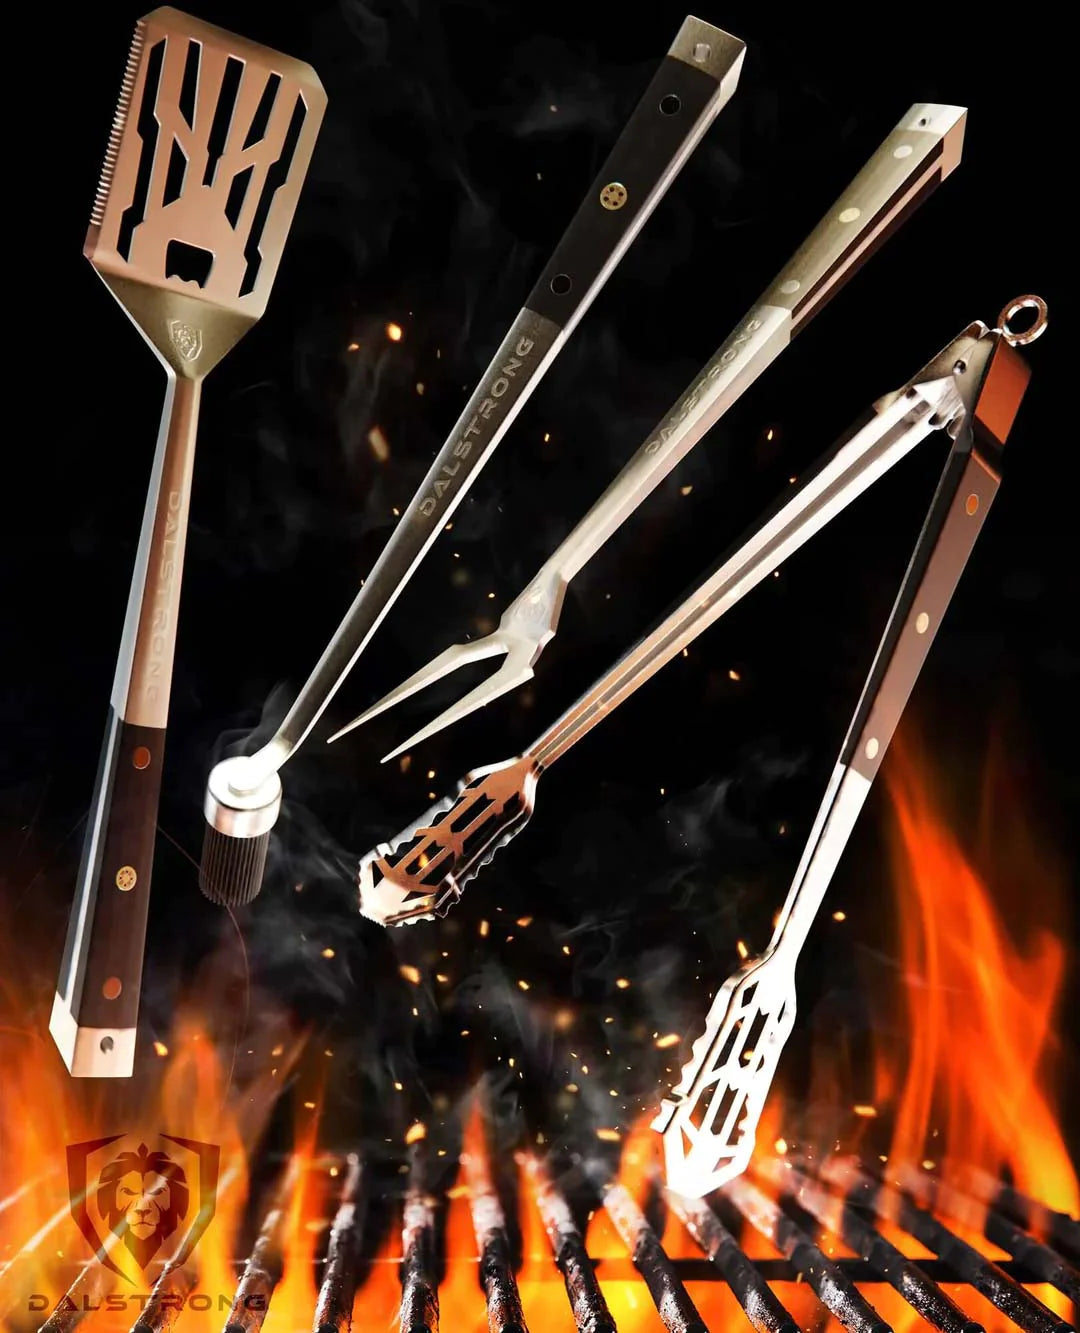
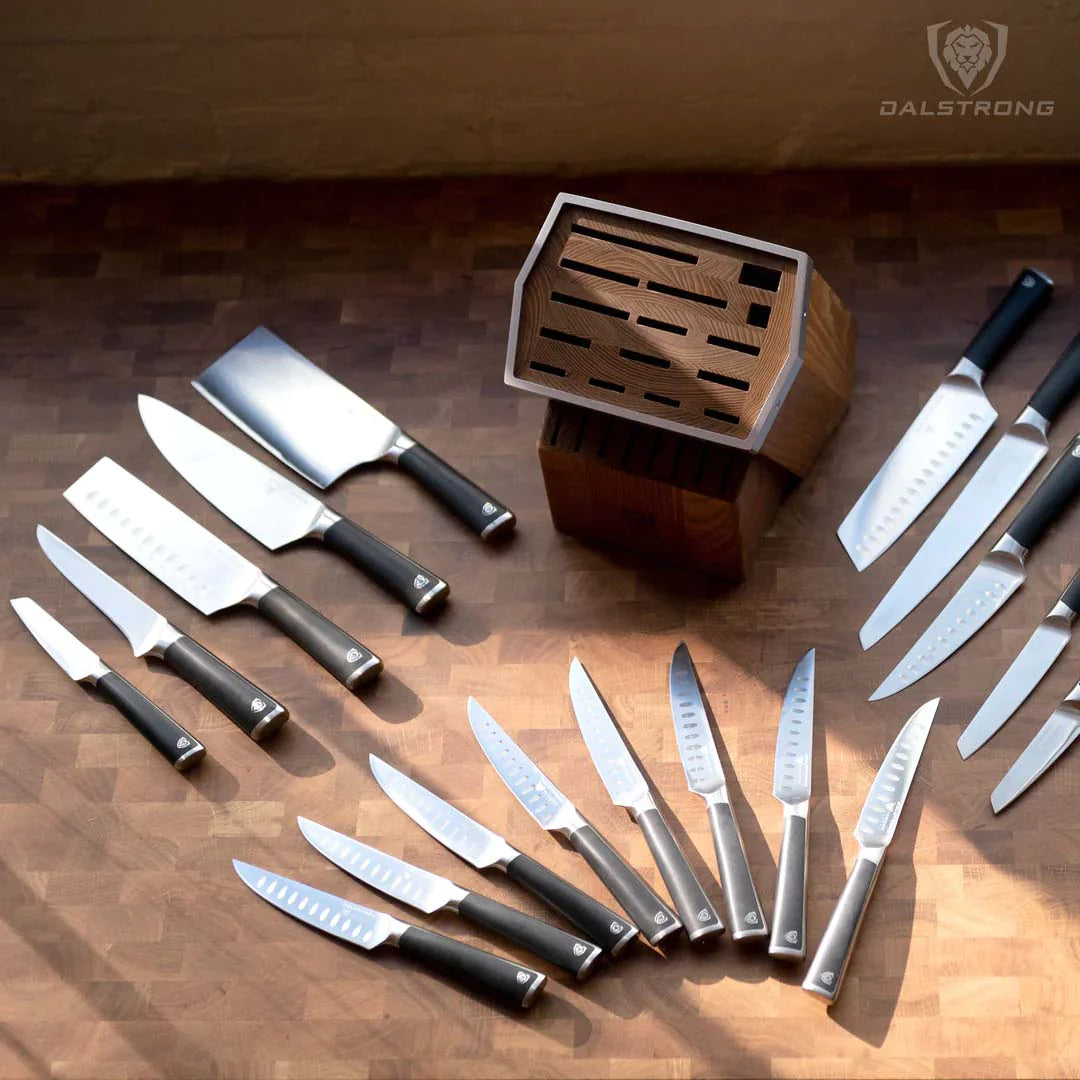
                                      7. Best Tools to Use When Grilling

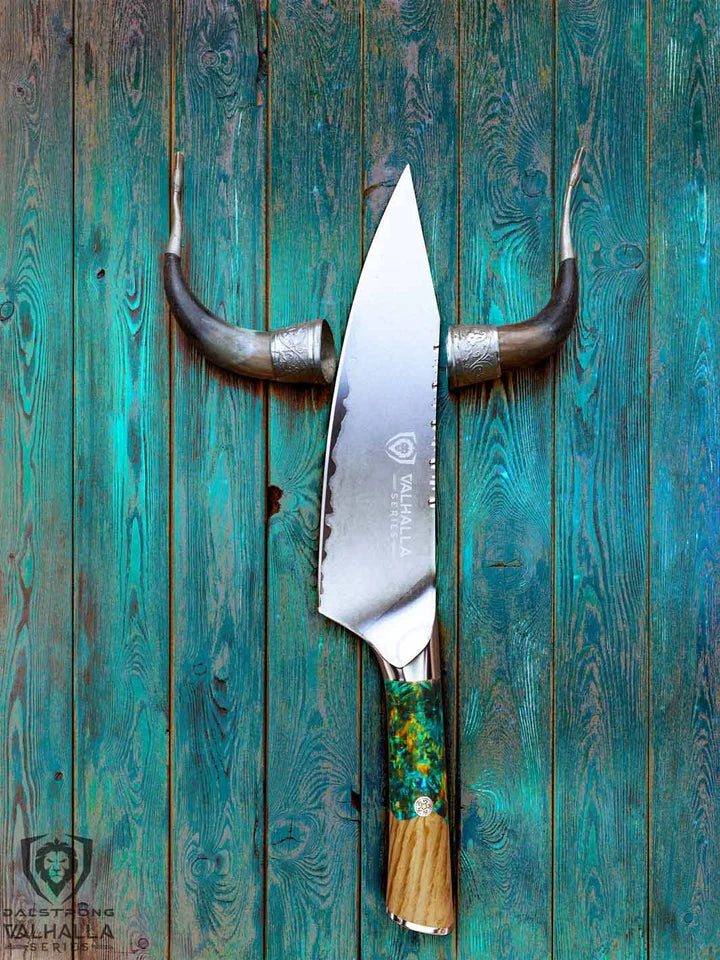
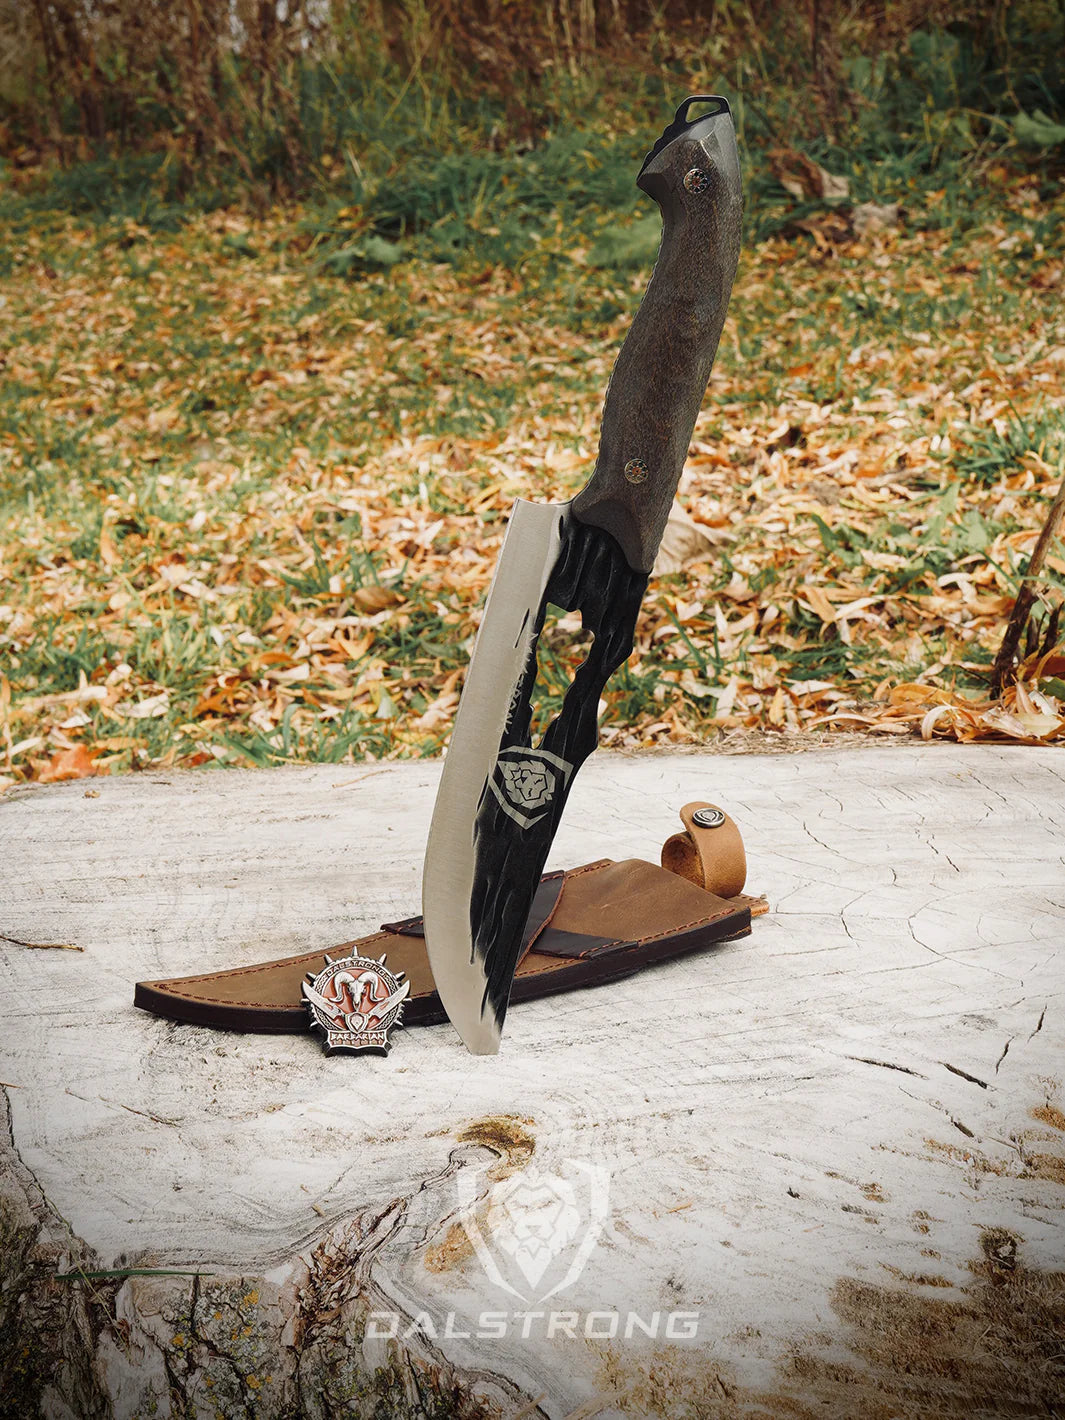
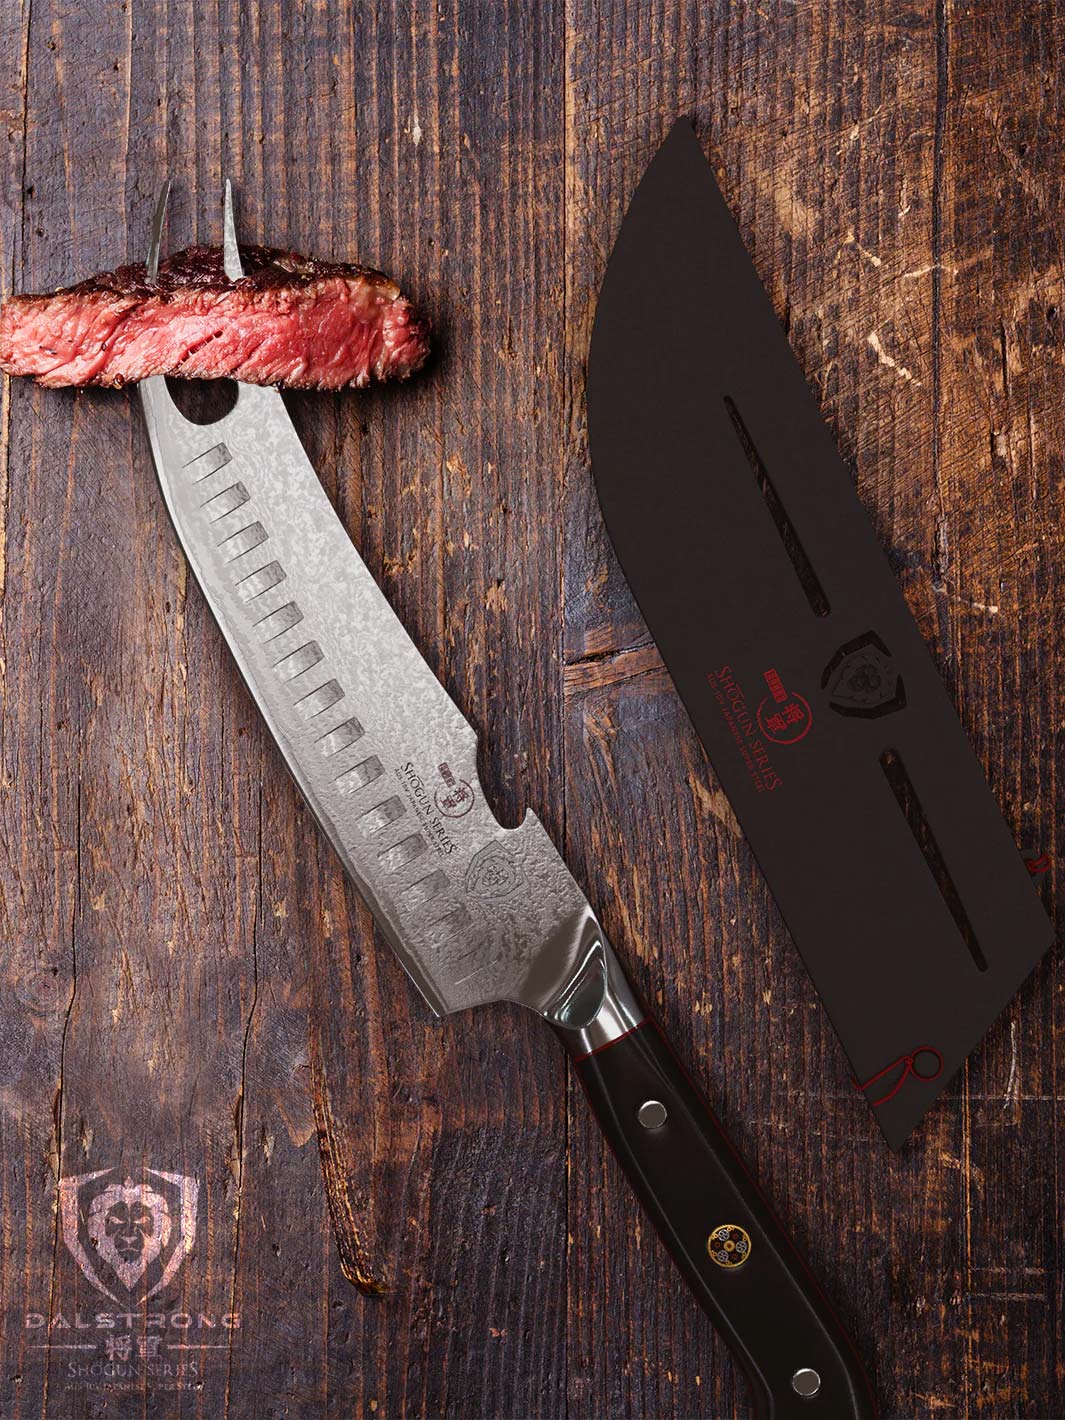
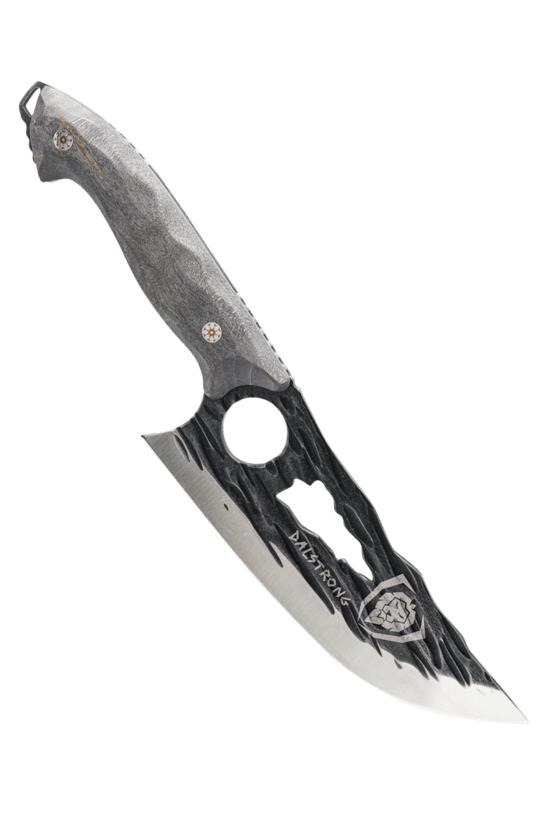
                                      1. BBQ Pitmaster and Meat Knife 8”

                                       BBQ Pitmaster & Meat Knife 8" | Shogun Series | Dalstrong ©

                                      For all those who love to fire up a grill and host some delicious barbecues, this is the knife meant for you. The meticulously crafted blade is perfect for slicing, butchering, and serving all types of meats.

                                      Pros:
                                        • The blade features a unique forked front end that is ideal for flipping meat directly on the grill. 
                                        • If you enjoy a chilled beer while grilling the burger patties, this knife also has a bottle opener on the spine of the blade. 
                                        • The handle is designed to provide maximum comfort when working the grill and reduce wrist fatigue, making it possible for you to work longer with the blade.

                                        Cons:

                                        • This blade can get intimidating if you are new to grilling or cooking. 
                                        • The blade comes with a high price tag which can get too steep especially if you are an occasional griller.

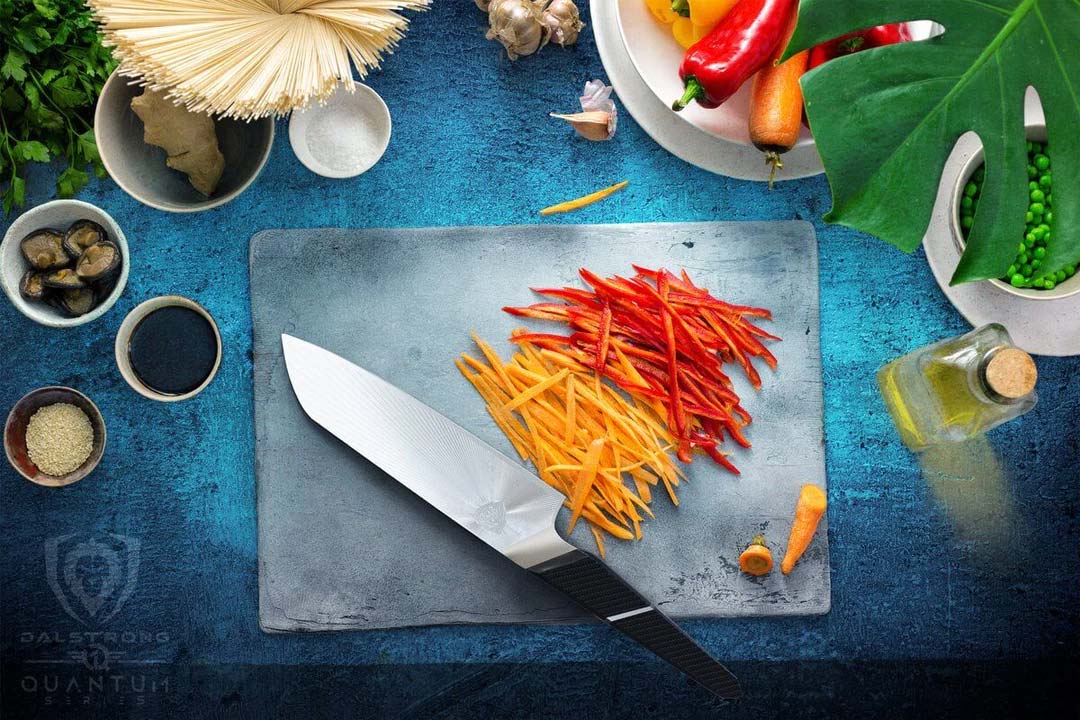
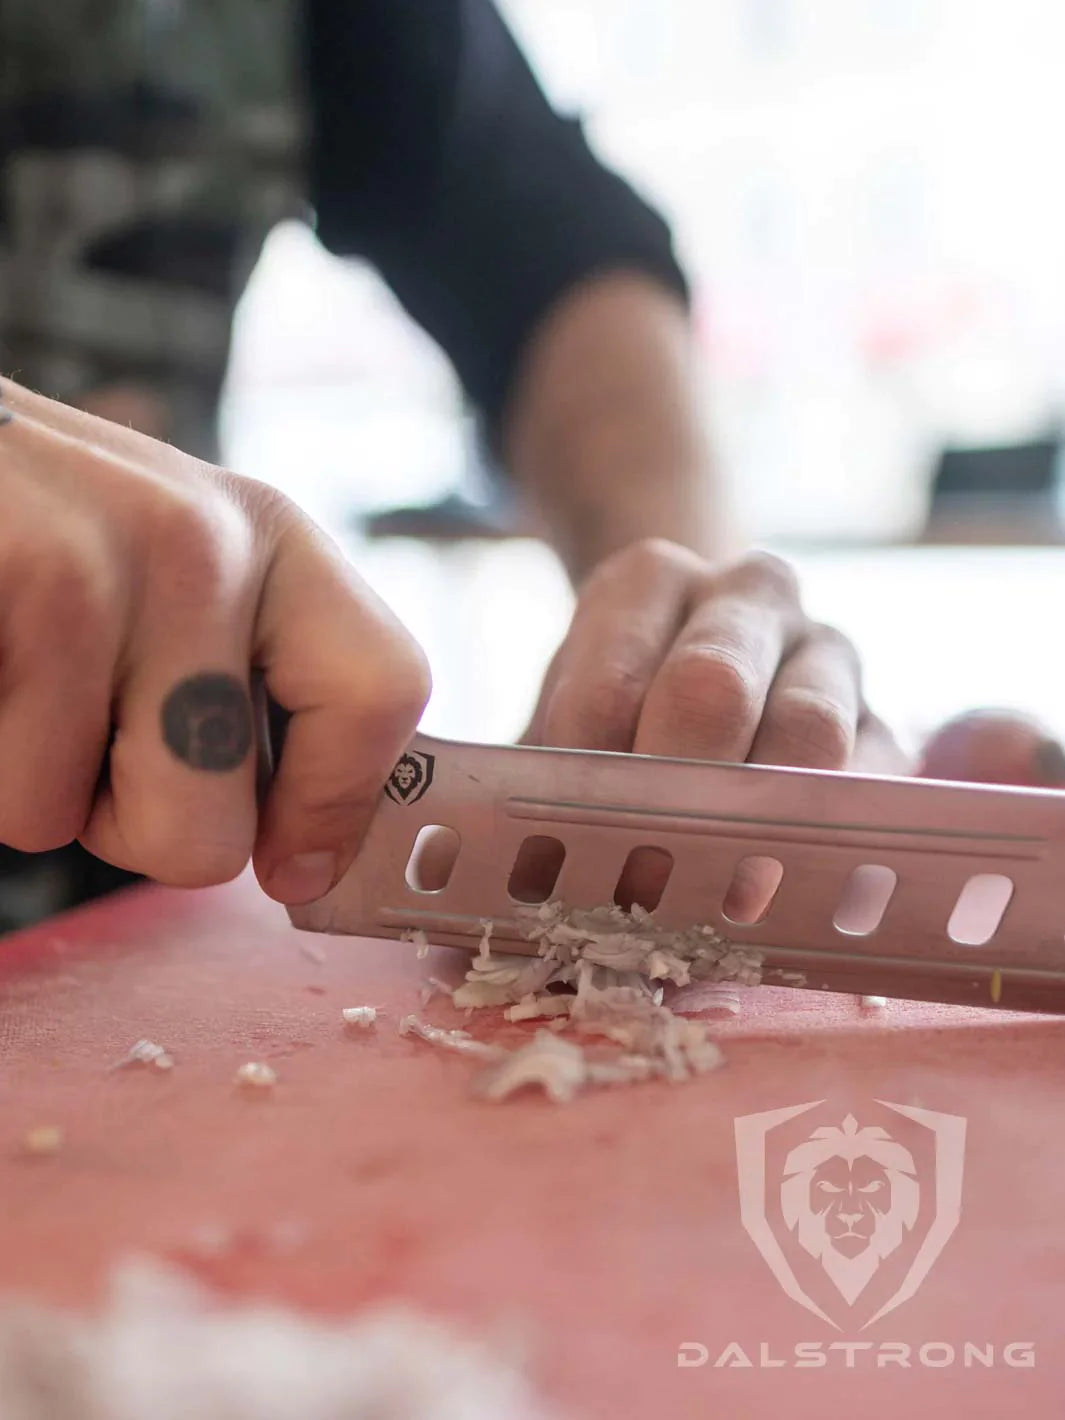
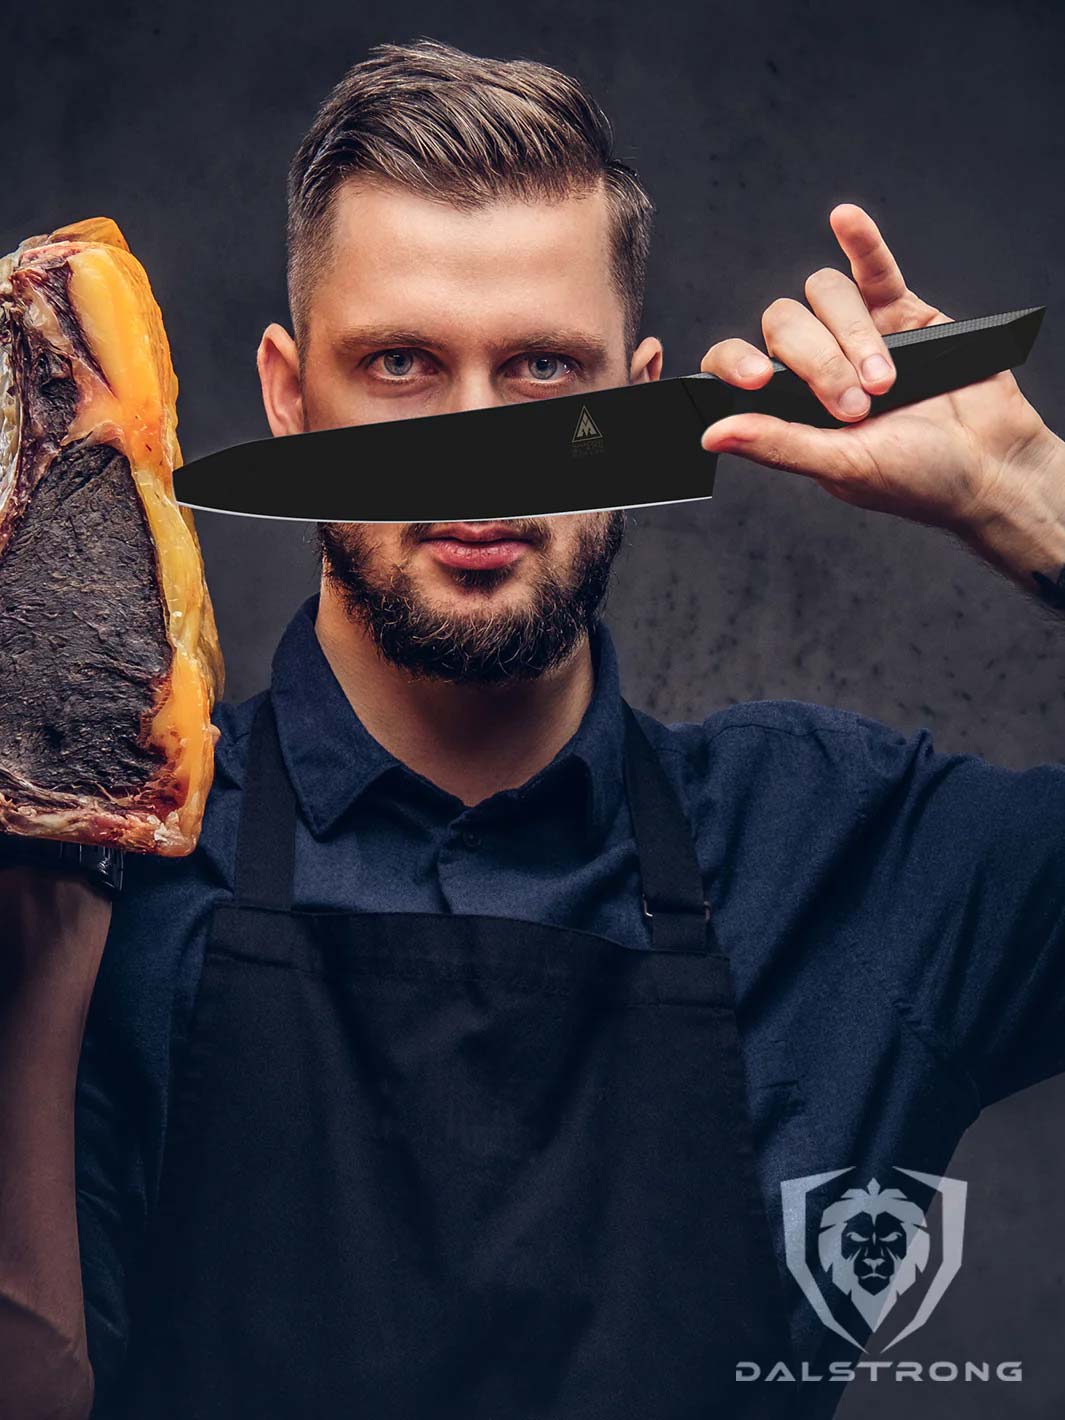
                                        2. BBQ Pitmaster Knife 9”

                                        Dalstrong BBQ Pitmaster Knife 9" Shadow Black Series

                                        The stunning knife with a screamingly sharp cutting edge is engineered for optimal maneuverability. Designed to look sleek, aggressive, and muscular, this knife is designed to work tirelessly by your side in your culinary journey. 

                                          Pros: 
                                          • This knife provides excellent edge retention, ensuring clean and precise cuts of meat. 
                                          • The blade ensures the perfect balance between resilience and performance, creating minimal food drag. This means, lesser flesh damage when slicing the grilled meat. 
                                          • The knife is also corrosion-resistant, making sure it lasts you a lifetime. 
                                          Cons: 
                                          • A 9” knife can get too big to handle, especially if you are a new cook. 
                                          • While not as exorbitant as the previous recommendation, the price of this knife is also on the higher side. If you are still practicing grilling, you would want to go for a less intimidating blade size. 

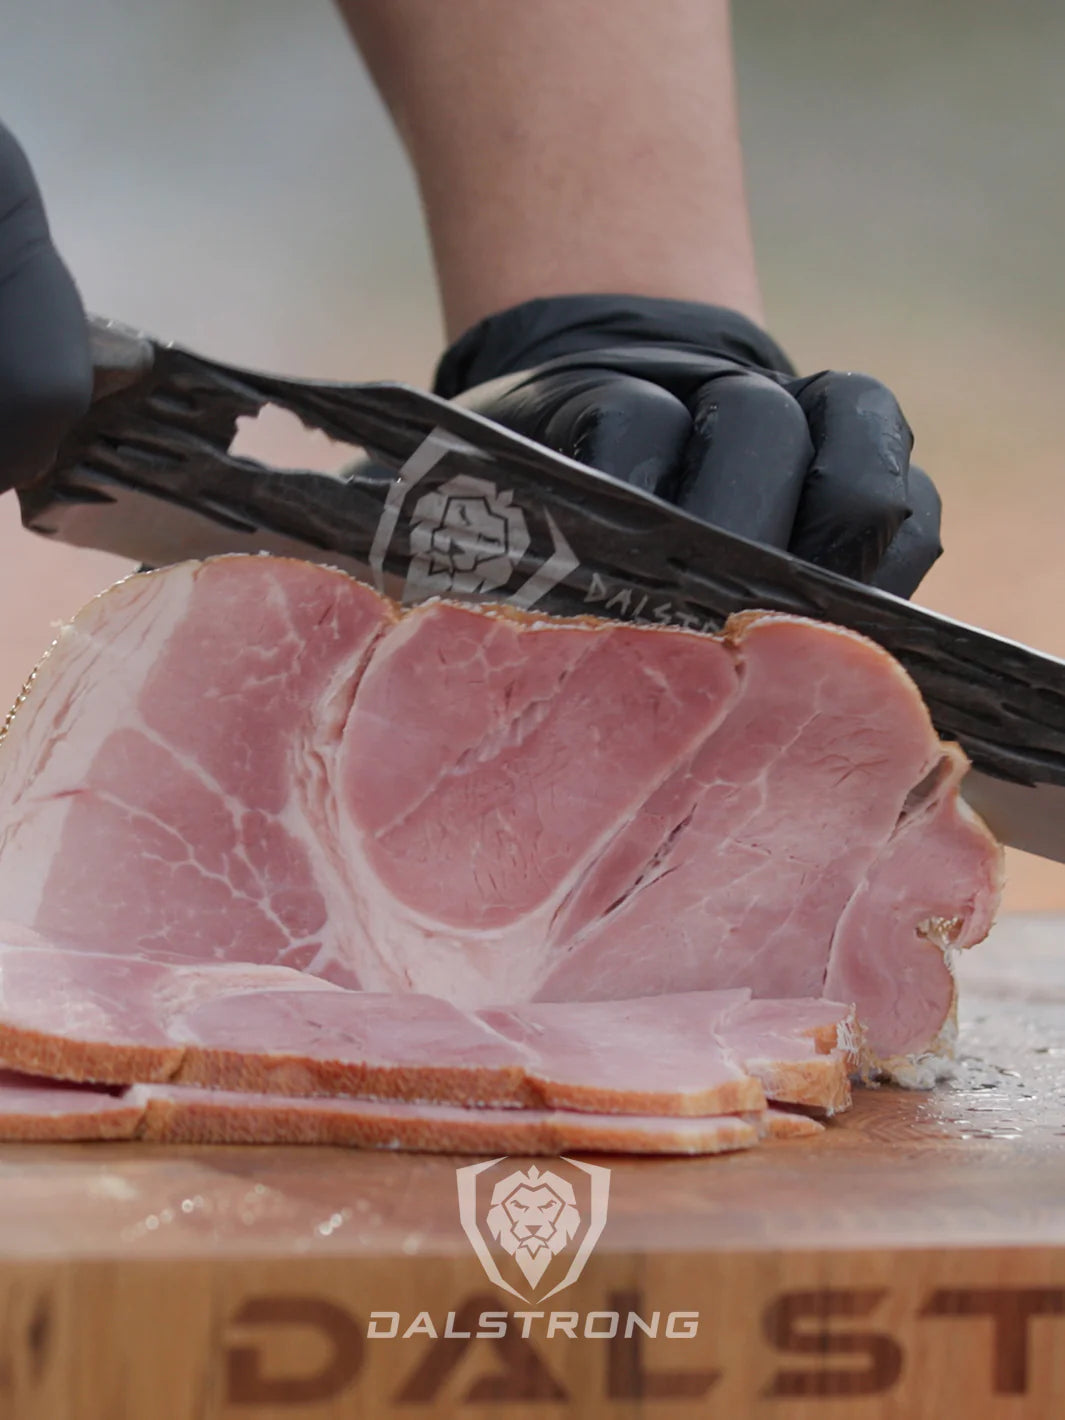
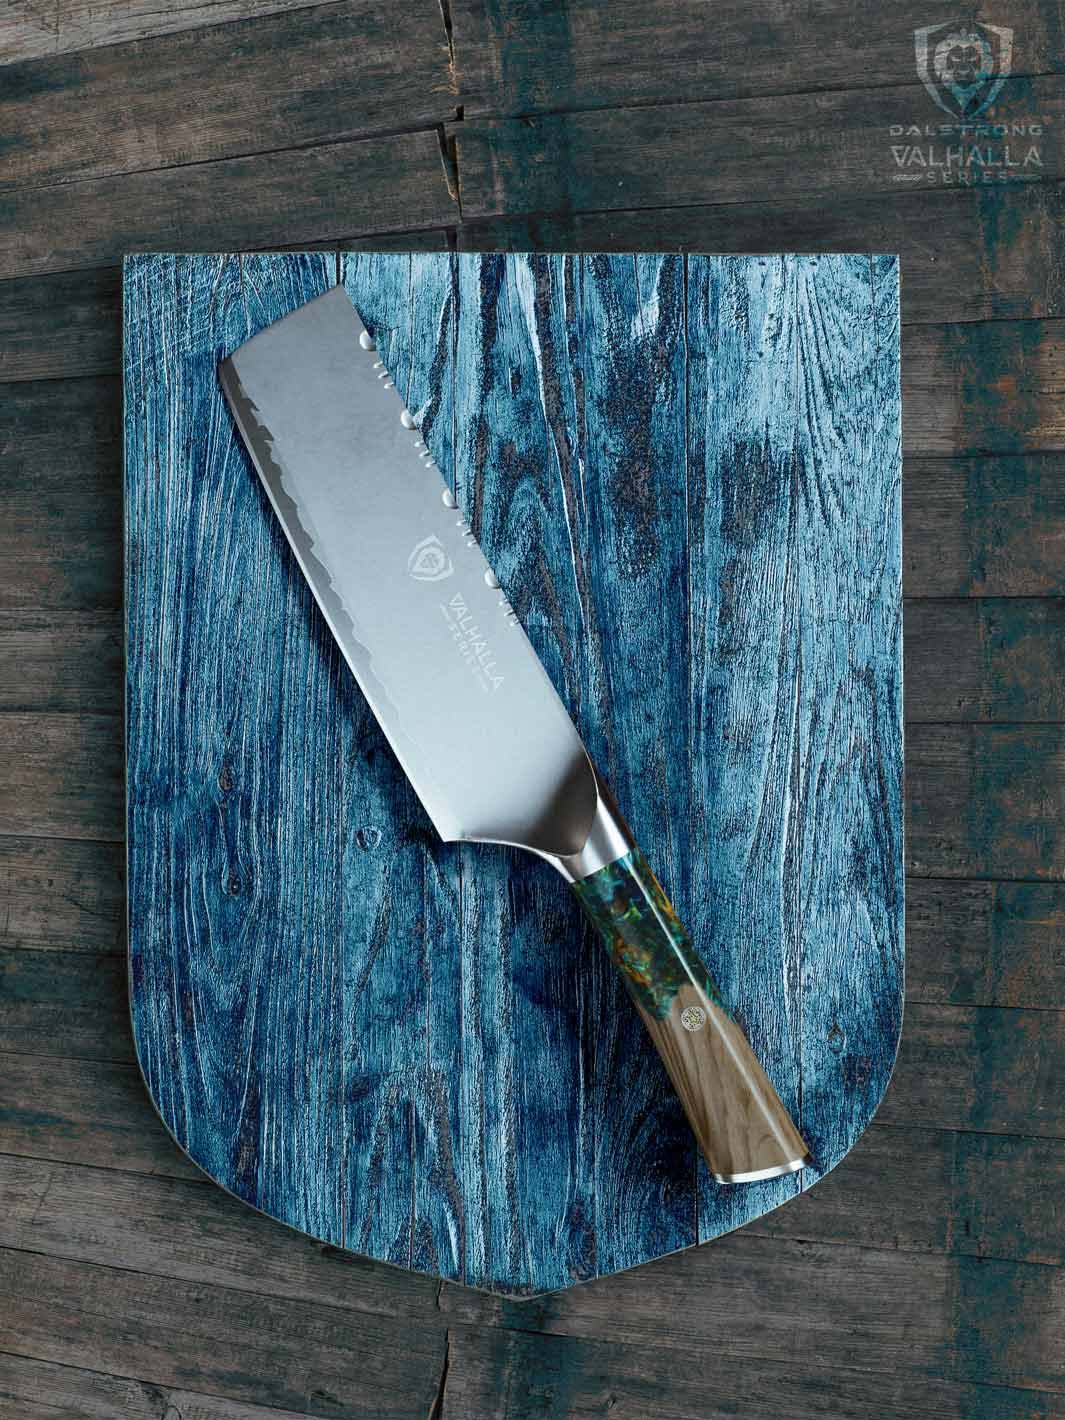
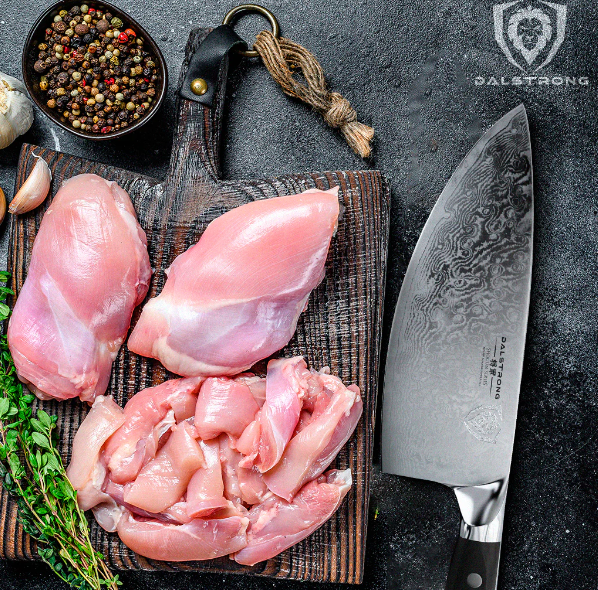
                                          3. Butcher and Breaking Cimiter Knife 8”

                                          Butcher & Breaking Cimiter Knife 8" Gladiator Series | NSF Certified | Dalstrong ©

                                          This knife is a master at sectioning and portioning meat, allowing you to glide through steak like butter, trim briskets effortlessly, and break down large chunks of meat without losing any. 

                                            Pros: 

                                            • Expertly slice through flesh, break through cartilage, and trim fat from beef, pork, poultry, fish, and other meats with great ease. 
                                            • The pointed end of the blade also allows this knife to be used to flip burger patties when grilling. 
                                            • This knife is highly impervious to heat and moisture, making it a great tool to use around a fired-up grill. 

                                            Cons: 

                                            • If you are a frequent griller, I recommend you invest in one of the BBQ pitmaster knives as they are designed to flip beef patties and other meats on the grill. 
                                            • The blade of this knife is narrow, so if you are looking for a knife that will also help your transfer food to the pot from the board, you would like to go for a wider blade butcher and breaking knife. 

                                            4. Butcher and Breaking Knife 10”

                                            Dalstrong Butcher & Breaking Knife 10" Phantom Series


                                            This butcher and breaking knife is an essential tool in any butcher or seasoned chef’s kitchen arsenal. Not only does this effortlessly tear through large cuts of beef, pork, and other poultry but can also be used to slice swiftly, trim briskets, and break down larger chunks of meat. 

                                            Pros: 

                                            • The full tang of the knife provides incredible robustness and strength to the blade. 
                                            • Though big and ferocious, this knife is very simple to maintain as it cleans easily. 
                                            • The rock-hollow divots are designed to reduce surface contact, ensure minimal flesh damage while slicing or portioning. 

                                            Cons: 

                                            • This knife has a 10” blade that can require some getting used to. If you are new to the kitchen, you can also go for another shorter blade to get started. 
                                            • This knife can be a bit pricey, especially if you don’t grill or BBQ that often.

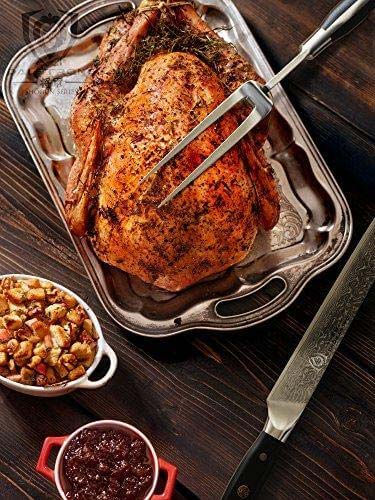
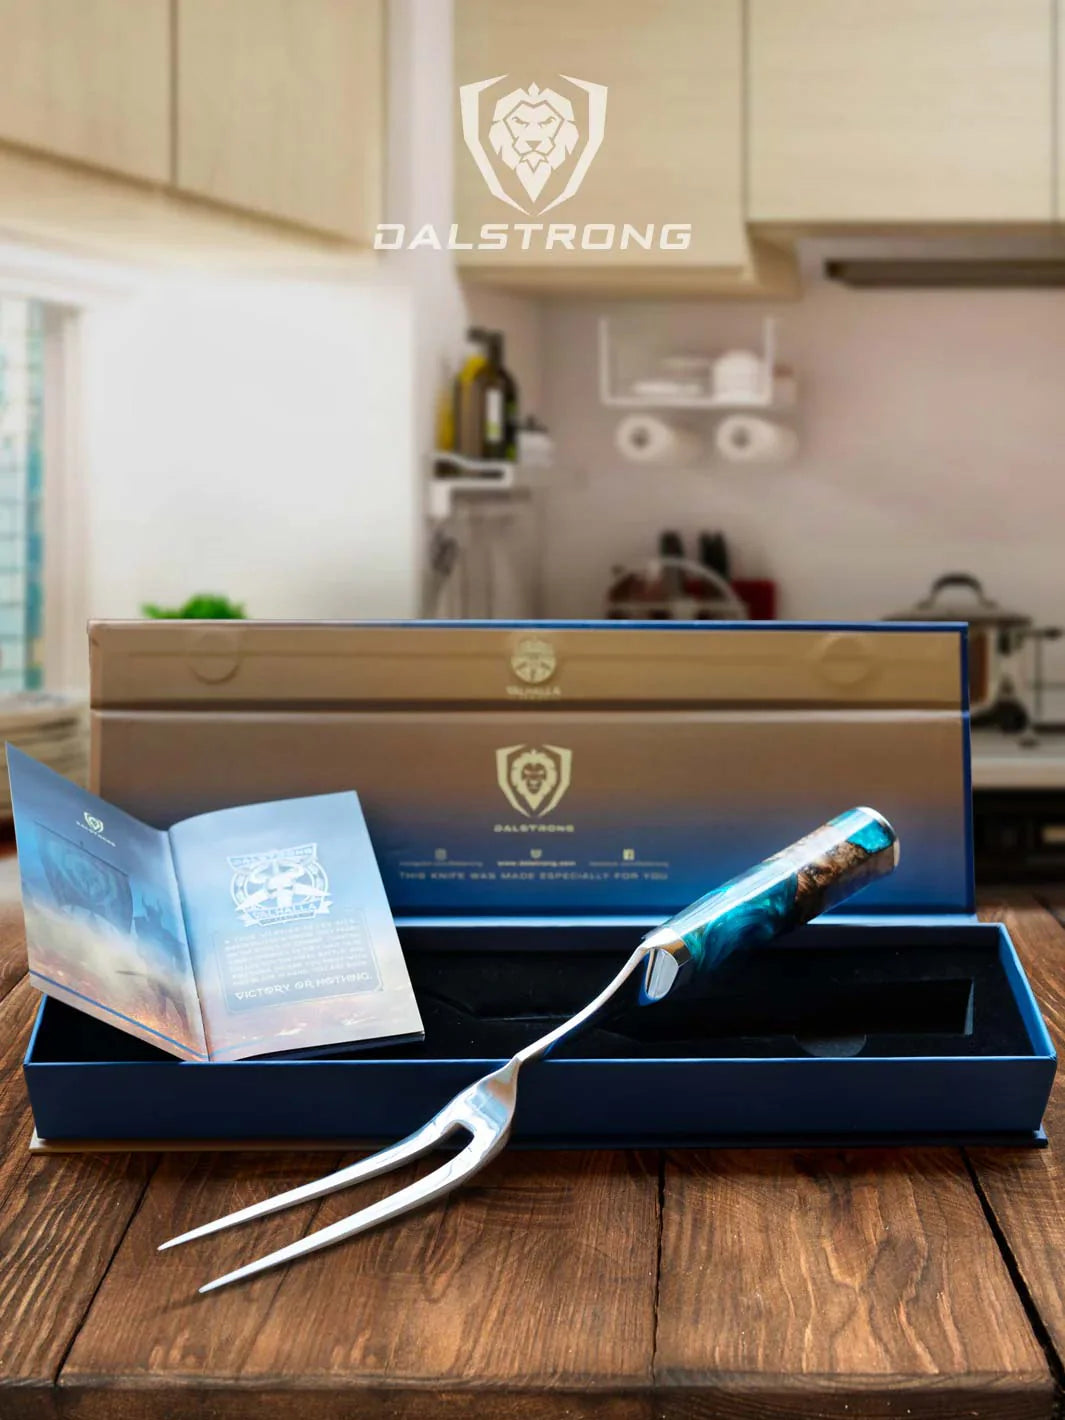
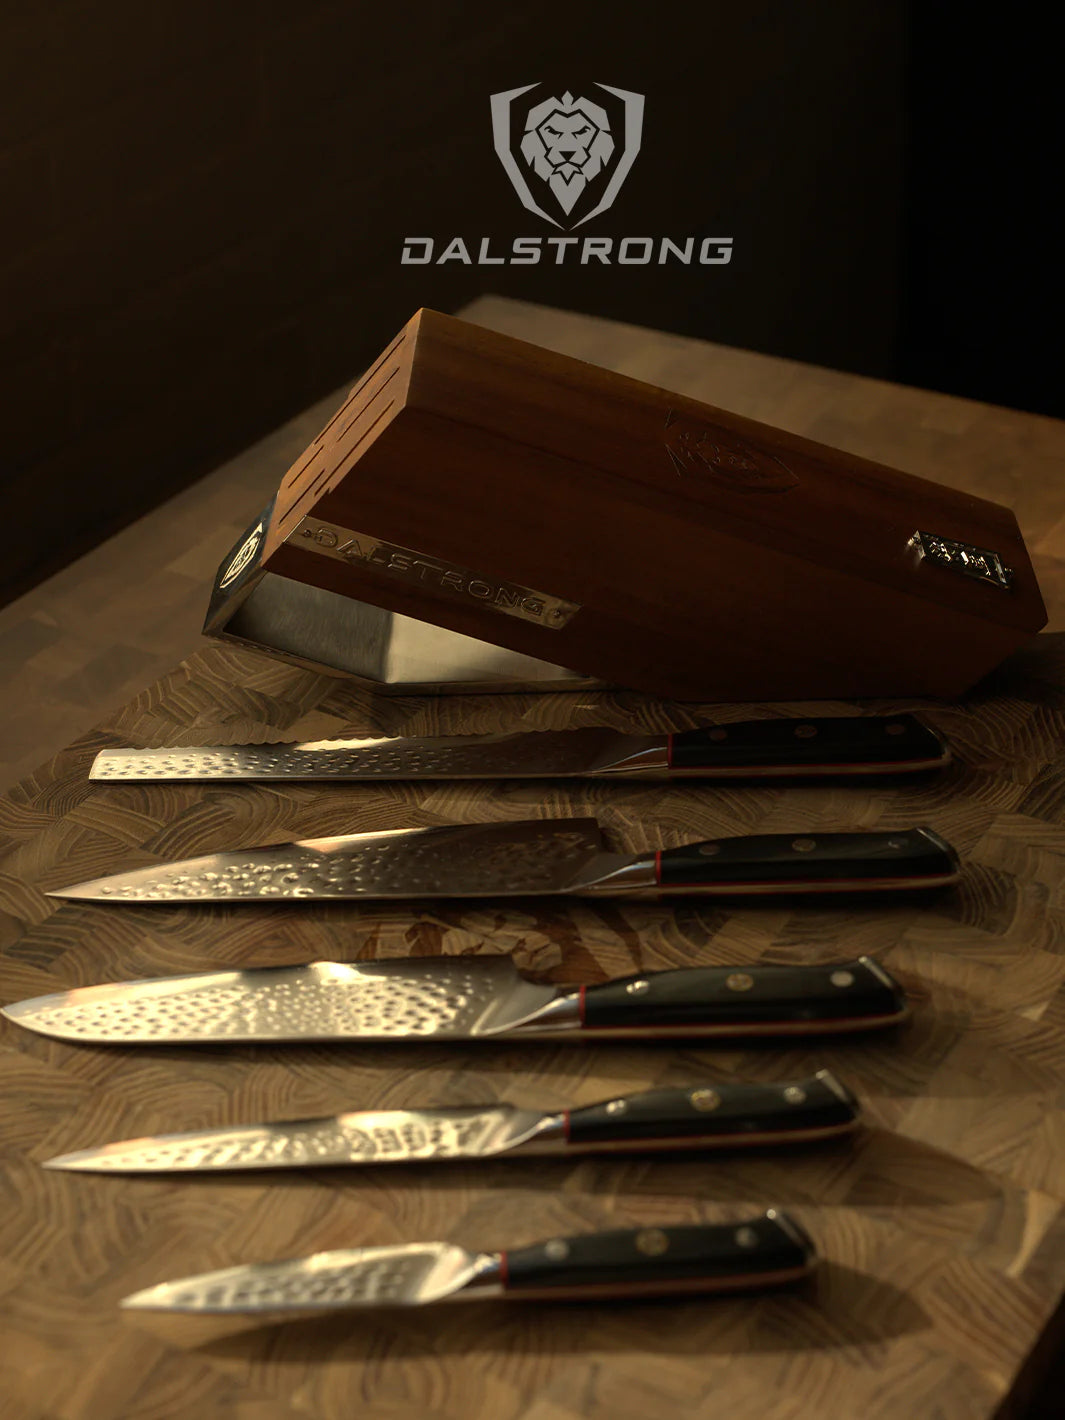
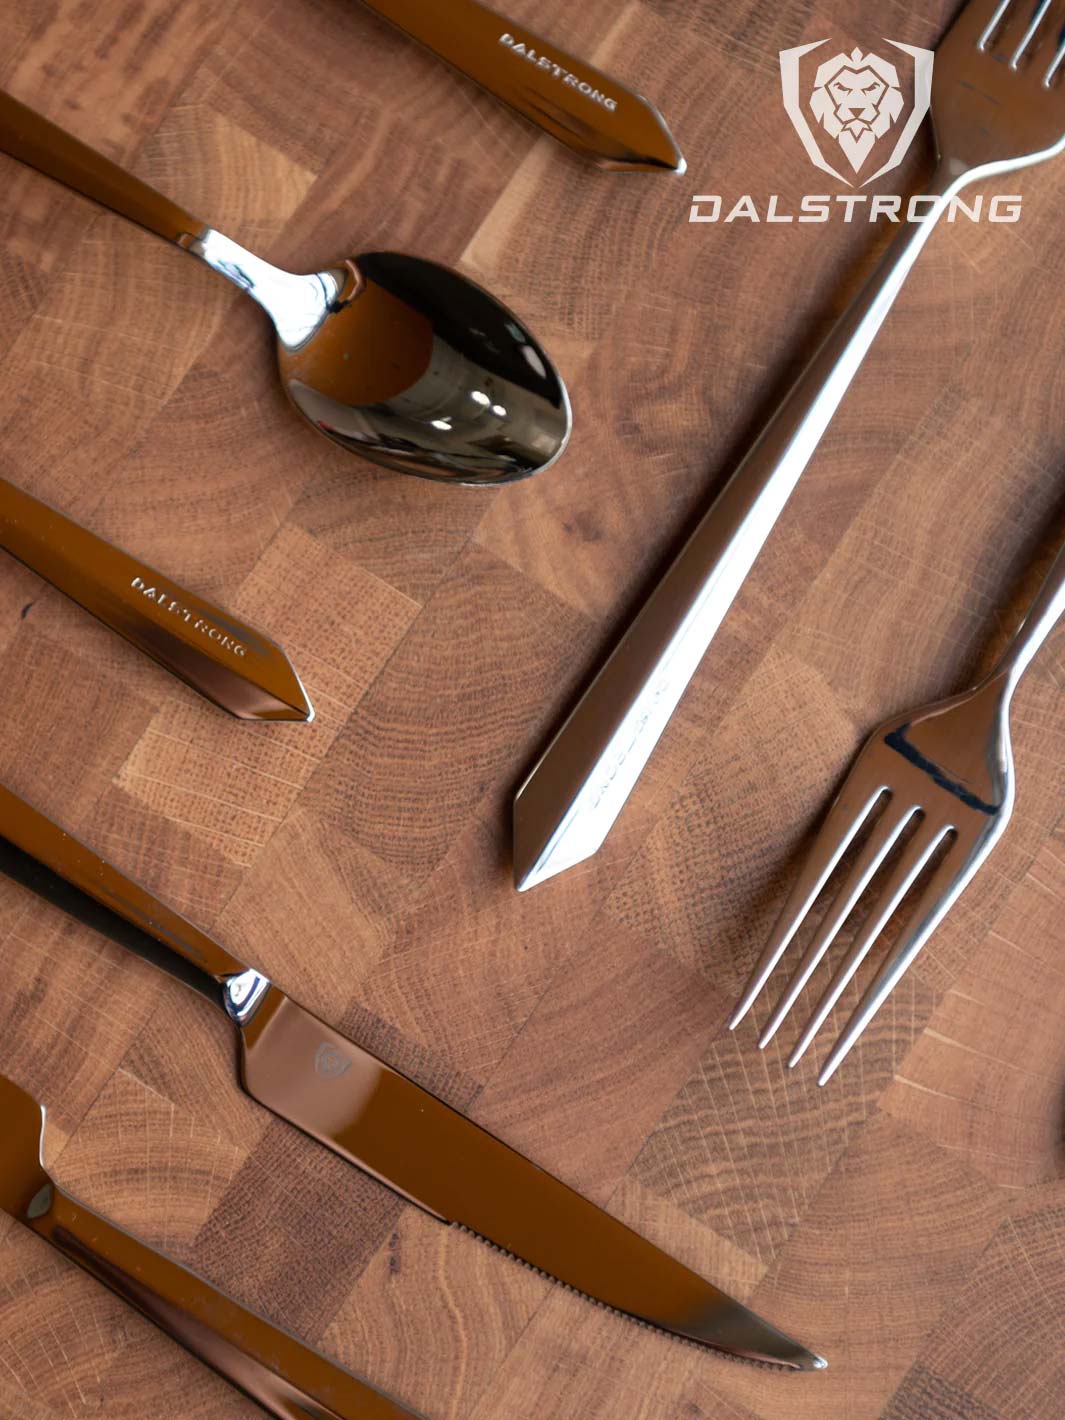
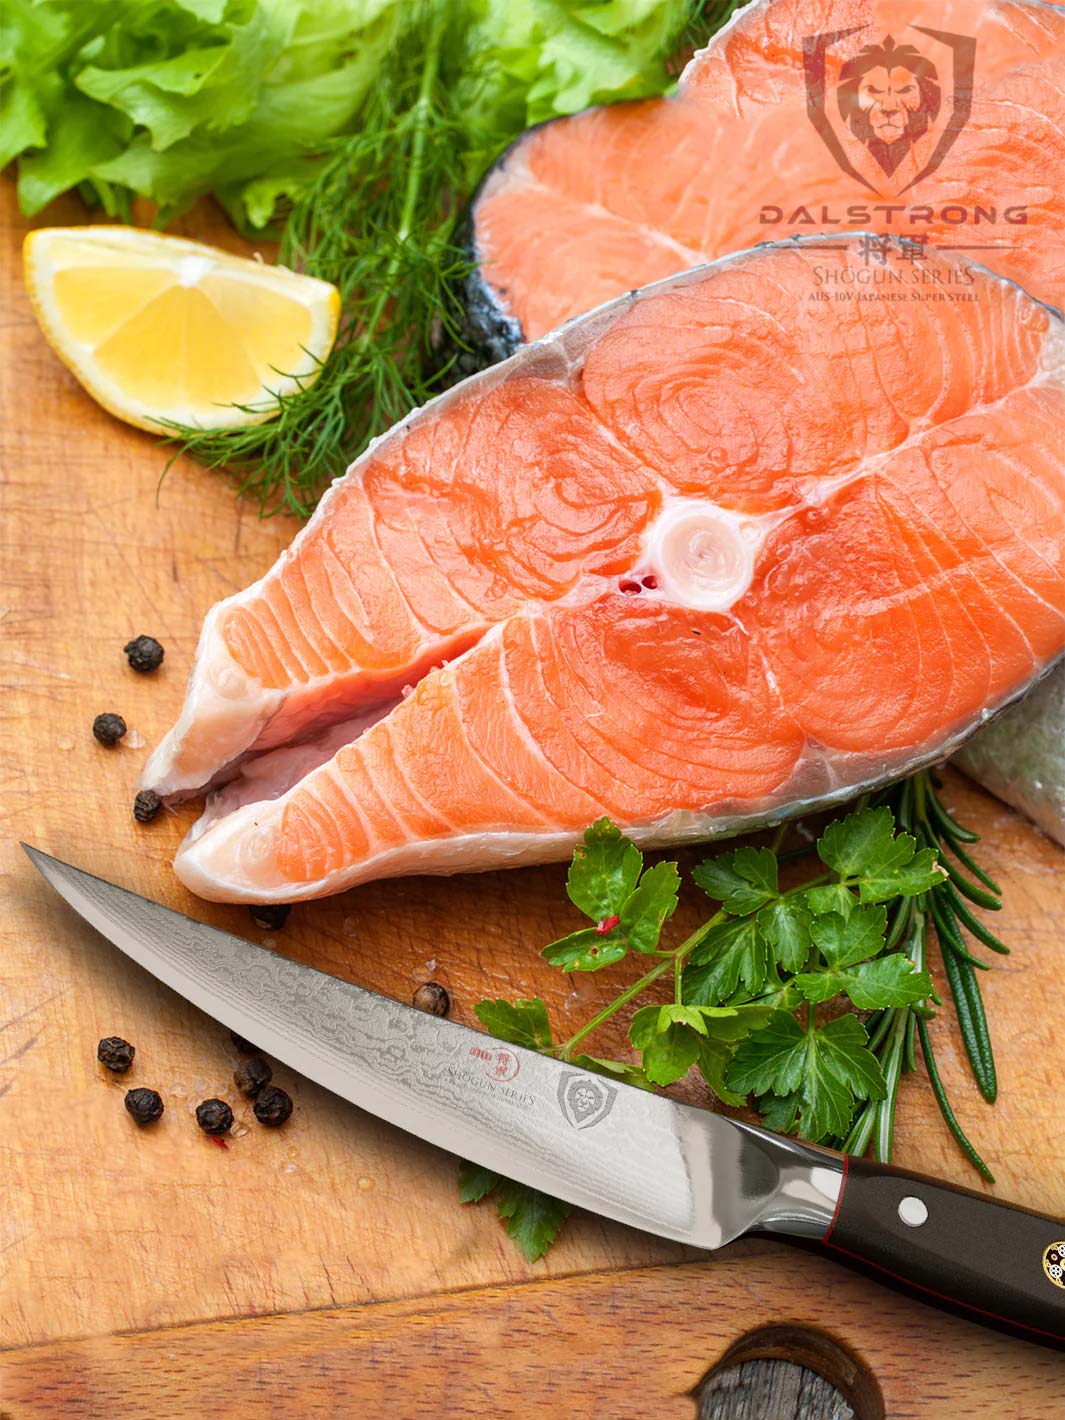
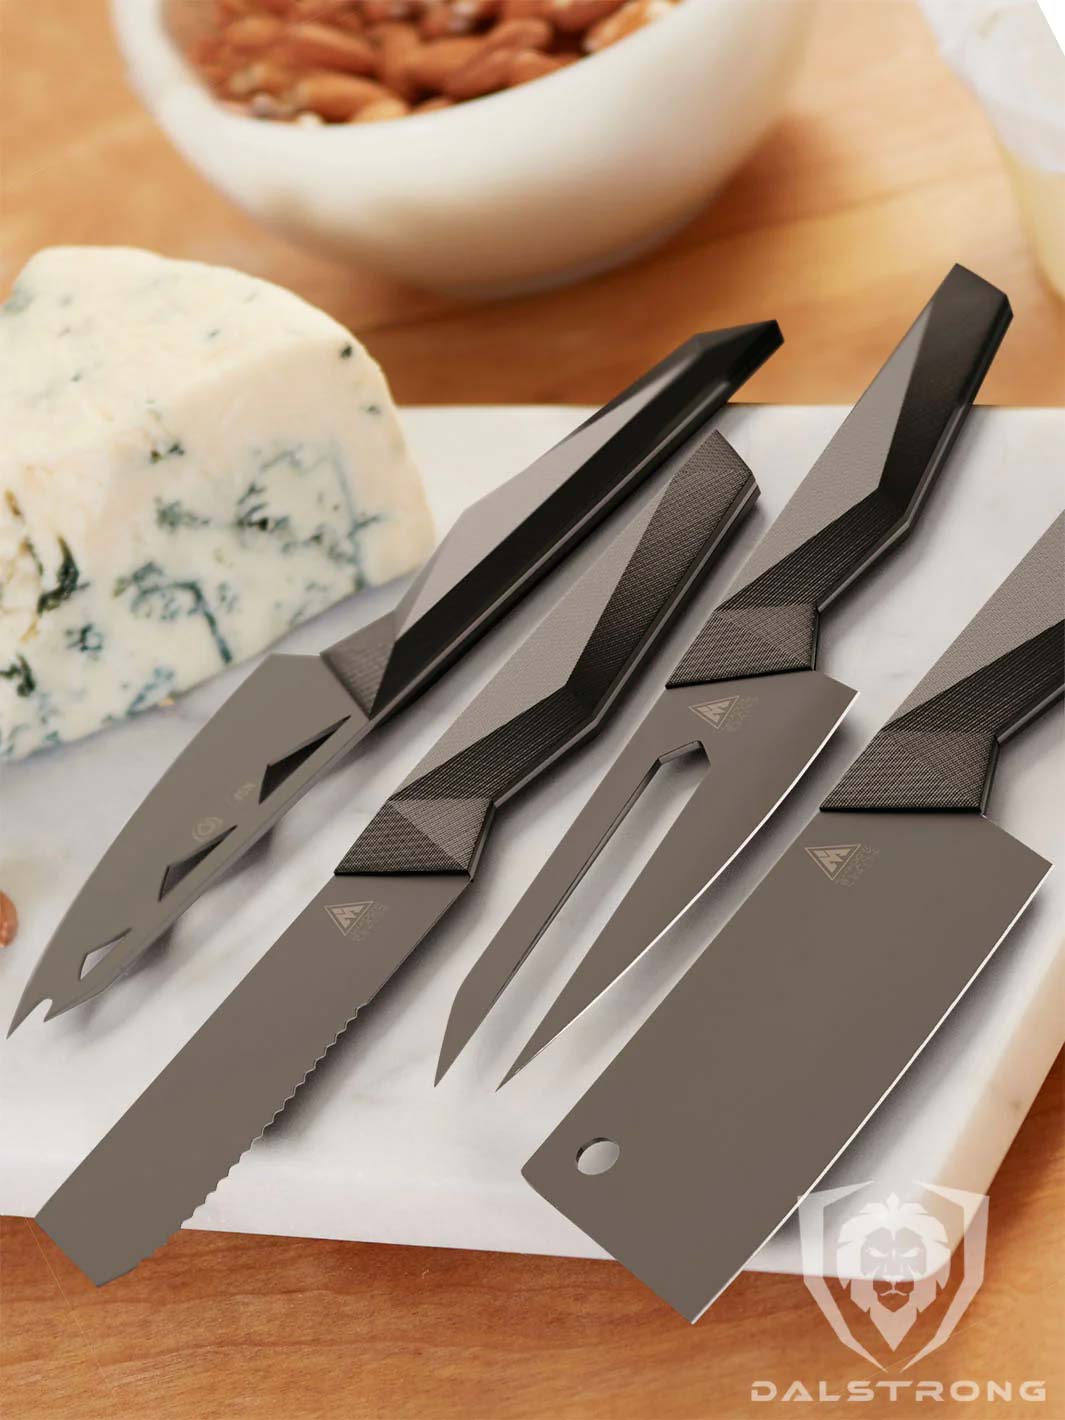
                                            5. Carving Knife & Fork Set 9”

                                            Carving Knife & Fork Set 9" Gladiator Series | Dalstrong ©

                                            If you want to ensure that every roast, every brisket, every turkey burger, and every ham is perfectly and evenly sliced with minimal effort, then this set is built for you. 

                                            Pros: 
                                            • The set includes a full tang carving fork that is designed to secure meat for carving and transferring the beautiful slices to the dinner plate. 
                                            • The ultra-sharp blade of the knife ensures outstanding performance and slices through meat like butter. 
                                            • The honing rod is added to the set to ensure that you are forever ready to fire up the grill and excel in the kitchen. 
                                            Cons: 
                                            • This set might seem a little excessive for someone who has no idea what they are doing. 
                                            • For a seasoned chef, this blade might not be long enough, and would want to use a 10” blade when grilling their burger patties. 

                                            8. Frequently Asked Questions 

                                            How long do you cook burgers on the grill?

                                            For rare burgers, cook for 4 minutes total (125 degrees F)
                                            For medium-rare burgers, cook for 5 minutes total (135 degrees F)
                                            For medium burgers, cook for 6-7 minutes total (145 degrees F)
                                            For well-done burgers, cook for 8-9 minutes total (160 degrees F)

                                            How long should I grill burgers on each side?

                                            For a rare burger, cook for 2 minutes per side (4 minutes in total). 
                                            For medium-rare burgers, cook for 2 minutes and 30 seconds per side (5 minutes in total) 
                                            For medium burgers, cook for 3 to 3½ minutes per side (6-7 minutes in total)
                                            For well-done burgers, cook for 4 to 4½ minutes per side (8-9 minutes in total)

                                            How do you grill burgers on a propane grill?
                                            1. Turn the propane on. Then ignite the burners to high heat.
                                            2. Brush the grates with a grill brush if necessary.
                                            3. Close the lid and heat the grill until it reaches about 400 degrees F. 
                                            4. Reduce the heat to medium-high or about 375 degrees and place the burgers on the grill. 
                                            5. Close the lid
                                            6.  and cook until the burgers reach the desired doneness.

                                            Check Out Dalstrong's BBQ Favorites

                                              Written by Himani Vaid
                                              Toronto-based food nerd turned food storyteller, Himani is a connoisseur of all things delish. Currently, busy thinking about what to eat next.


                                                How To Grill Burgers: The Complete Step-by-Step Guide

                                                Table of Content