


How To Shuck An Oyster

Gladiator Series Boston Oyster Shucking Knife 3"
How to Shuck An Oyster
- Place the oyster with the belly side down
- Wiggle the knife softly into the hinge until you hear a “pop”
- Slide the knife carefully between the shells
- Remove top shell
- Separate the meat from the bottom shell (optional)
Oysters are widely eaten all over the world as a delicacy. Especially - but not exclusively - during the summer, nothing says “special occasion” more than seafood and champagne.
Tempted yet? There is no reason not to indulge. Even though you need to learn certain tricks for opening oysters, you don’t need to be a professional chef or have crazy knife skills either. Here’s a guide for you to learn how to shuck an oyster.
1. What Is an Oyster?

Oysters are mollusks best known for living in a shell, producing pearls, and… being delicious. What most people don’t know is they come from a big family with over 200 hundred varieties; from which only a fraction are edible, and none of the edible ones actually produce pearls.
They’re said to be an aphrodisiac and have many health benefits: they are low in fat and are packed with protein, vitamins, minerals (especially zinc) and omega-3. Oysters can boost your immune system, improve your skin and make your bones stronger. Oysters are also sustainable and help the environment by cleaning the water they are in.
2. Different Types Of Oysters

All varieties of oysters can be grouped into 5 species with different qualities.
- Pacific Oysters: The world’s most cultivated oyster is small and sweet.
- Kumamoto Oysters: Small, nutty, creamy. Widely grown in Japan and the Pacific Coast of the U.S. and Canada.
- European Flat Oysters: They have a mineral flavor and are slightly crunchy.
- Atlantic Oysters: They make up as much as 85% of the total oysters harvested in the U.S. They look like a large comma and have a distinctive mineral, savory taste.
- Olympia Oysters: The smallest of all, and pleasantly sweet, this is the only native oyster to the Pacific West Coast.
3. How To Shuck An Oyster At Home
Shucking oysters like a pro takes practice, so patience and attention to detail are key.
What you’ll need:
- A proper oyster knife
- A tea towel
- Oven mitt or protective gloves
- A bowl with ice
- Another bowl or a trash can
- Scrub your oysters vigorously under cold running water to remove dirt from the outer shells.
- Fold a kitchen towel into thirds, you’ll use it to grab the oysters and as extra protection while using the oyster knife.
- Fill a bowl or a platter with crushed ice and coarse salt. This is where you’ll be putting the oysters immediately after shucking (salted ice maintains cold temperature).
- Make sure you have a place nearby where you can drop the shells, like a trash can or another bowl.
- Get acquainted with the anatomy of the oyster: The flat side is the top, and the “belly” or soft side is the bottom. Look for the hinge too: this is the point where both sides of the shell meet.
- Put on your fancy apron. The occasion calls for it!
- Place the oyster with the belly side down on the towel. Fold the towel over the oyster, leaving the hinge exposed.
- Place your hand on the top shell and hold the oyster steady. We recommend that you also use a towel to protect your hand in case the knife slips.
- This is where you introduce your knife into the oyster. You have two choices: you either insert the knife directly at the hinge; or near the hinge to one side, between the shells. Some say the latter is easier.
- Don’t force the knife into the shell. This is important so we’ll say it again: do not force the knife into the shell!
- Wiggle and twist the knife softly, while you gently push your way in. It will take a bit of practice to develop a sense for the type of movement and amount of pressure you will need here.
- Some oysters will need to be worked more than others. Maybe you’ll need to go back and find another place to try your luck. But eventually, you should feel a “pop” after wiggling the blade for a while, Congratulations, you’re in! But don’t get too comfortable, move immediately to the next step.
- After the shells have popped, you may need to twist your blades once again to broaden the opening a little bit more.
- Then, slide the knife between the shells, but be careful not to crush the oyster meat! It is recommended that you keep the blade flat against the top shell.
- You will find a resistance point while sliding, simply cut through. This resistance point is the muscle connecting both shells.
- At this point you should be able to remove the top shell and take a good look at the shiny heart of your oyster.
- There’s going to be lots of liquid. Use your knife to carefully discard any shell fragments that may be left in there. And if you happen to find a tiny crab inside the opened oyster, don’t panic. It happens. Remove it and continue.
- Slide your knife delicately again, this time, between the meat and the bottom shell. Keep the oyster level at all times. If you’re eating the oyster on the half shell, place it on your iced platter; otherwise slide the muscle (along with the oyster liquor) into the bowl on ice.
- If they’re fresh and good, shucked oysters can be served simply with a few fresh lemon wedges, a squeeze of lemon juice, hot sauce of your choice or your favorite cocktail sauce recipe.
Feel proud of yourself for a moment, and then continue shucking!
4. What Kind Of Knife Do You Use To Shuck Oysters?

Gladiator Series Professional Shellfish & Oyster Shucking Knife 3"
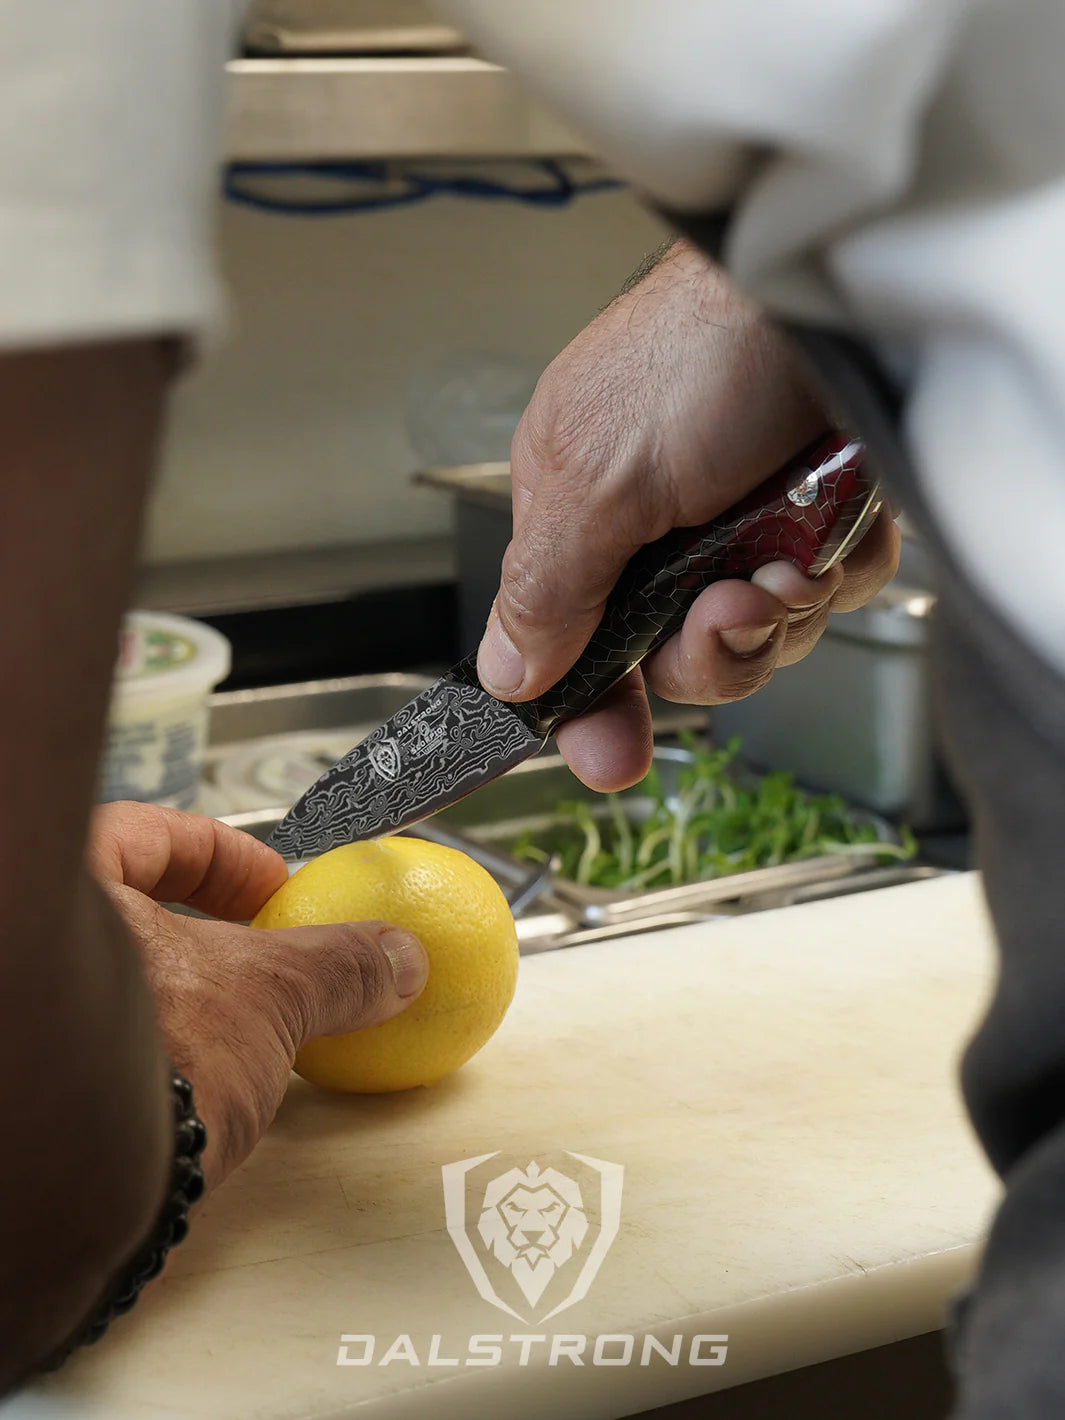
Now that you’ve become acquainted with the process of shucking oysters, you probably understand why you shouldn’t (or can’t) open raw oysters with just any kitchen knife. A proper oyster knife has these characteristics:
- The knife blade is short, usually ranging from 2.5 to 4 inches. Any blade longer than that could bend or snap.
- The tip of an oyster knife is key and specially designed to work the hinge.
- The blade of an oyster knife is not necessarily sharp. You won’t be doing a lot of cutting or slicing; but rather prying and sliding. It should be thick enough, though.
- The handle is big and ergonomic for a steady grip.
- It should be corrosion-resistant since oysters have a lot of salt.
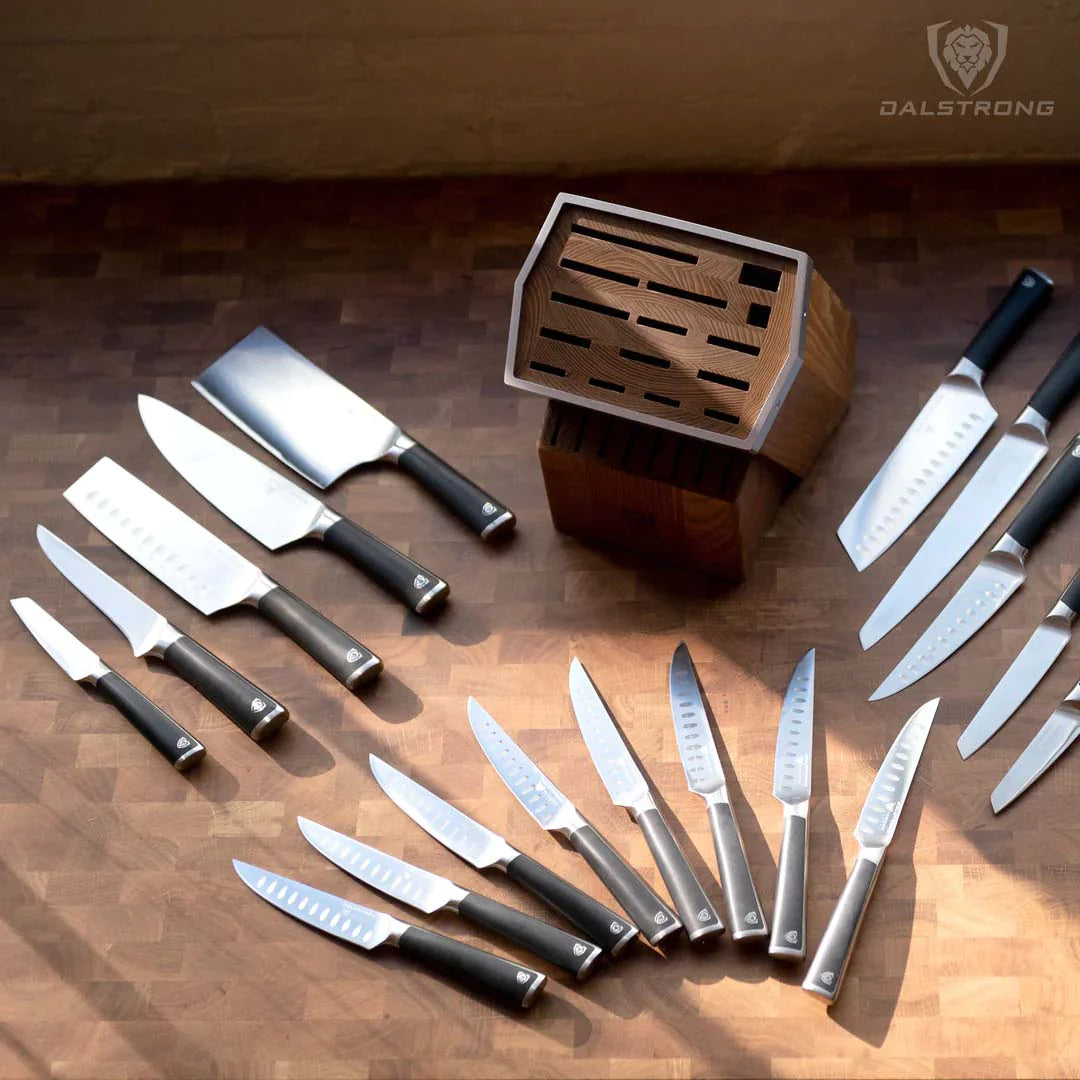
5. Best Knives For Oysters
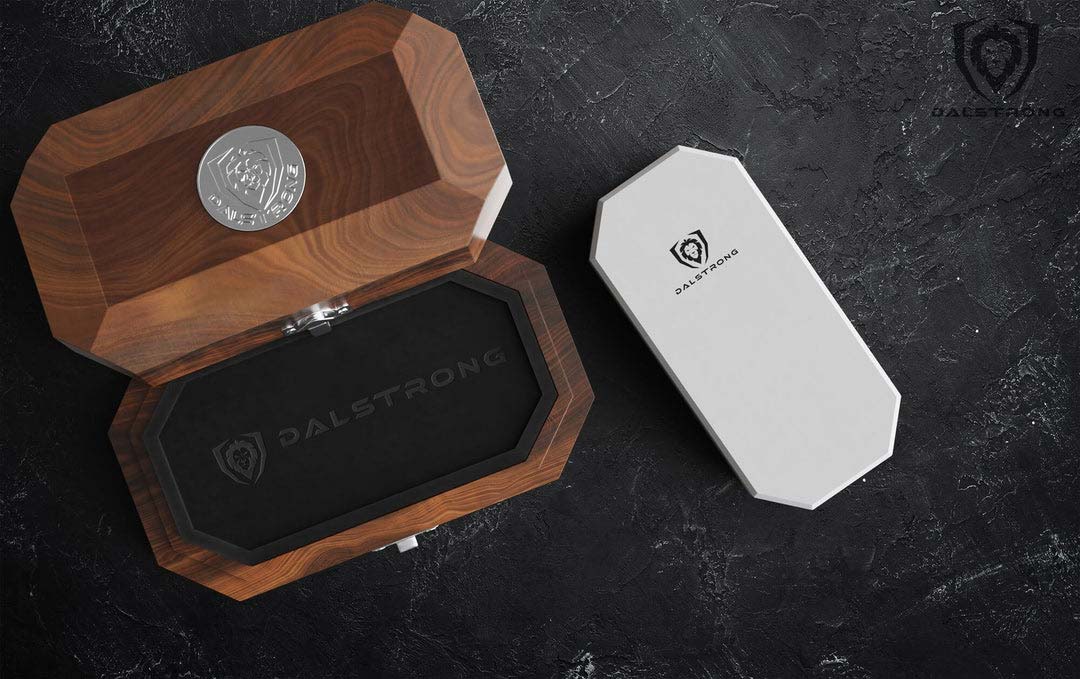
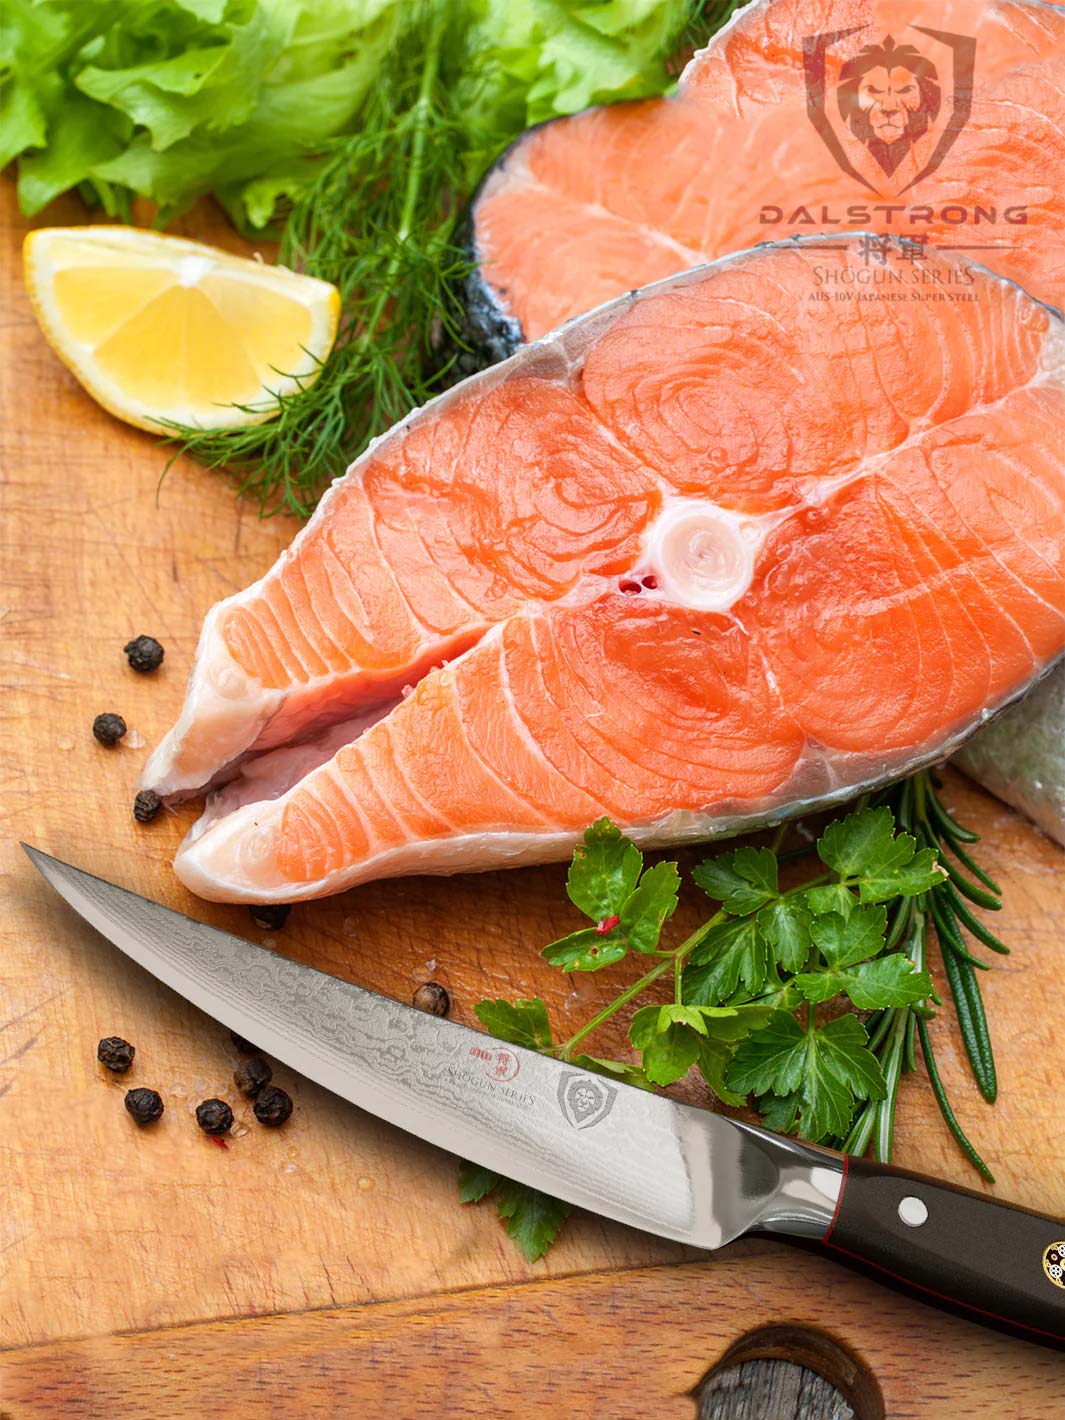
1. Professional Oyster & Clam Shucking Knife 3.5" | Shogun Series

Don’t let the striking beauty of this hand-finished knife distract you from its outstanding performance. Built to pry-open and shuck oysters, from the smallest ones to the toughest ones, with grace and ease.
PROS
- The 3.5" blade is made of high-carbon AUS-10V Japanese super steel at an 8-12°degree angle per side with cryogenic tempering.
- Edge Retention at 62+ Rockwell for longer, deeper cuts.
- 67-Layered Damascus sharpened using the 3-step Honbazuke method.
- Corrosion-resistant cladding (extends the life of your knife).
- Aesthetically delightful with the magnificent Shogun Series’ Tsunami Rose pattern, a copper mosaic pin on the center rivet and engraved end cap.
CONS
- Depending on how often you are planning on eating shells at home, the price might be high for just a one-time occasion.
- Great for small to medium oysters, super small oysters may need a blade under 3 inches.
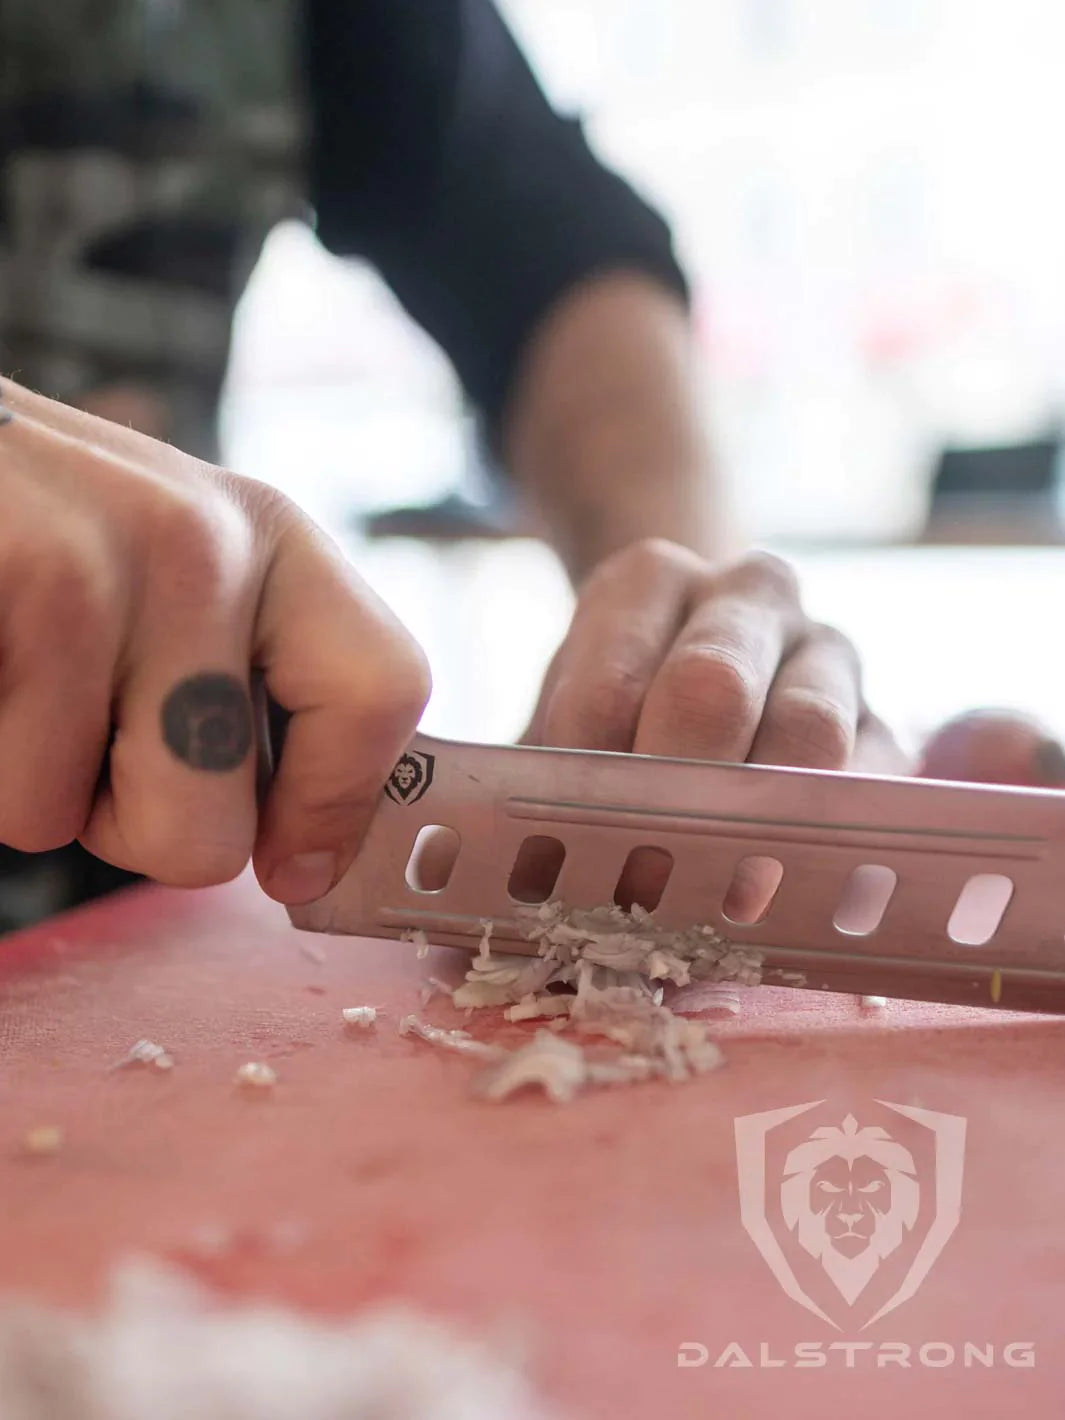
2. Professional Shellfish & Oyster Shucking Knife 3" | Gladiator Series

Sturdy enough to open the shell and remove the oyster meat; delicate enough to protect the insides of the oyster and your hands. The fiber-glass material makes it a strong knife, resistant to water and stains, perfect for a busy kitchen.
PROS
- Wide and thick blade made of high-carbon ThyssenKrupp German steel.
- Precision-forged and ultra-sharp.
- Perfect balance between sharpness and resistance.
- Mirror polished, finger protective bolster
CONS
- The weight of this sturdy knife might not be for everyone.
- Ultra-sharpness means you have to be extra careful.
- If you prefer smaller oysters (like Europa oysters) you may consider an even smaller oyster knife.
3. Oyster Shucking Knife 2.75" | Gladiator Series

The long handle provides the grip you need to pop the shells open, while the hand-polished satin blade with a pointed tip is perfect for sliding across the sides. This could become your favorite oyster shucker.
PROS
- Single-piece, wear-resistant German steel
- The handle is ergonomic for maximum maneuverability
- Price–performance ratio is unbeatable.
- Premium quality + low maintenance.
- Perfect for really small oysters.
CONS
- If you’re looking for a gift, or aesthetics matter a lot to you; you might find the Shogun Series more impressive.
- If you feel more confident with a bigger blade, but still don’t want to overdo it, maybe try the Gladiator 3” shucking knife instead.
4. Bird's Beak Tourne Paring Knife 2.75" | Gladiator Series

The “master of intricate cuts” will do fine with an oyster, even though it’s a paring knife, it has the right size and characteristics. The beautiful blade looks like a bird’s peak, and the hand-polished bolster offers finger protection, which is a good feature when shucking oysters.
PROS
- Incredibly precise cuts.
- The short, curved blade is also ideal for small fruits and vegetables, for peeling potatoes or apples or fluting mushrooms.
- It comes with the distinctive beauty of the Gladiator series.
- The full tang adds stability and quality.
CONS
- The small size is intended for very specific cases, and won’t be too useful for cutting things like bread or bigger fruits.
- If you’re a demanding cook; you may start directly with a higher-level knife.
5. Bird's Beak Peeling & Paring Knife 3" | Shogun Series

Such a stunning knife. With a small-enough blade, made of Japanese super steel at an 8-12°degree angle per side; and an ergonomic handle that allows maximum hand control, this peeling knife can act as a genuine oyster knife.
PROS:
- Not only for oysters: this is the ultimate peeling knife with outstanding craftsmanship and cutting-edge technology.
- Ultra-premium G10 Garolite handle to shuck confidently.
- Nitrogen cooled for corrosion resistance.
- Comfortable and easy to hold, always a plus when you’re opening dozens of oysters.
CONS
- This is a very sharp knife that you should handle carefully.
- The small size of the handle might not be suited for all hand sizes.
6. Bird's Beak Paring Knife Peeler 3" | Crusader Series

This is a knife that pairs well with some oysters and champagne. The elegant, minimalist design is combined with a razor-sharp ThyssenKrupp blade steel for clean, precise cuts.
PROS
- Stunning aesthetics with a seamless transition between the blade and the handle.
- Includes a handcrafted Acacia wood magnetic sheath.
- Incredible toughness and resilience.
- Perfect as a gift for its beauty and packaging.
CONS
- Some people prefer the feeling in other handle materials.
- It’s a great knife for its intended purpose, but if you want to cover more kitchen duties, you may want to look at other multi-purpose knives.
7. Paring Knife 4" | Delta Wolf Series

Where to start? The high-carbon stainless steel blade is so visually engaging you’ll want to hang it on the wall. But it’s not just about the looks: this is a strong, sharp, reliable knife that will help you with tricky tasks, including those oysters.
PROS
- Black, non-reflective titanium-nitride coating.
- Sturdy and extremely resistant with Shock absorbance, scratch-resistant material and Added chromium.
- The large handle provides grip and confidence.
CONS
- With 4 inches, this knife can be used for oysters; but remember the recommended size for oysters knives is still around 3”.
- The knife is meant to be heavy and sturdy, which might not be the desired sensation of those looking for a lighter piece.
8. Gladiator Series Boston Oyster Shucking Knife 3"

The Gladiator Series Boston Oyster Shucking Knife features a sturdy 3-inch blade designed for optimal shucking of oysters. Its ergonomic handle ensures a comfortable grip, making it easier to pry open shells while minimizing the risk of slips and injuries.
PROS:
- High-quality stainless steel resists rust and corrosion.
- Ergonomic handle reduces hand fatigue during use.
- Suitable for various types of oysters and shellfish.
- Simple maintenance for long-lasting performance.
CONS:
- Requires some practice to master proper shucking technique.
6. Can You Open An Oyster Without A Knife?

Professional Oyster & Clam Shucking Knife 3.5" | Shogun Series
If you do the research, you’ll find some blogs here and there claiming you can shuck oysters at home using a screwdriver. Easy-breezy, they’d say.
We’re not even going to talk about how much that would ruin the otherwise sophisticated experience of shucking oysters at home. But we are going to insist that opening shells with anything other than a tool that’s been designed for that purpose can be dangerous.
Oysters knives and some paring knives have a non-slip handle, an appropriate shape, and they are either sharp or dull in all the right places, to make sure you won’t injure yourself with all that wiggling, twisting, popping and sliding. Fortunately, there’s plenty to choose from!
7. Dalstrong Film - Oysterland
An almost abandoned legacy. A river with a dwindling oyster population. And one impossible dream made real.
In our latest feature film, we dive deeper into the story of the Rappahannock Oyster Co., speaking with cousins Ryan and Travis Croxton to learn how they're revolutionizing the shellfish industry in the Chesapeake Bay. With research and innovation, they helped transform the regional oyster population from nearly endangered to the beating heart of a thriving ecosystem.
8. How To Grill Oyster
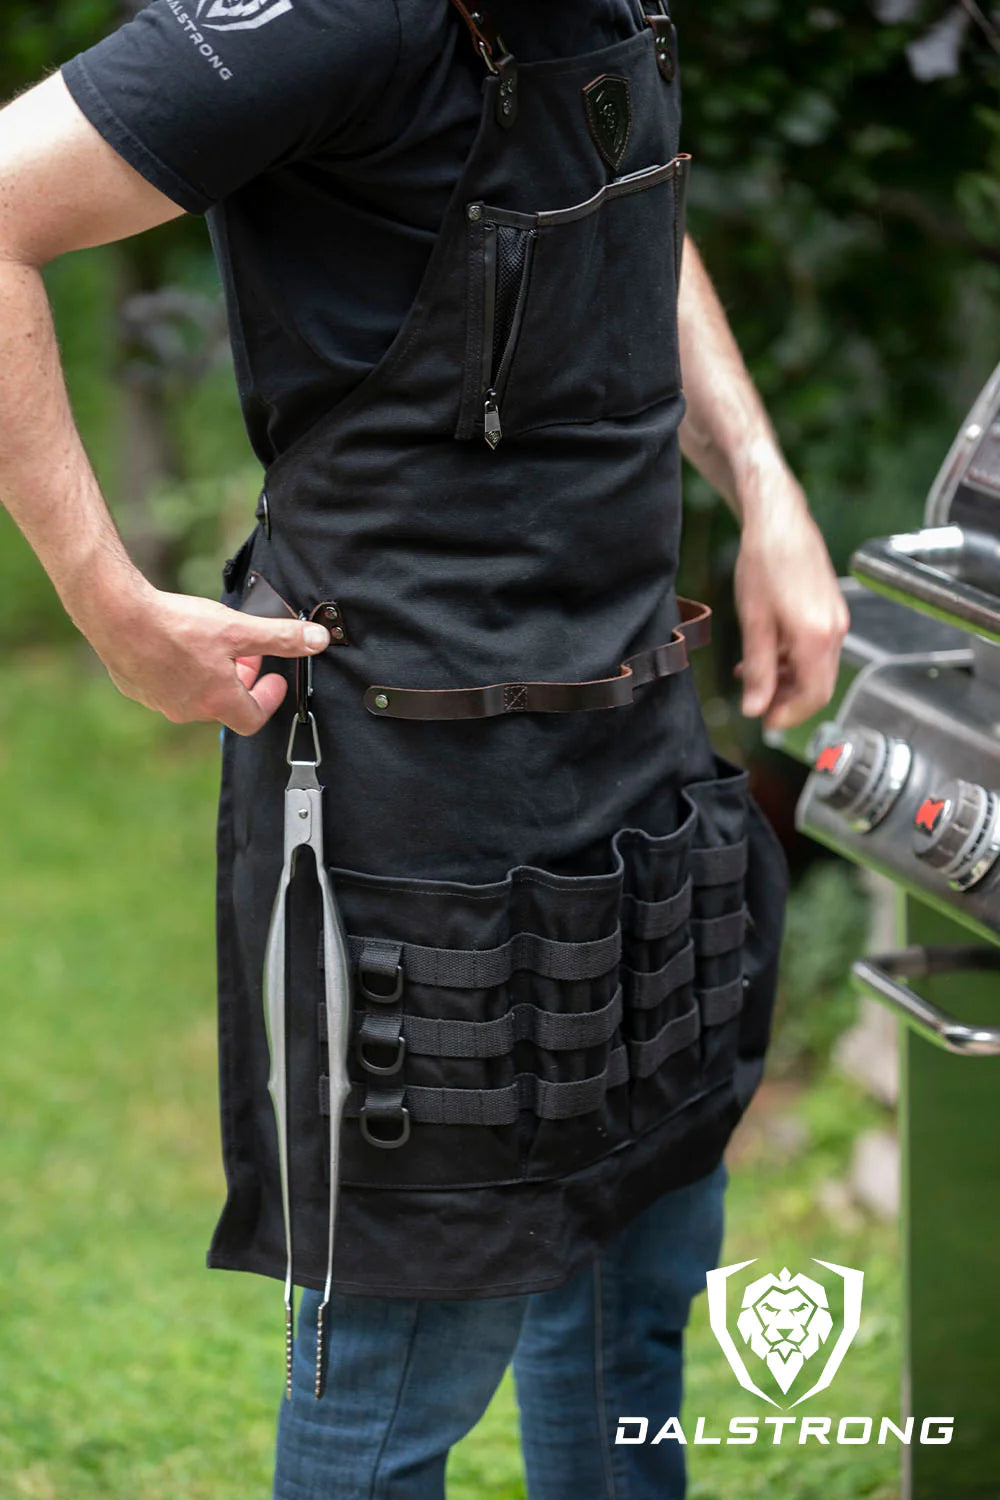
Grilling oysters can be a delicious way to enjoy these shellfish. Here's a basic guide on how to do it:
Ingredients
- Fresh oysters
- Lemon wedges (optional)
- Mignonette sauce or hot sauce (optional)
Equipment:
- Grill
- Grill tongs
- Oyster knife or a sturdy, pointed knife
- Oyster grilling rack or a tray with edges
Steps:
- Preheat the Grill: Preheat your grill to high heat. You want a hot grill for this process.
- Prepare the Oysters: Scrub the oysters with a brush under running water to remove any dirt or debris.
- Shuck the Oysters: Shucking is the process of opening the oyster shell. It's important to do this safely.
- Arrange on the Grill: Place the oysters, still in their bottom shells, directly on the hot grill. This prevents the oyster juices from spilling out.
- Cooking Time: Cook the oysters for about 2-5 minutes, or until the edges of the oysters start to curl and the oyster liquor (juice) begins to bubble.
- Serve: Carefully remove the oysters from the grill using tongs and transfer them to a platter. Be cautious, as the shells and oysters will be very hot.
- Garnish (Optional): Serve with lemon wedges for a citrusy kick. You can also offer mignonette sauce or hot sauce for extra flavor.
- Enjoy: Use a small fork or just slurp them right from the shell. Enjoy the succulent, smoky flavor of your grilled oysters!
Remember, the key to a successful grilled oyster is not to overcook them. They should still be tender and juicy. If they cook for too long, they can become tough and rubbery.
Please ensure you're using fresh oysters and practice proper shucking techniques to avoid any safety issues. If you're unfamiliar with shucking, it might be helpful to watch a tutorial video or seek guidance from a more experienced individual.
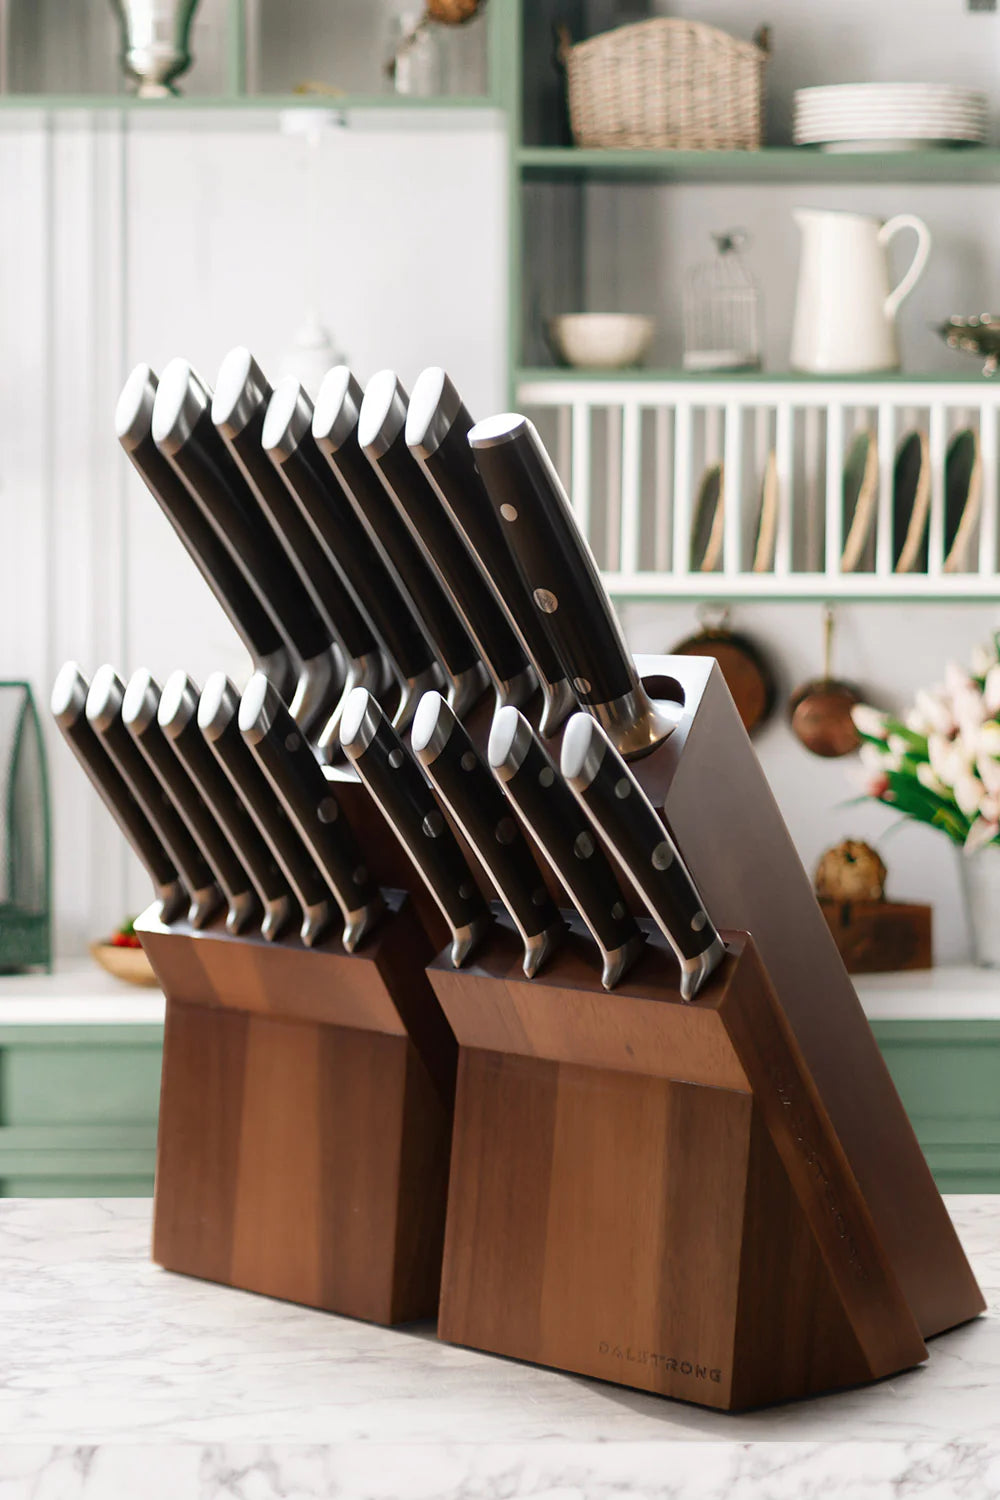
Discover Dalstrong Knives Today